 |||
|||
Time to install the Active Directory Domain Controllers, centralized user management, Group Policy, Single Sign On (SSO), deploy applications, among other fun. Active Directory is the foundation of any enterprise Microsoft environment, there will be many things to explore in the upcoming labs.
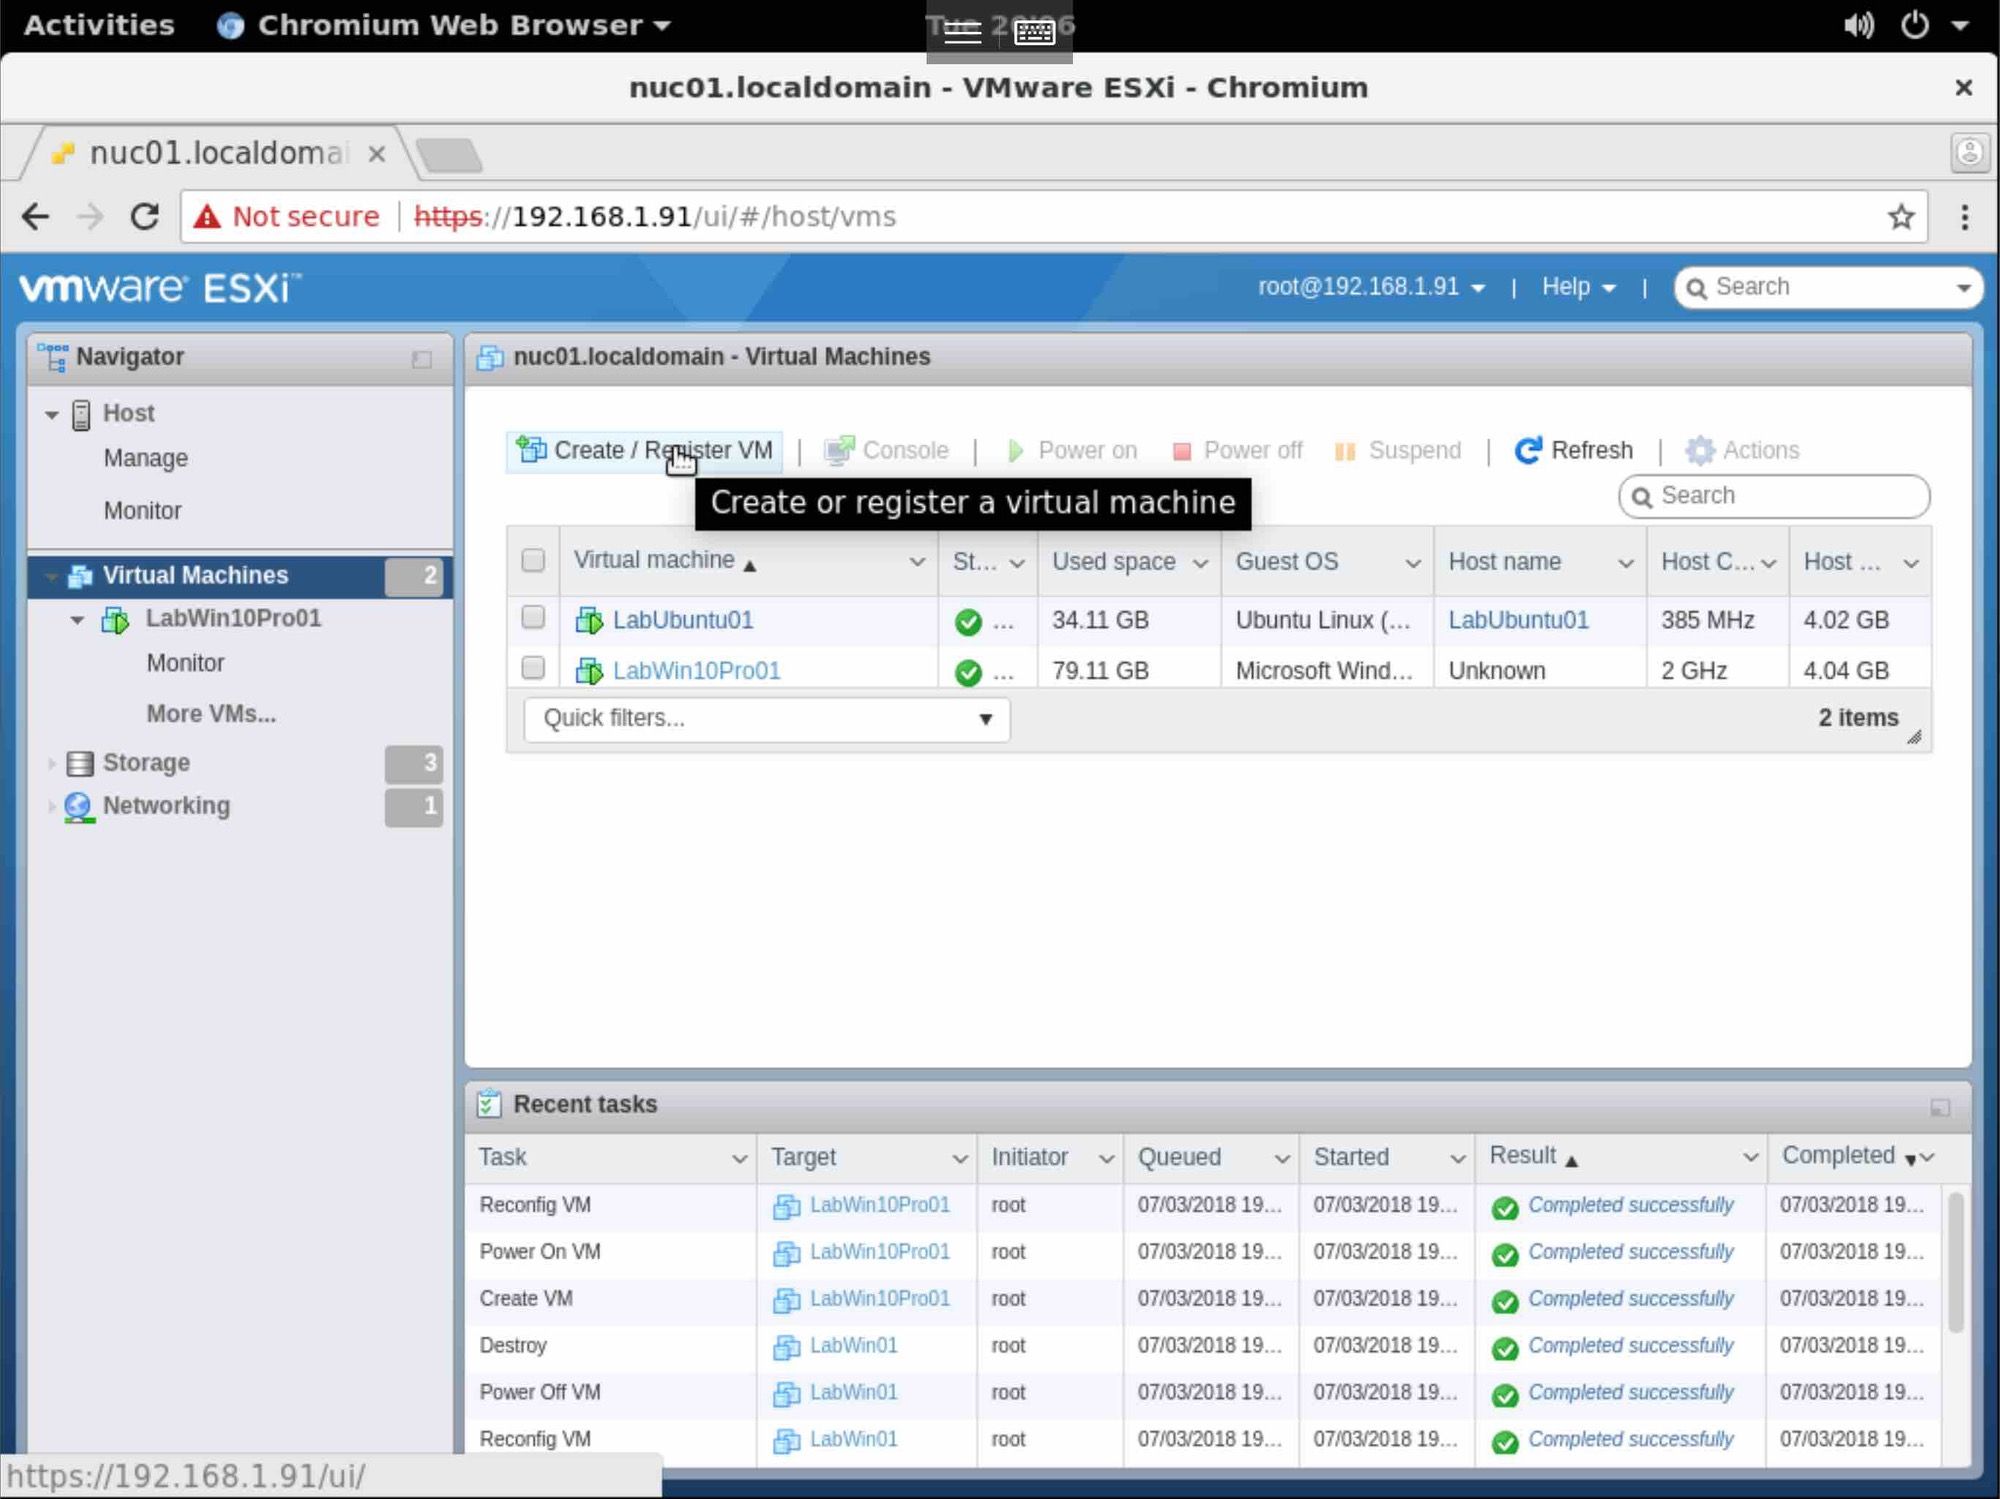
Open a connection with the VMware Host, or vCenter, and Select Create VM.
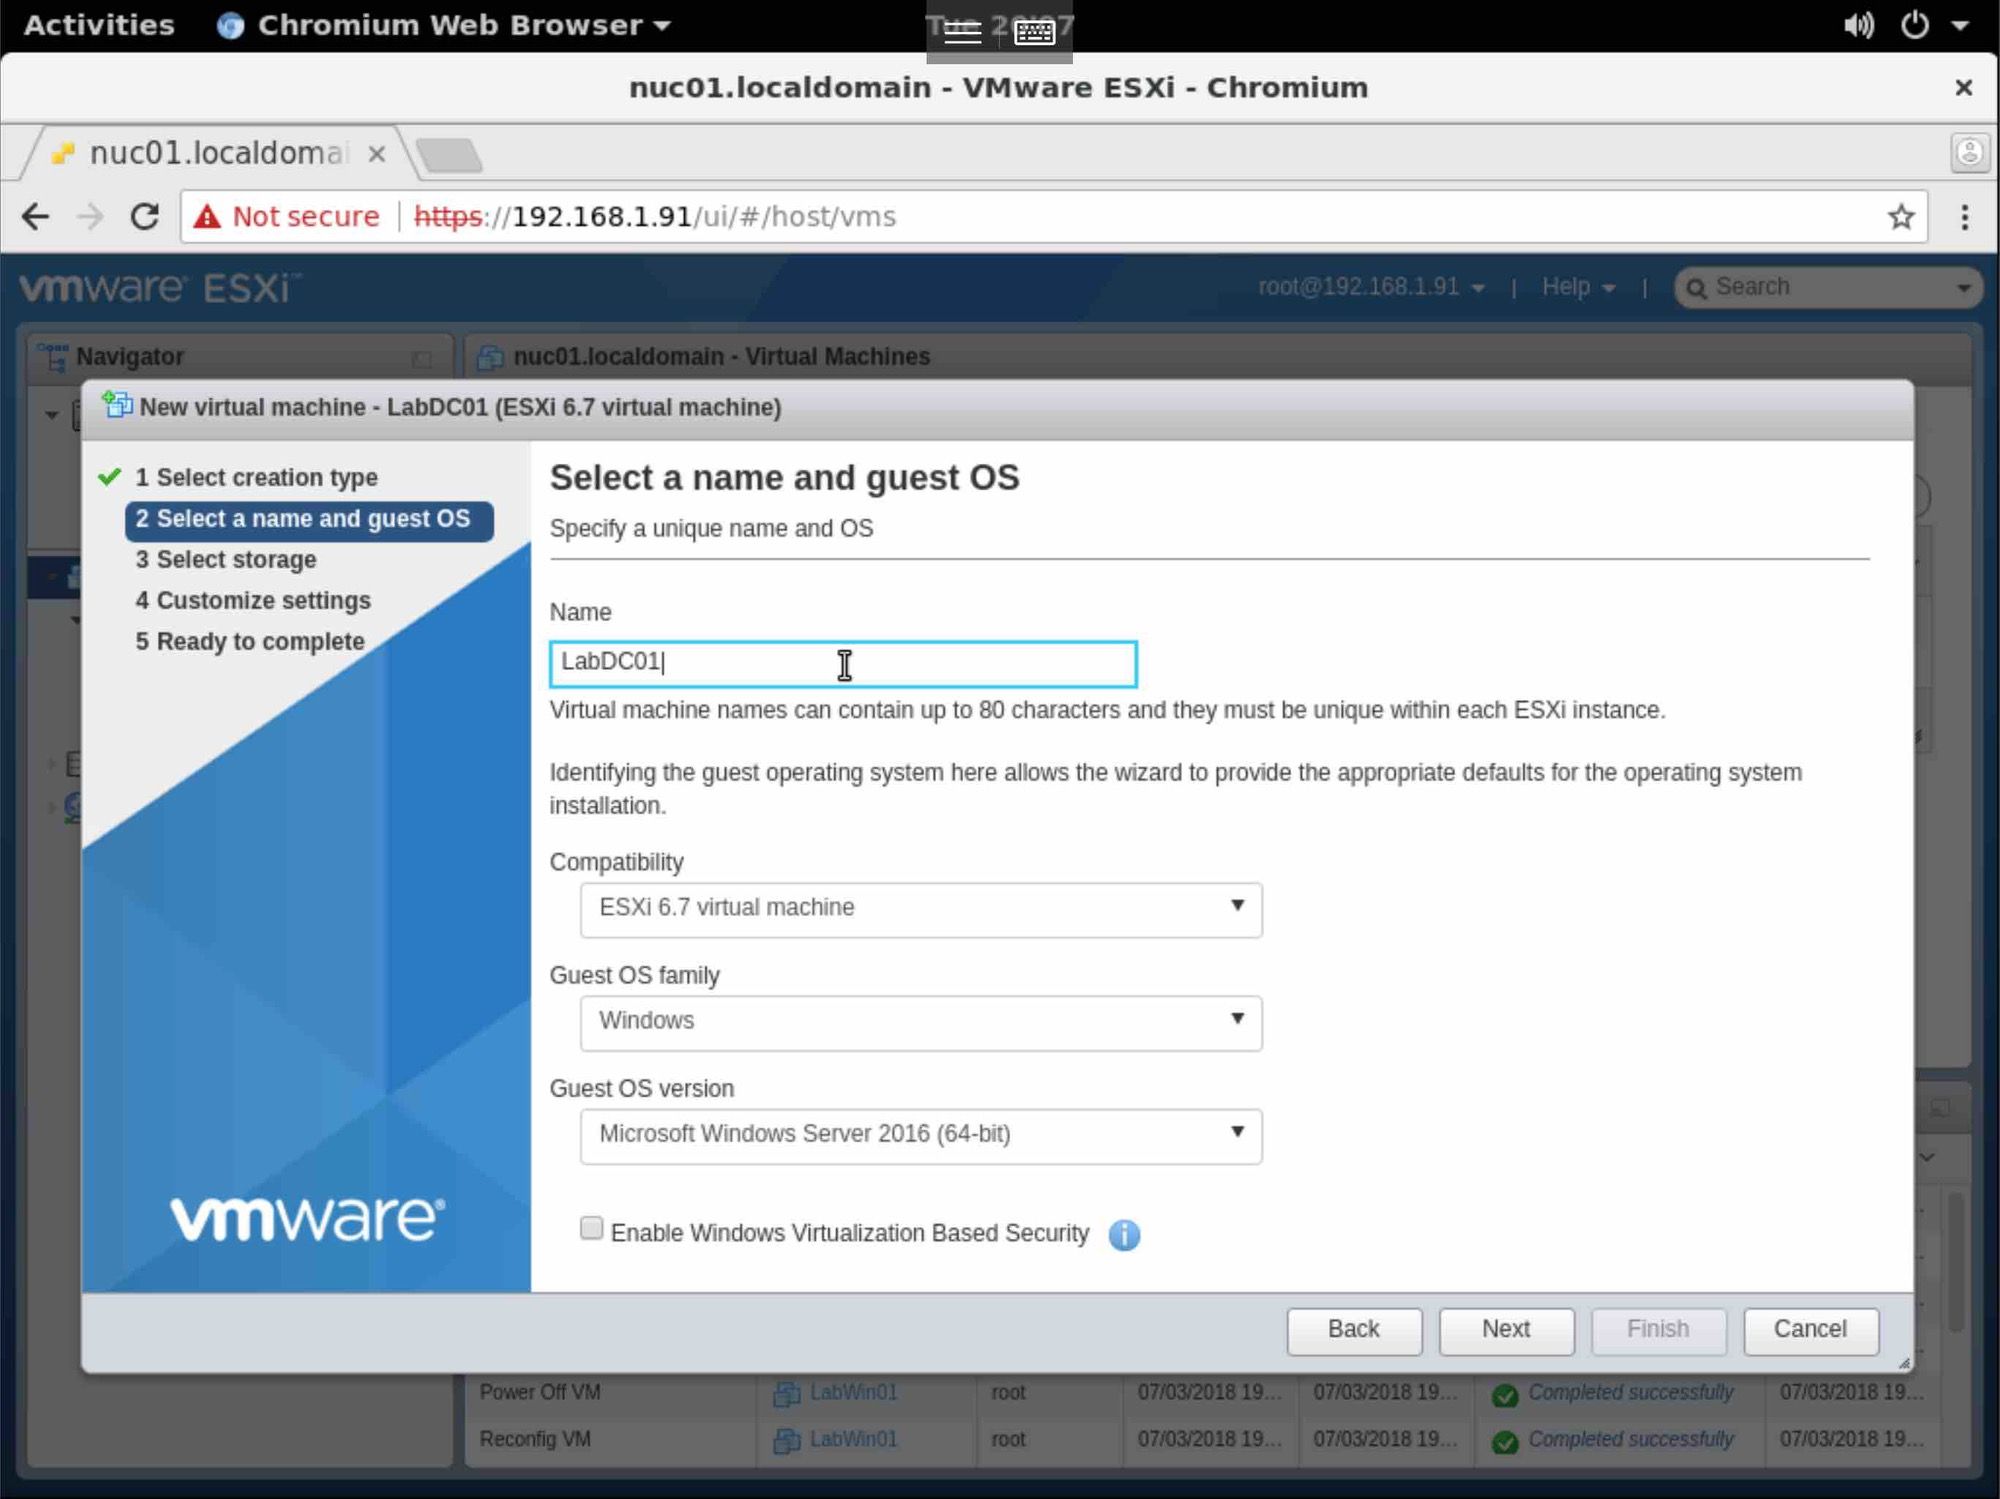
Assign the VM a name, select the compatibility, Guest OS family, Guest version, and click next.
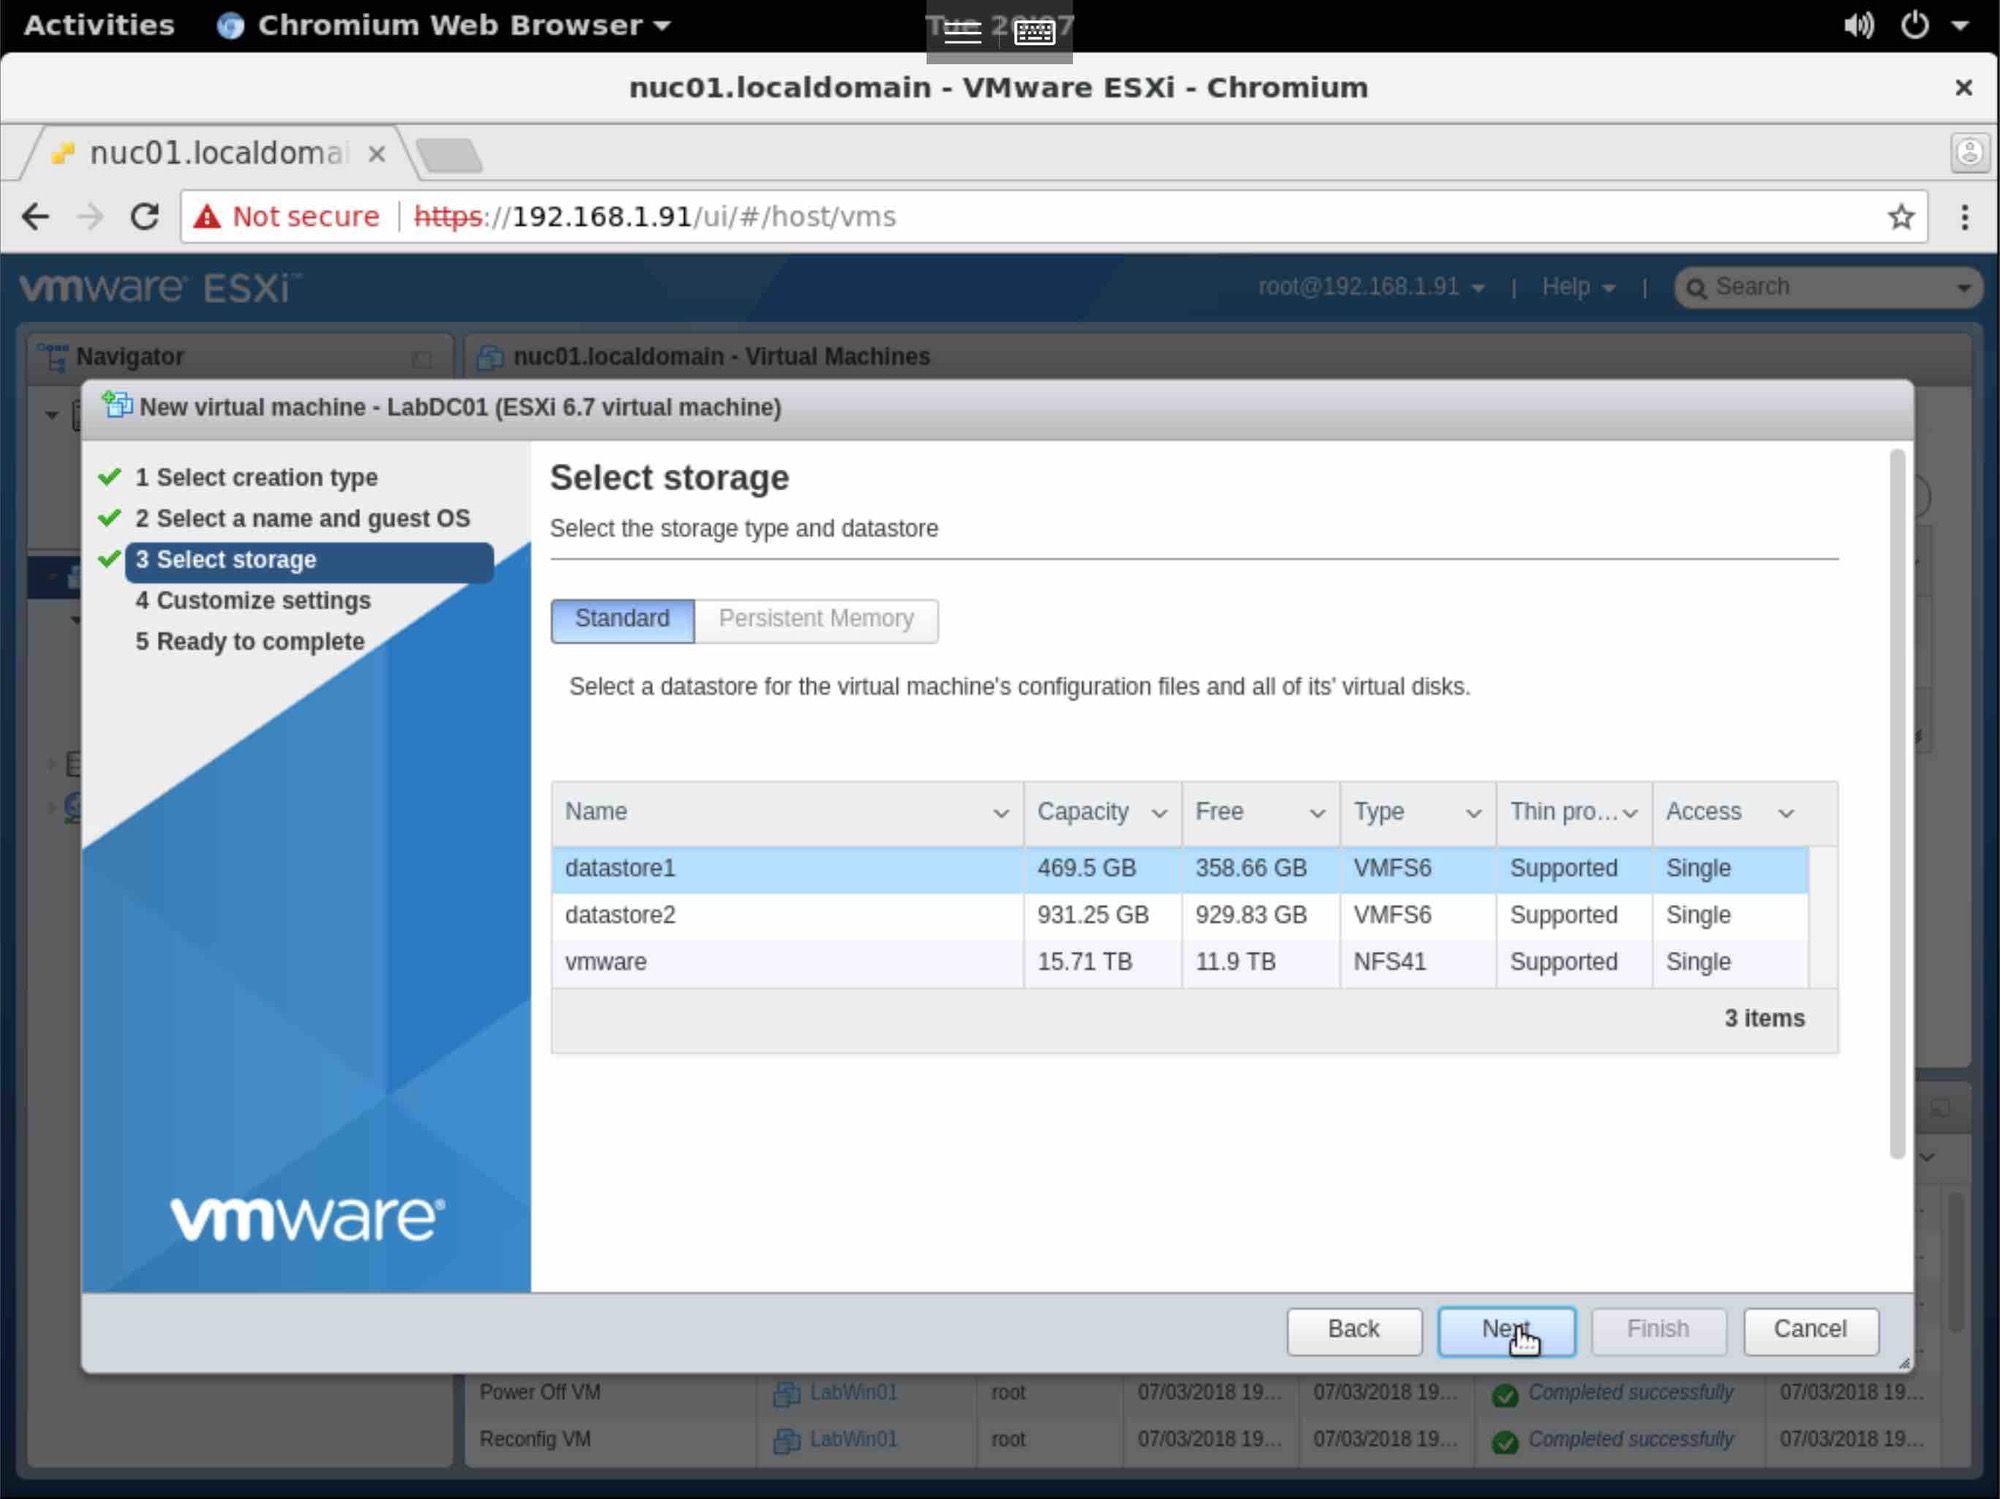
Choose the datastore, to store the virtual machine files.
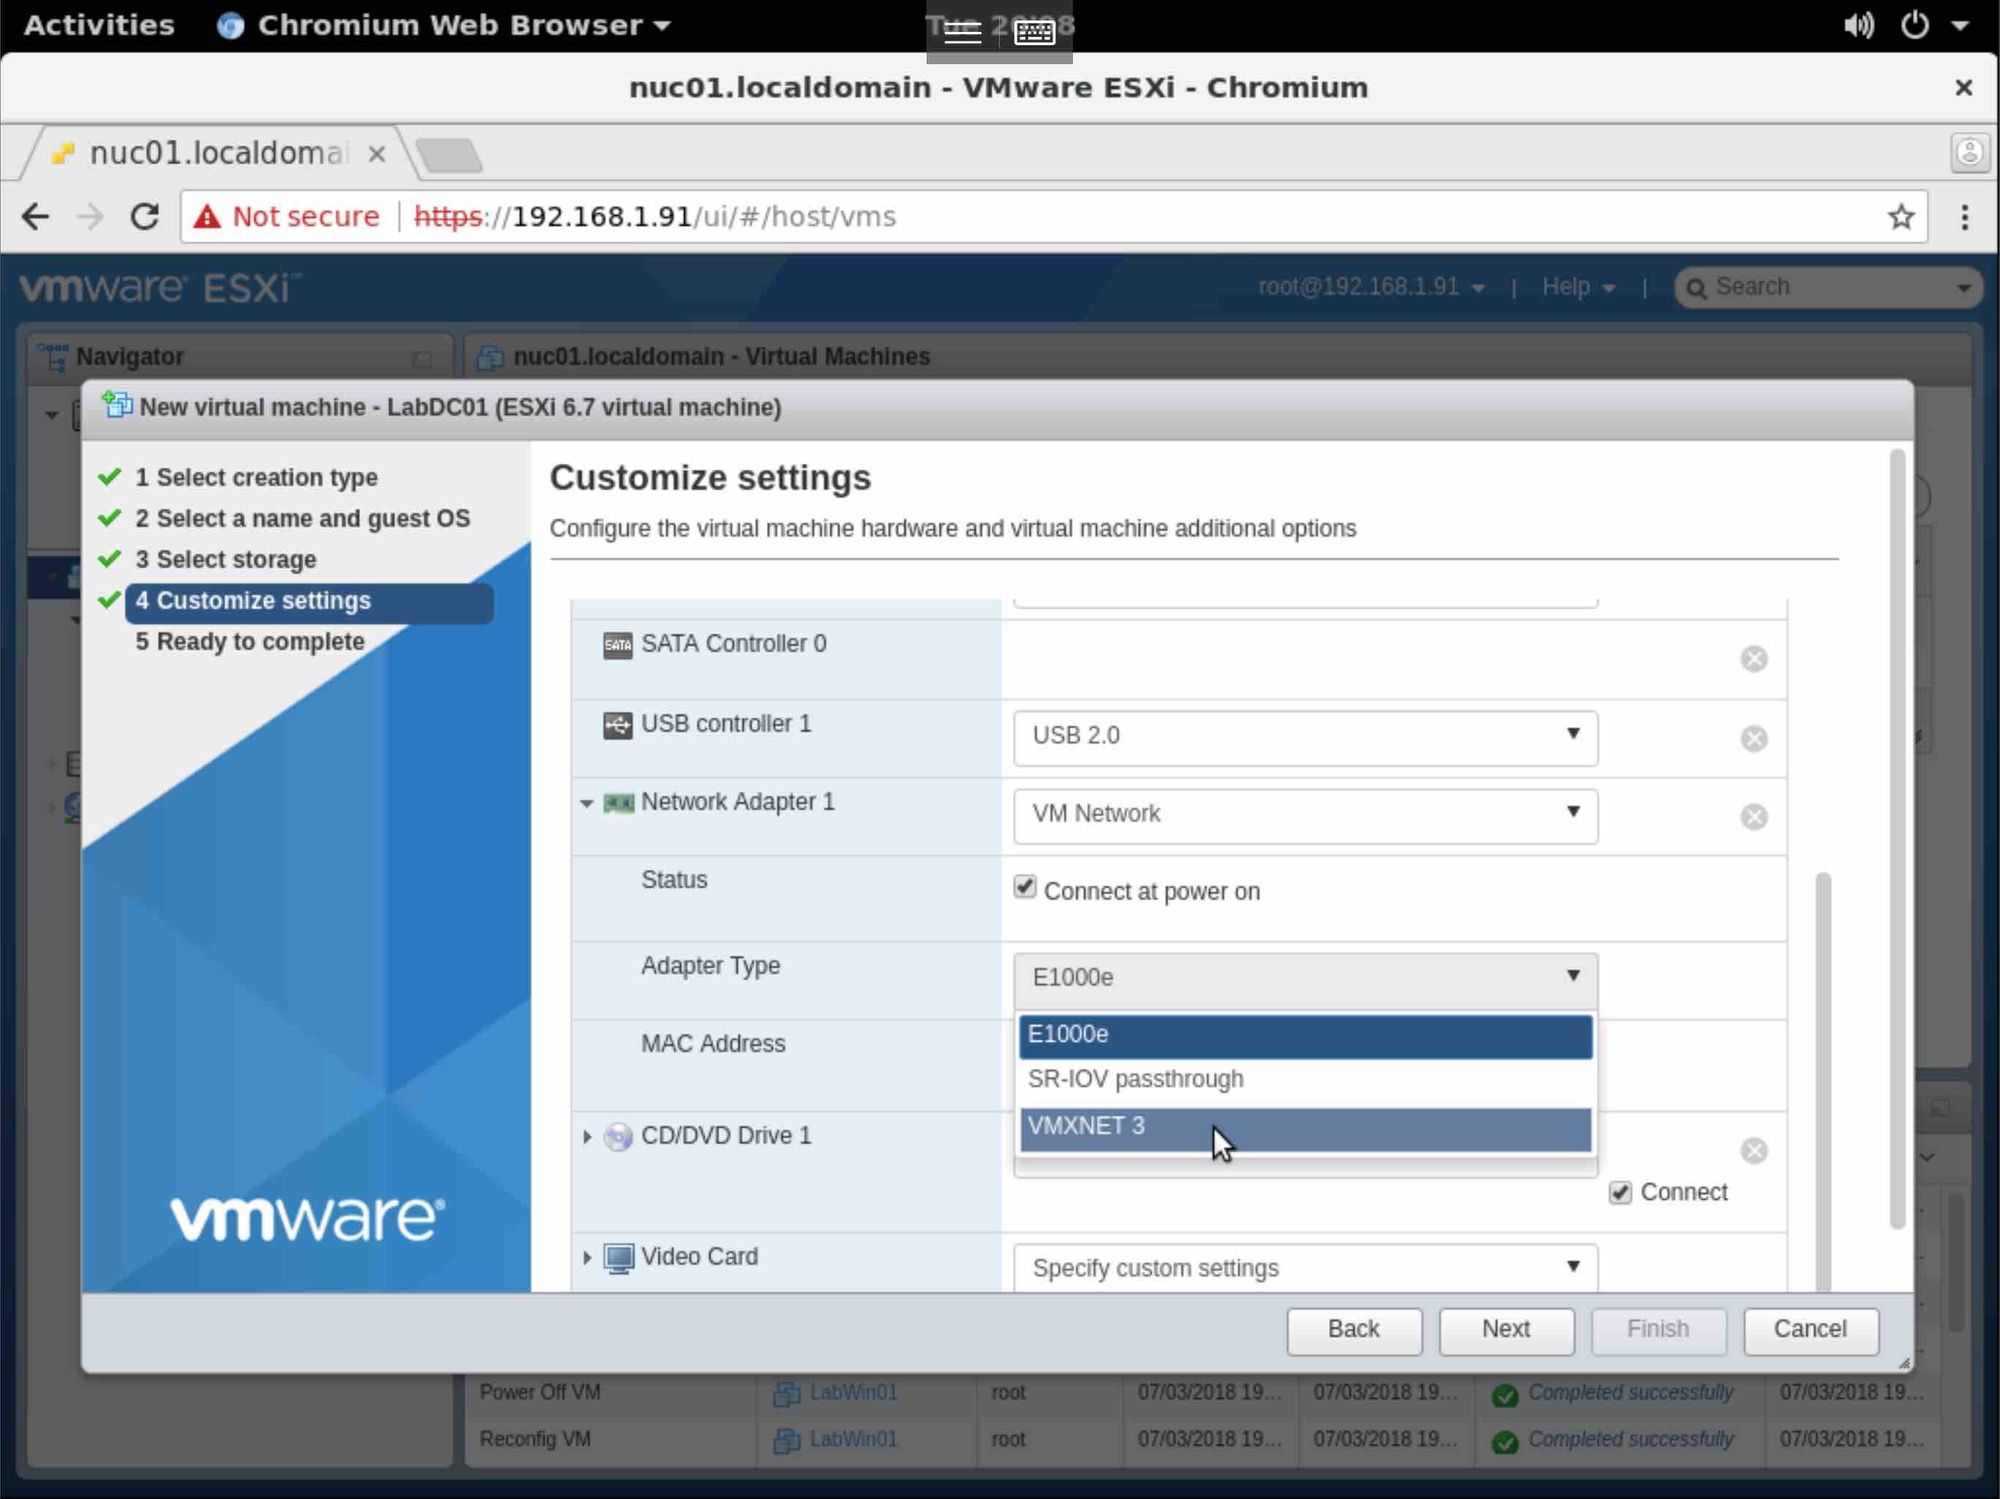
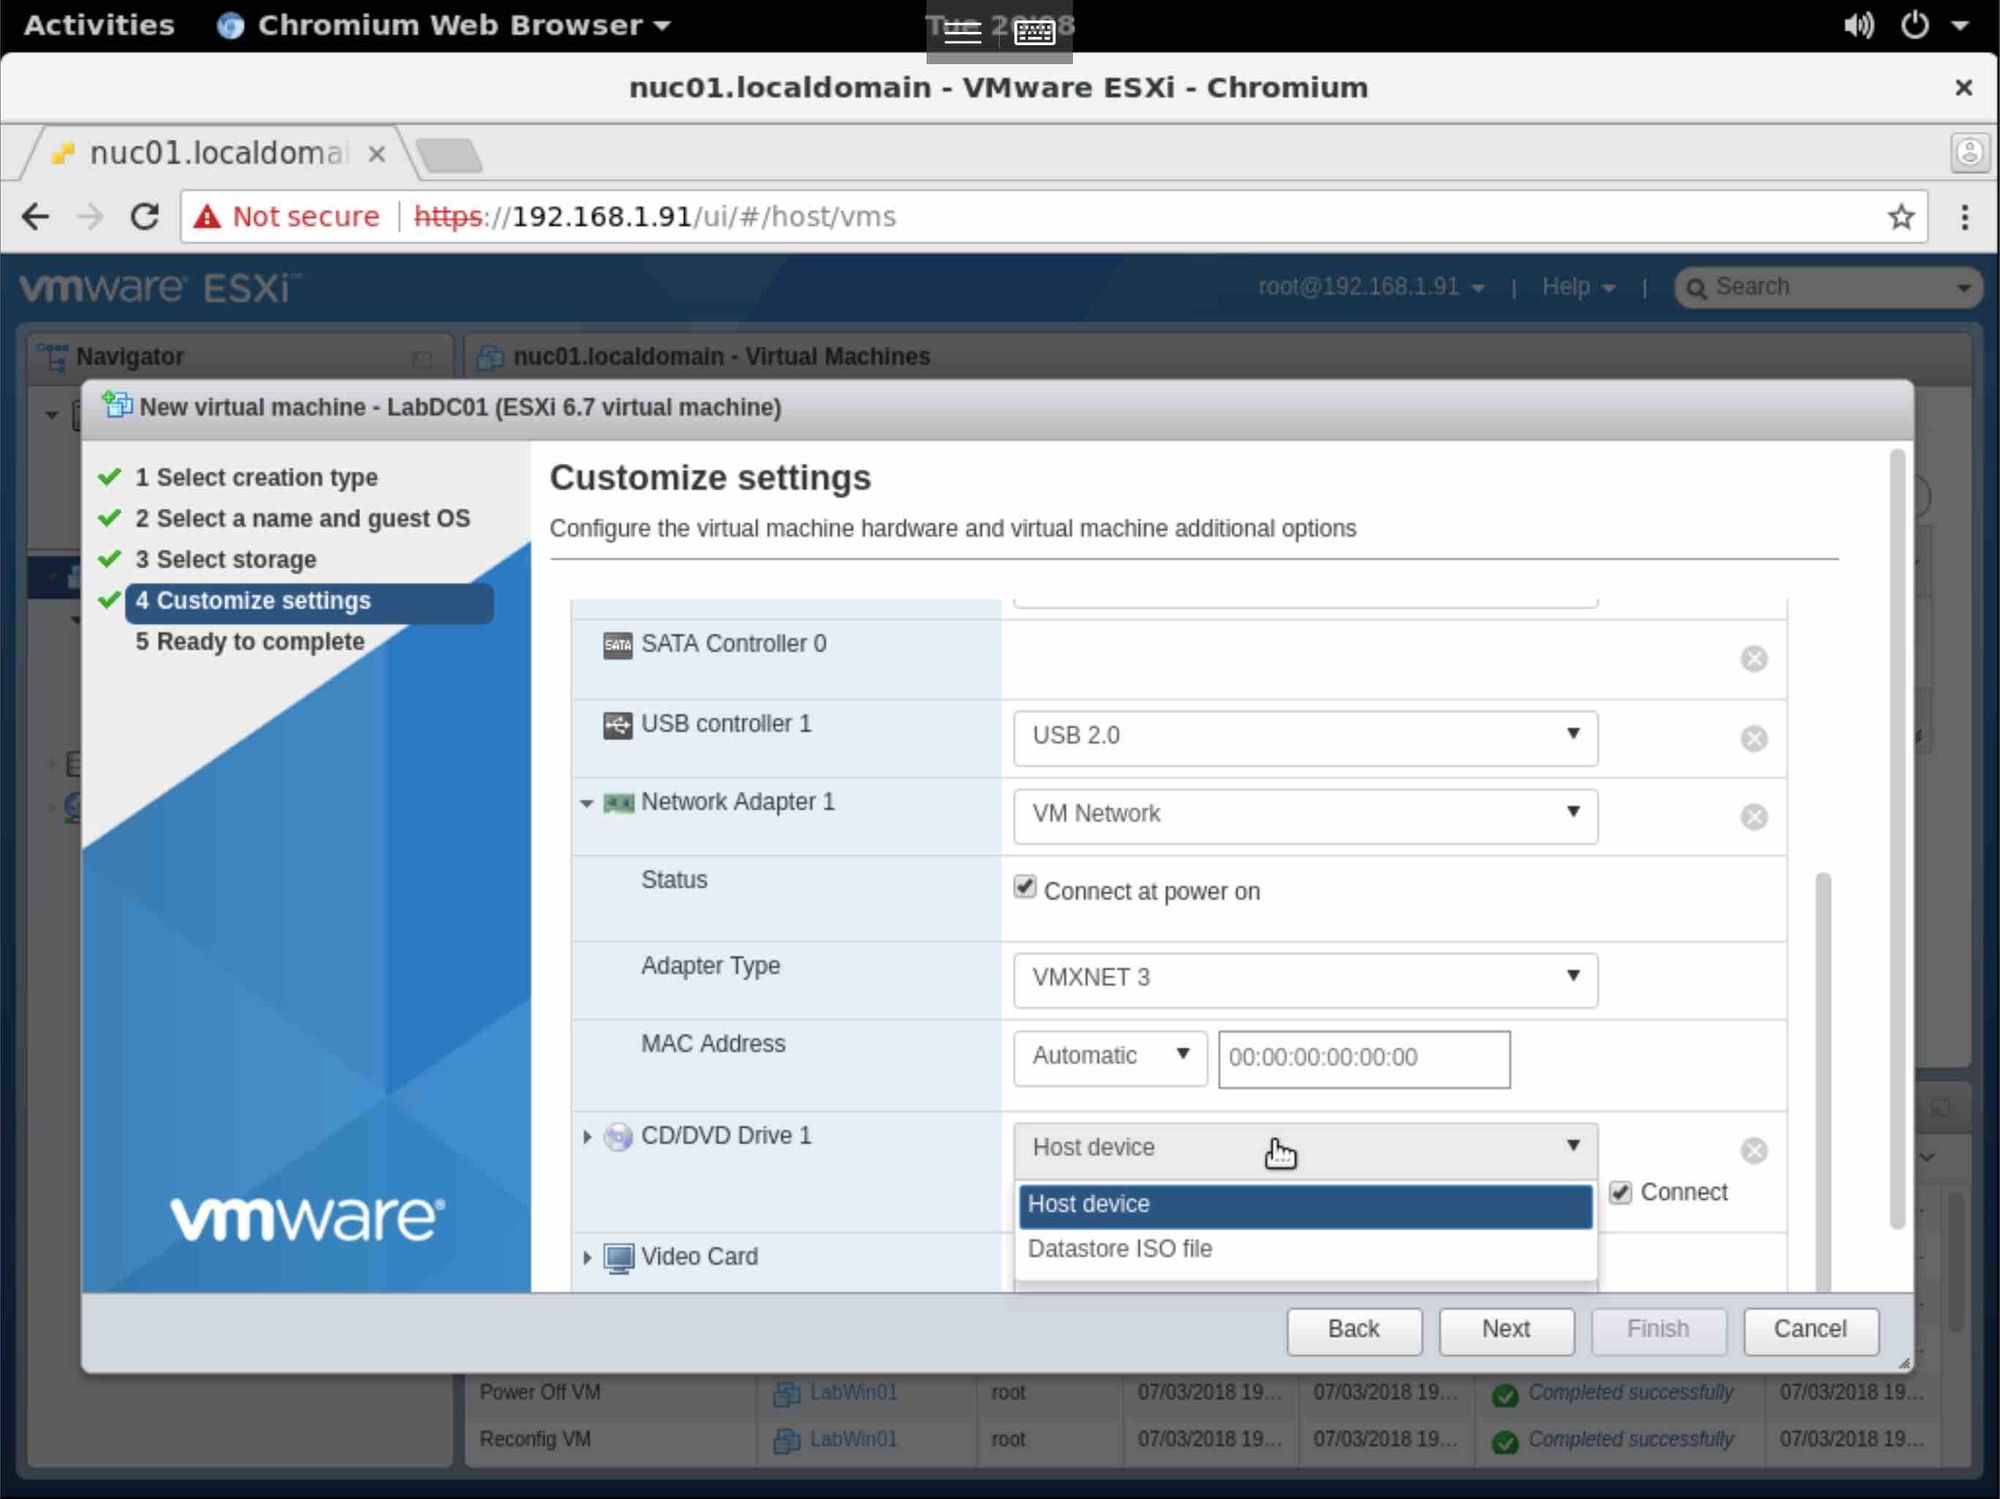
Customize the VM settings as desired. Change the network card to VMX3NET for better performance, and change the CD/DVD to the location of the Microsoft 2016 installation ISO.
Click Finish, to Create the VM

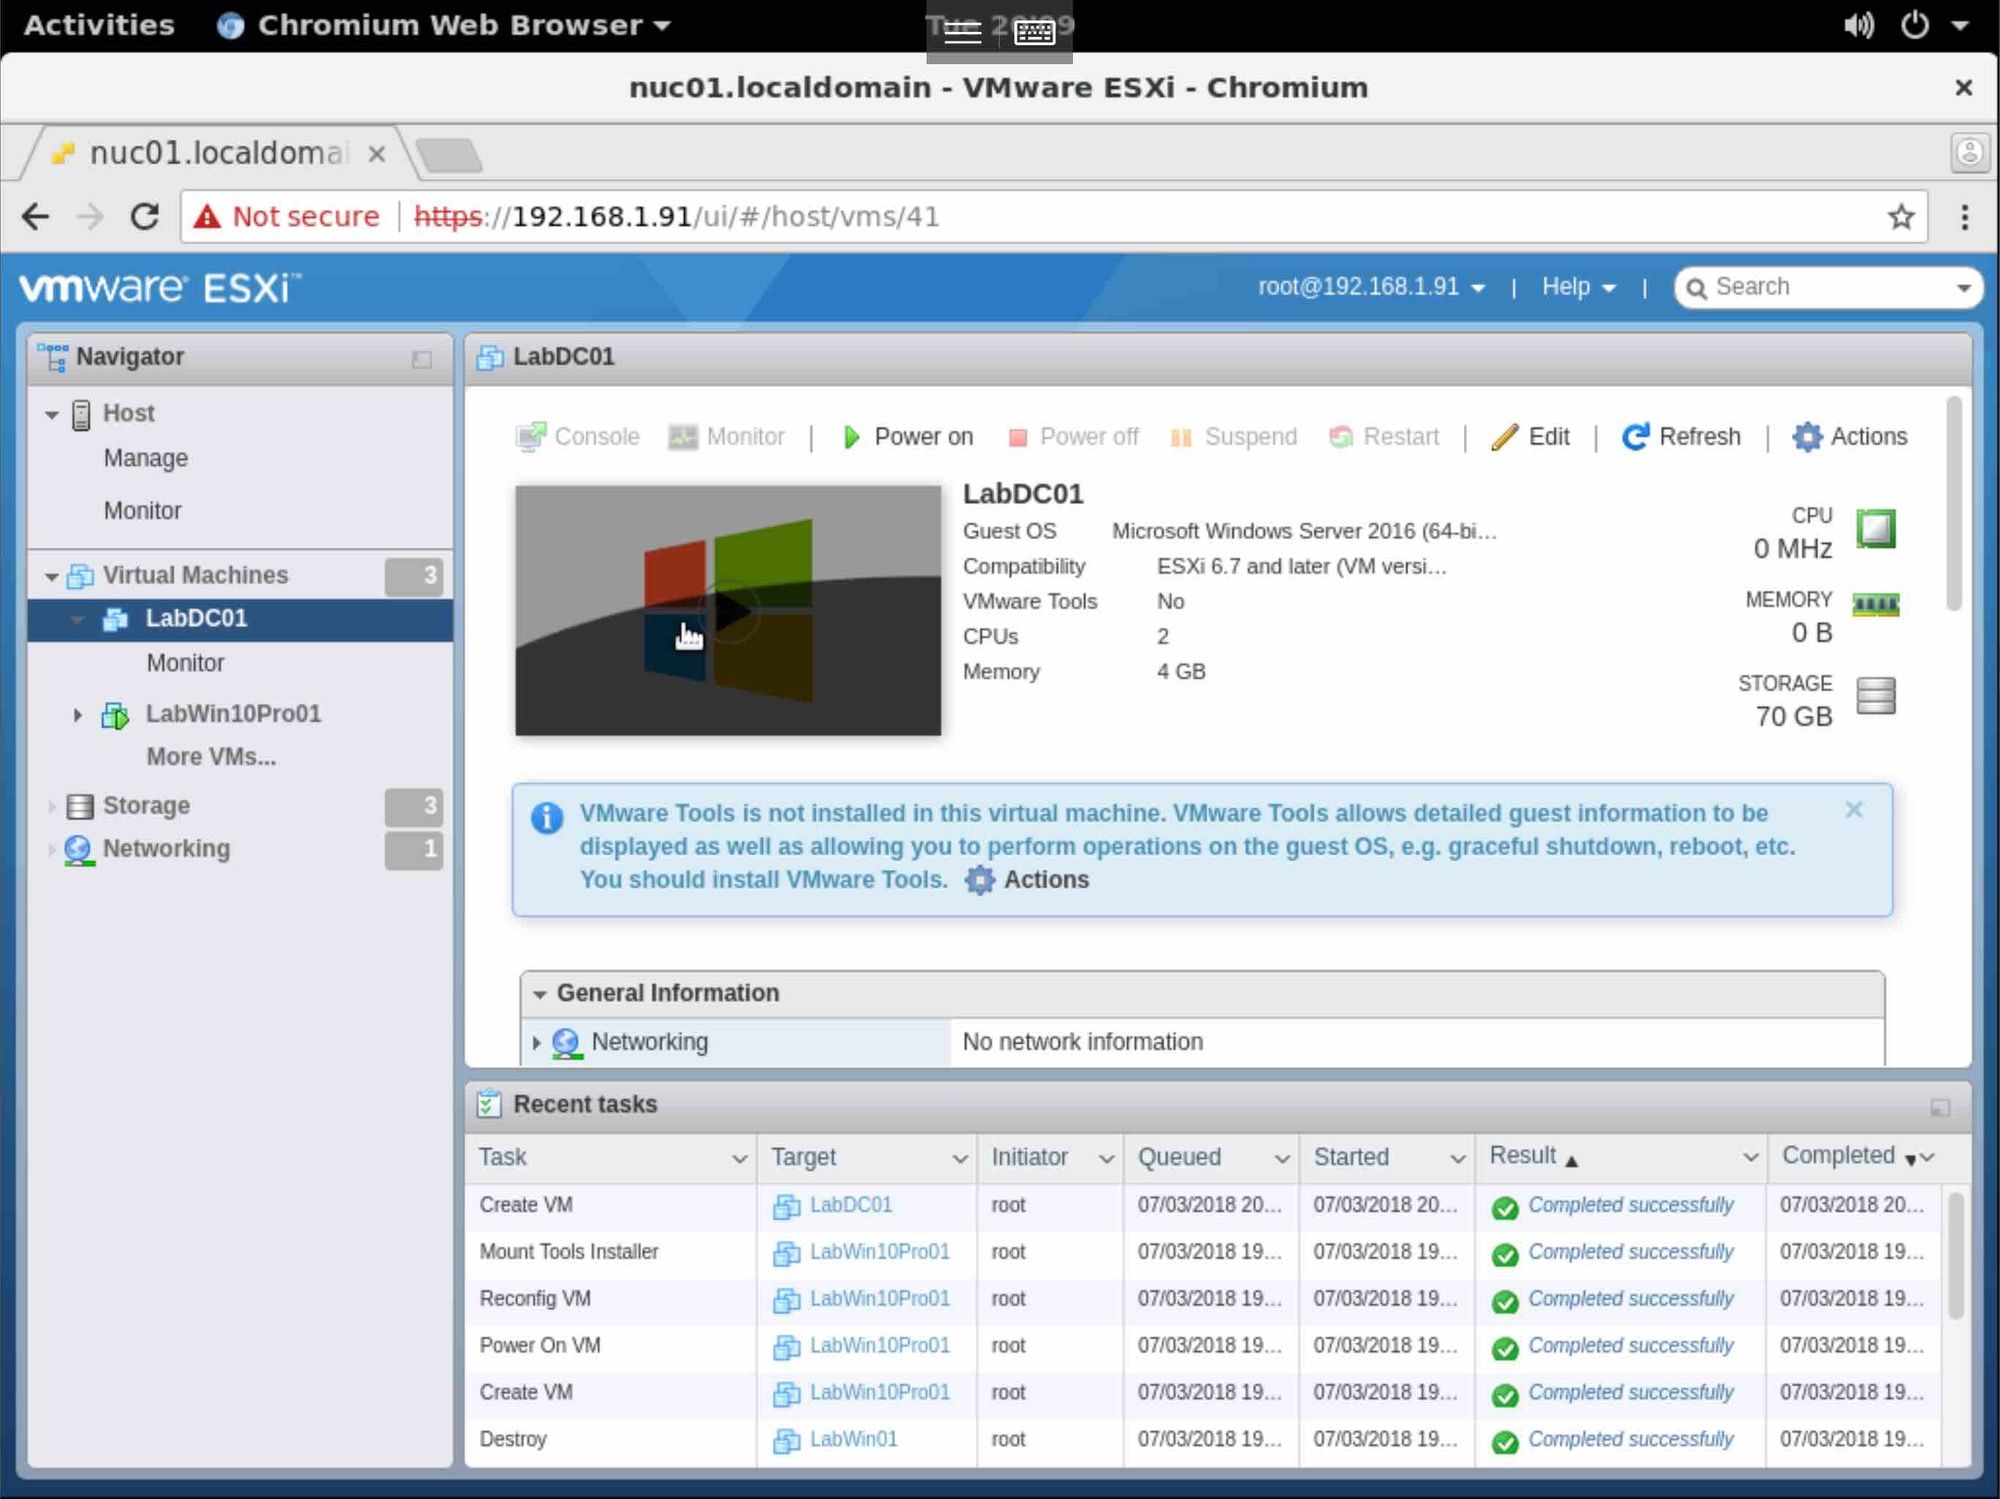
Power On the VM, and click on the remote window, to open a remote console session tab.
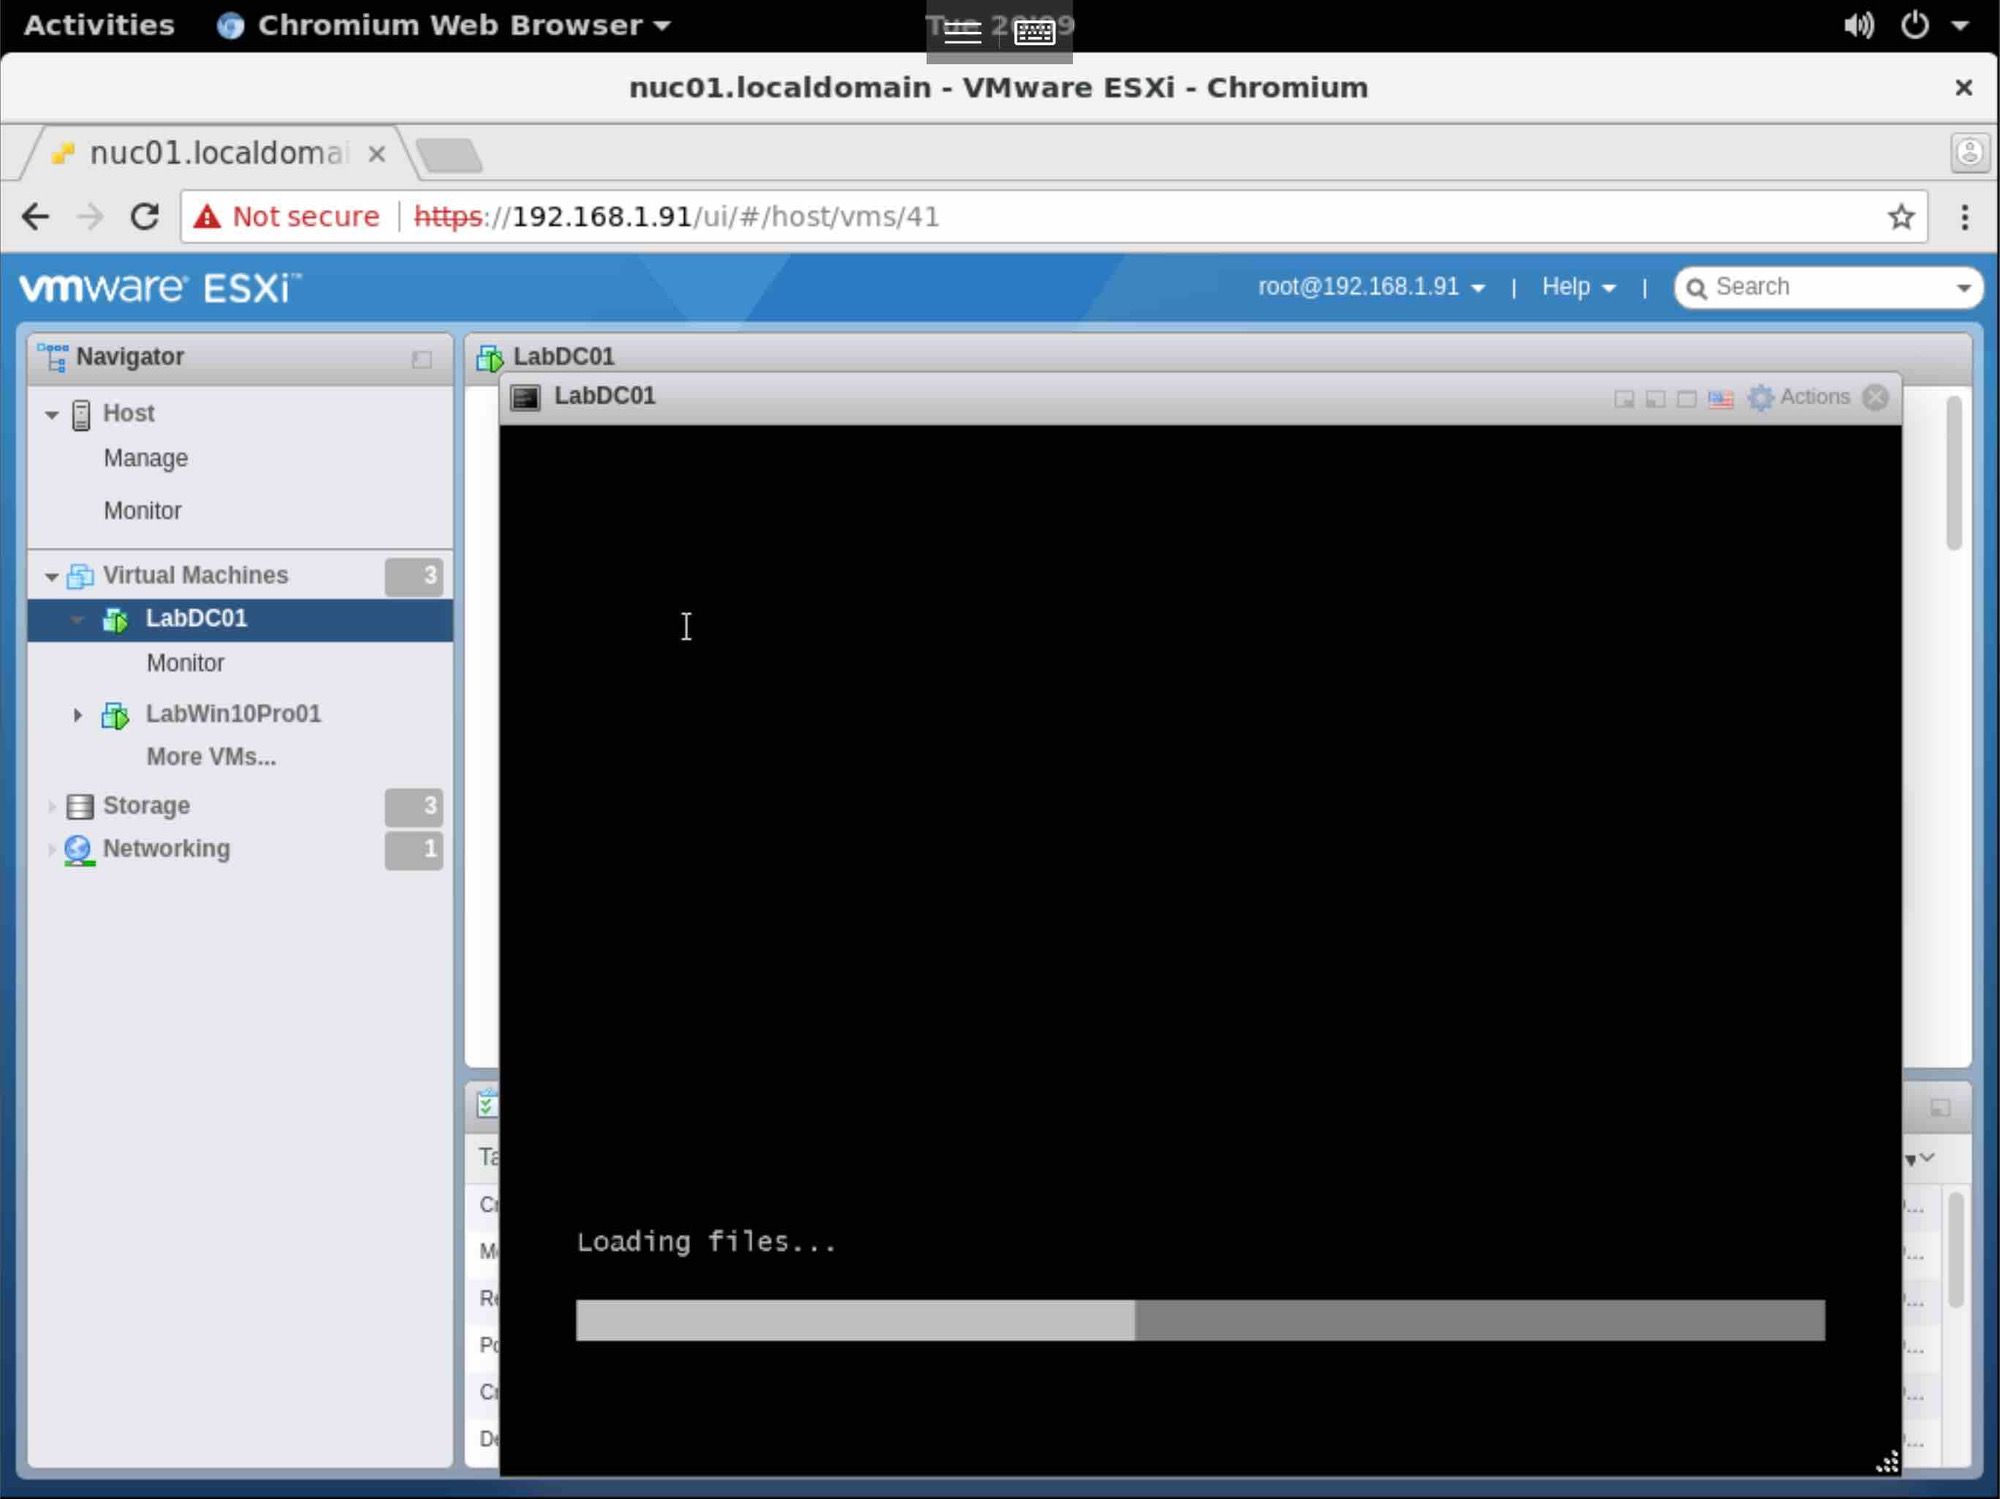
You should see the VM boot off the Windows 2016 Install ISO. Press any key to boot from the CD

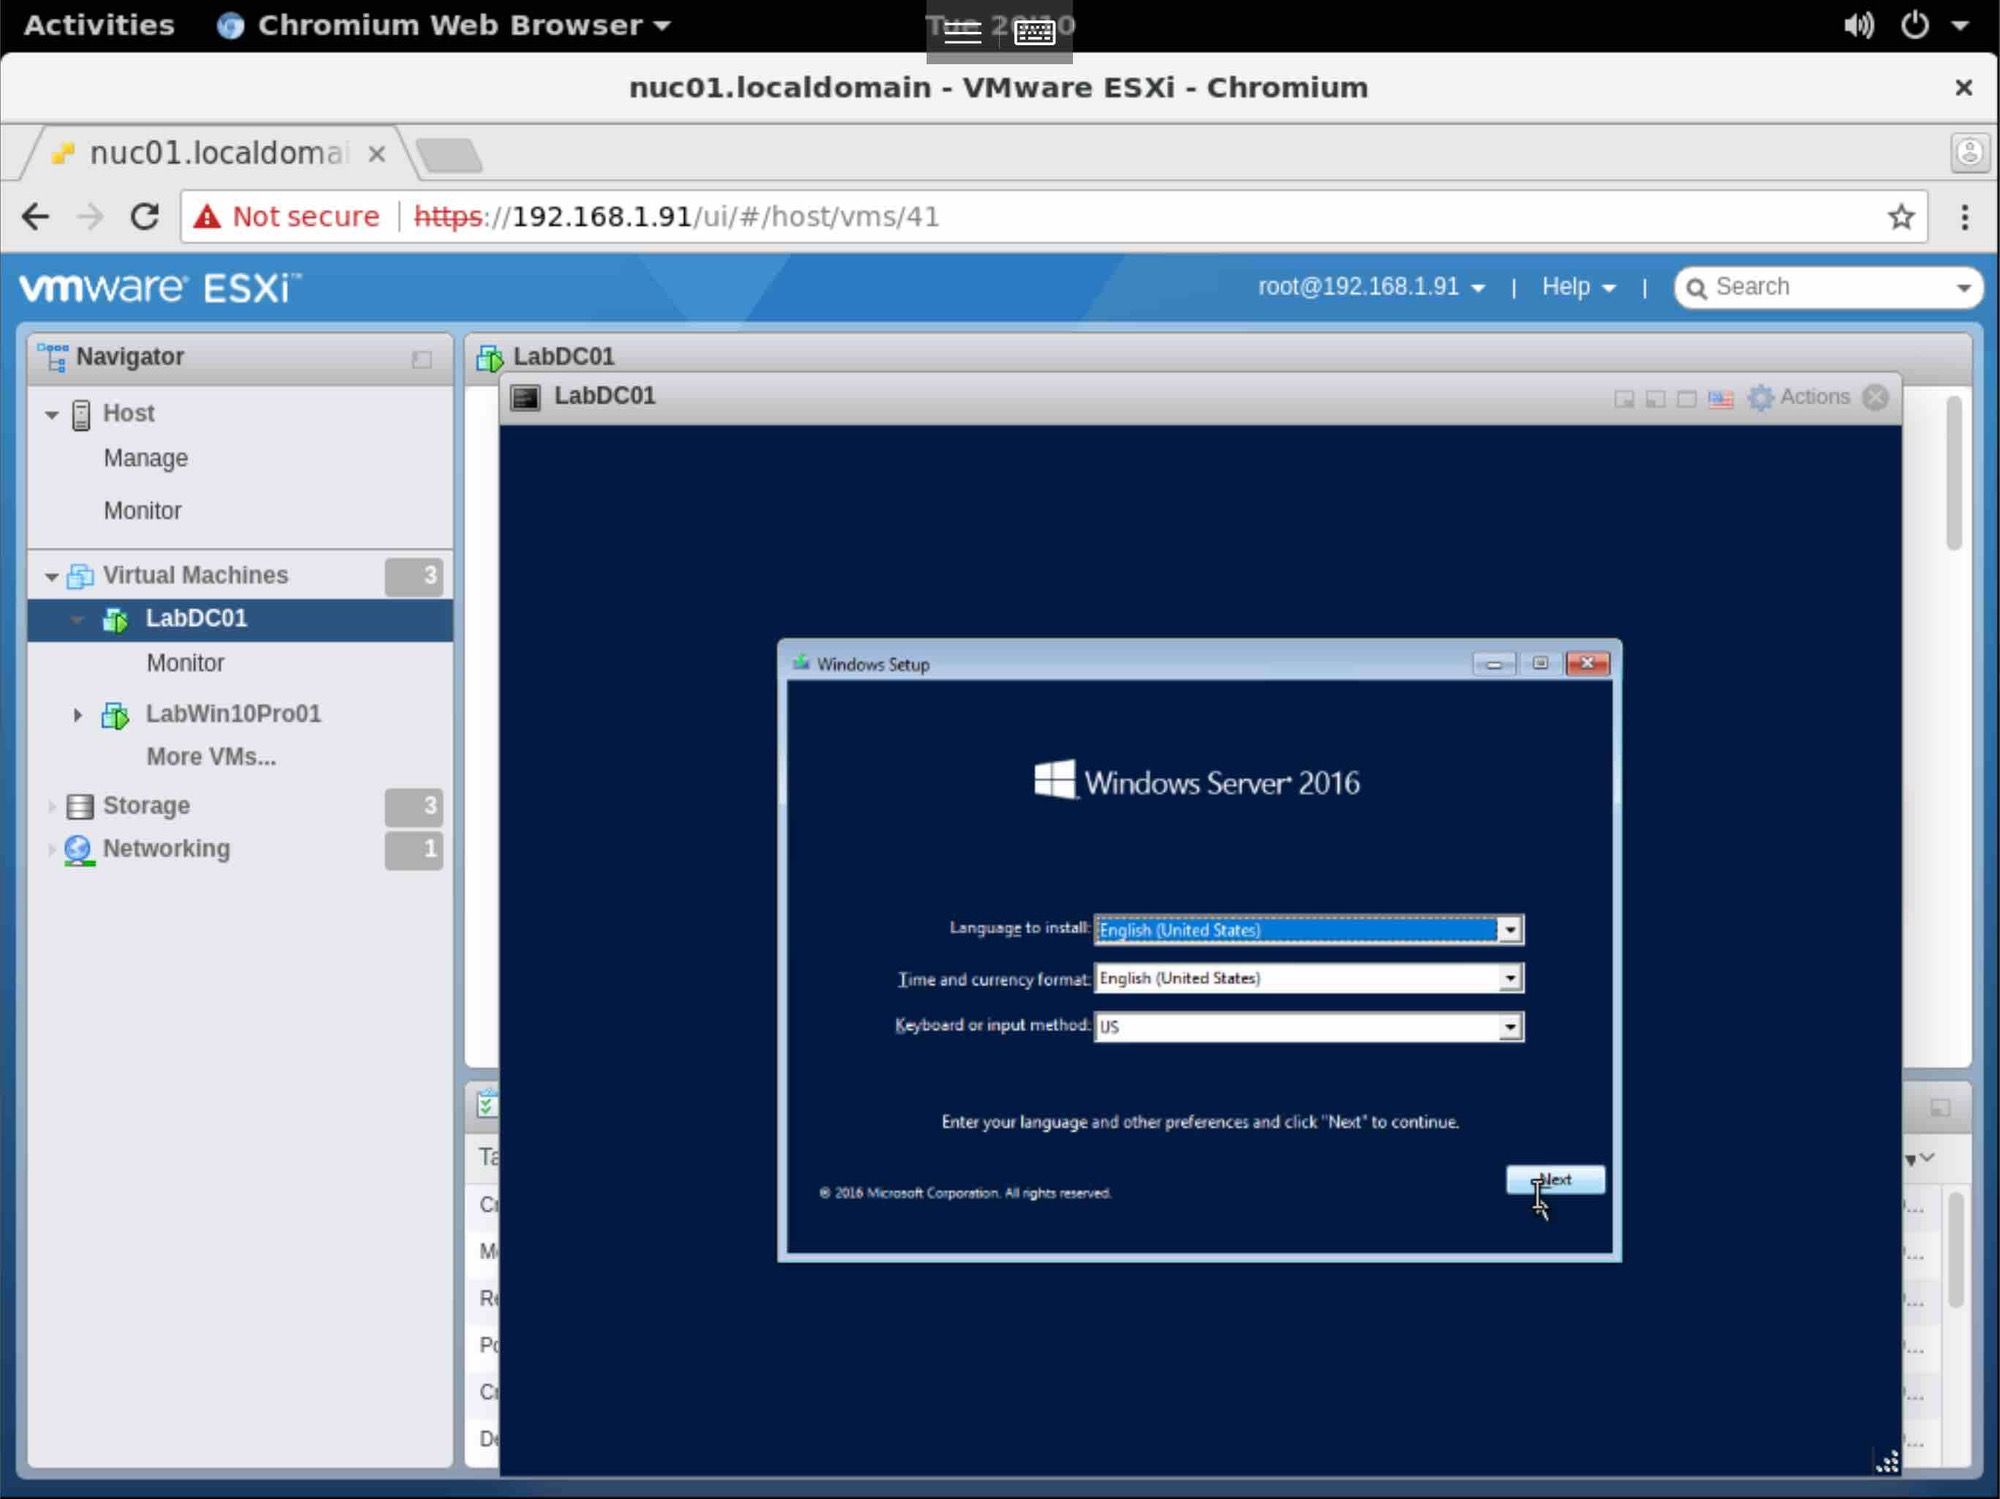
Select Language, Time/Currency format, Keyboard Layout, Click Next.
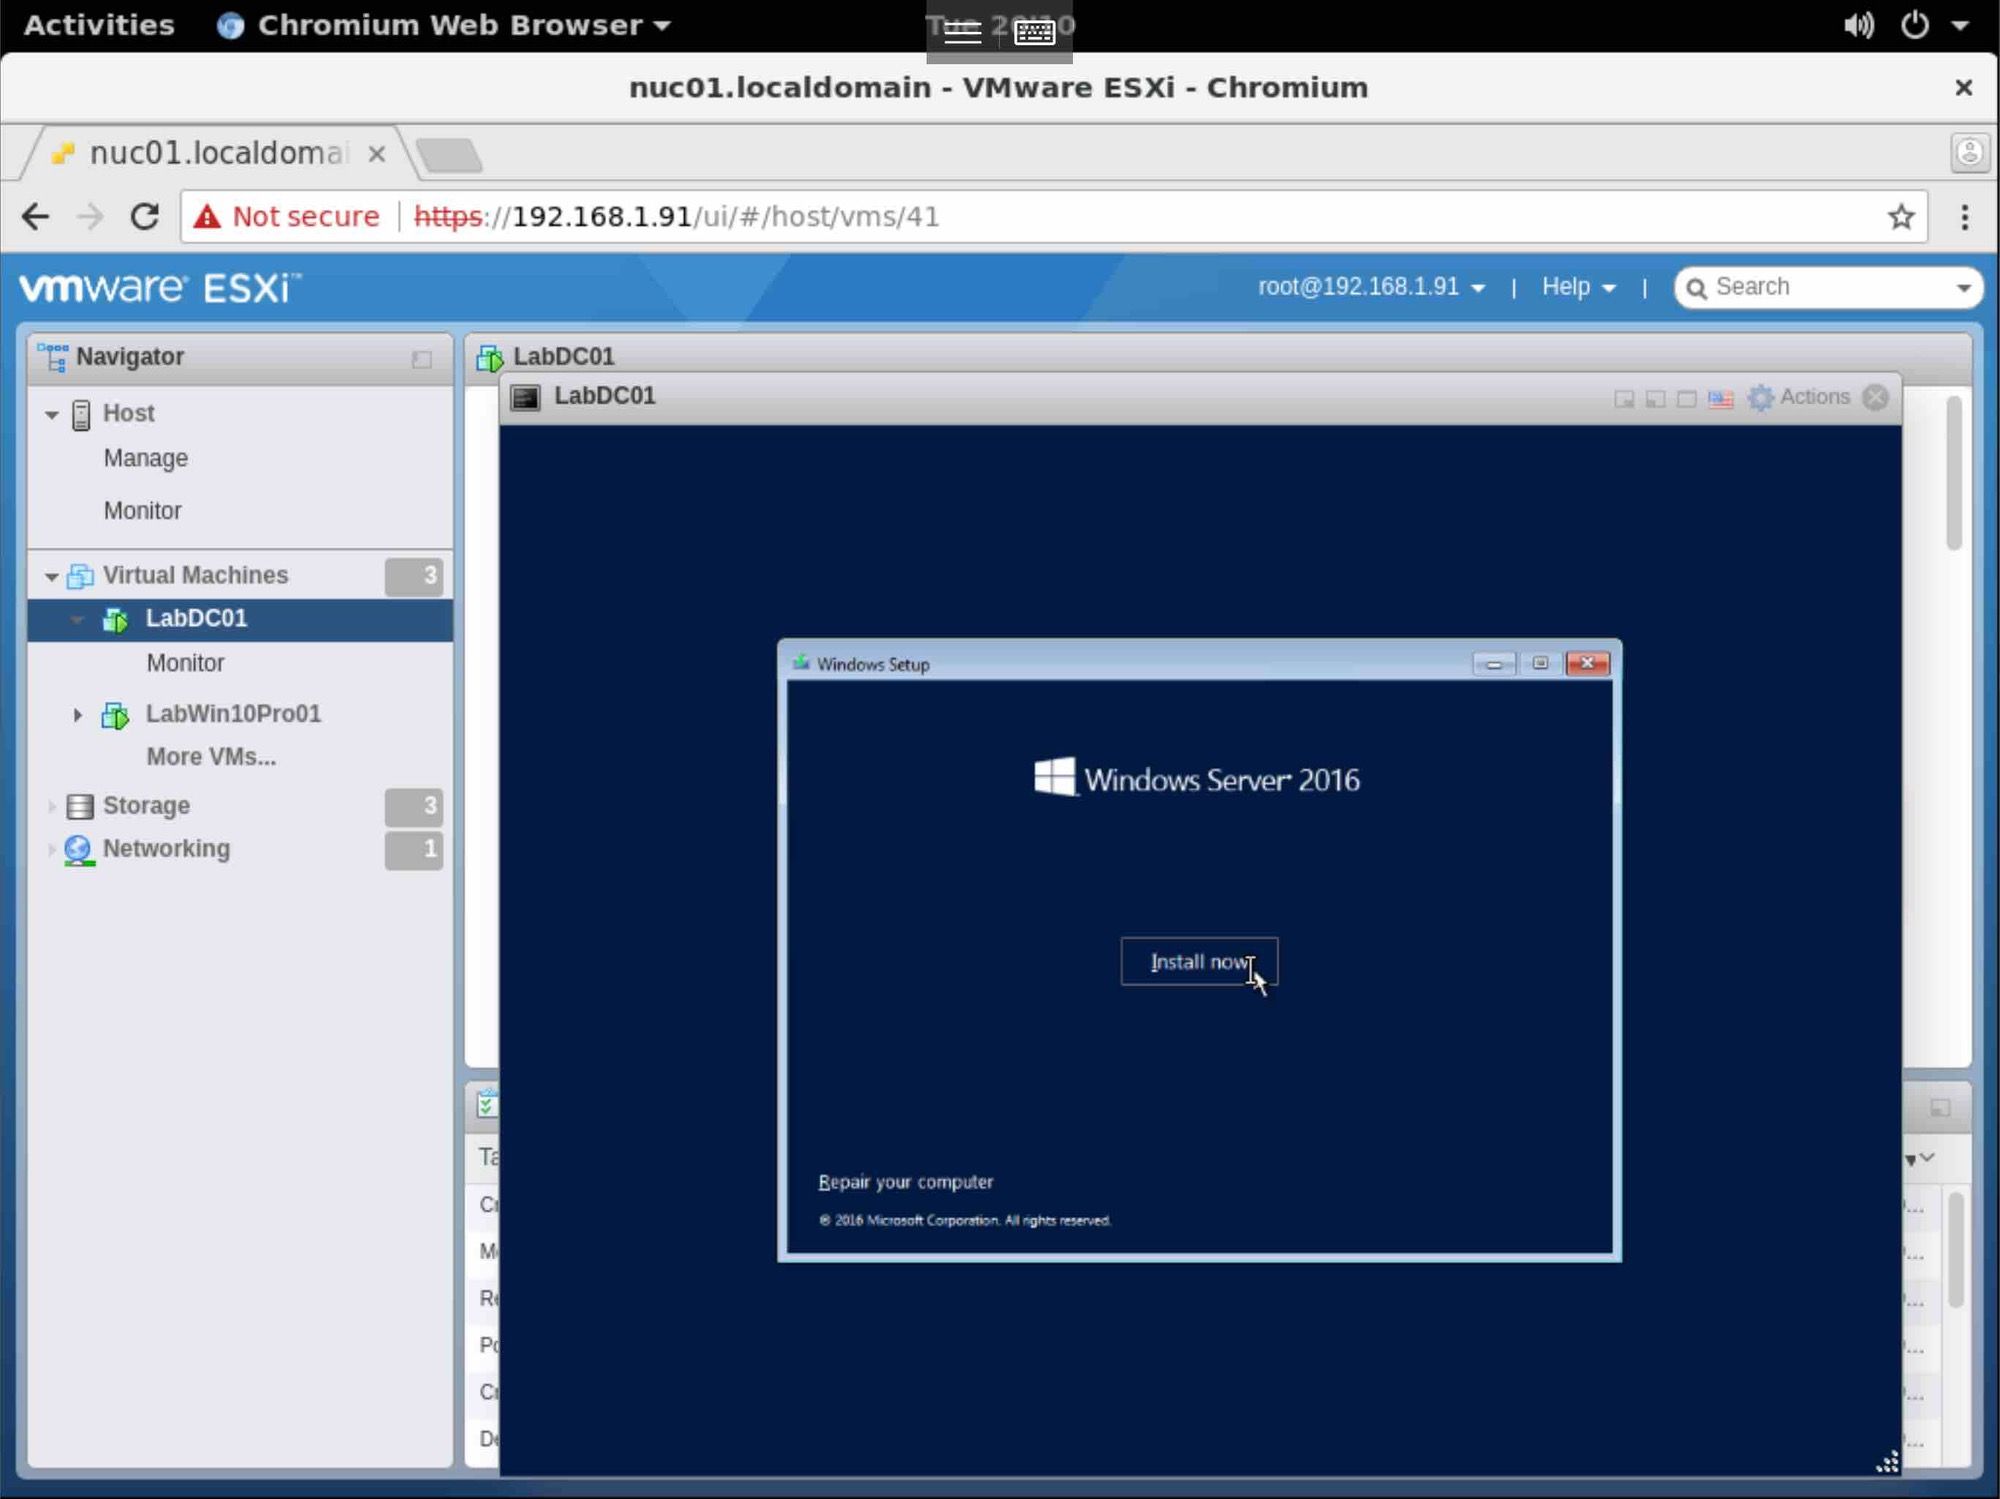
Click Install Now.
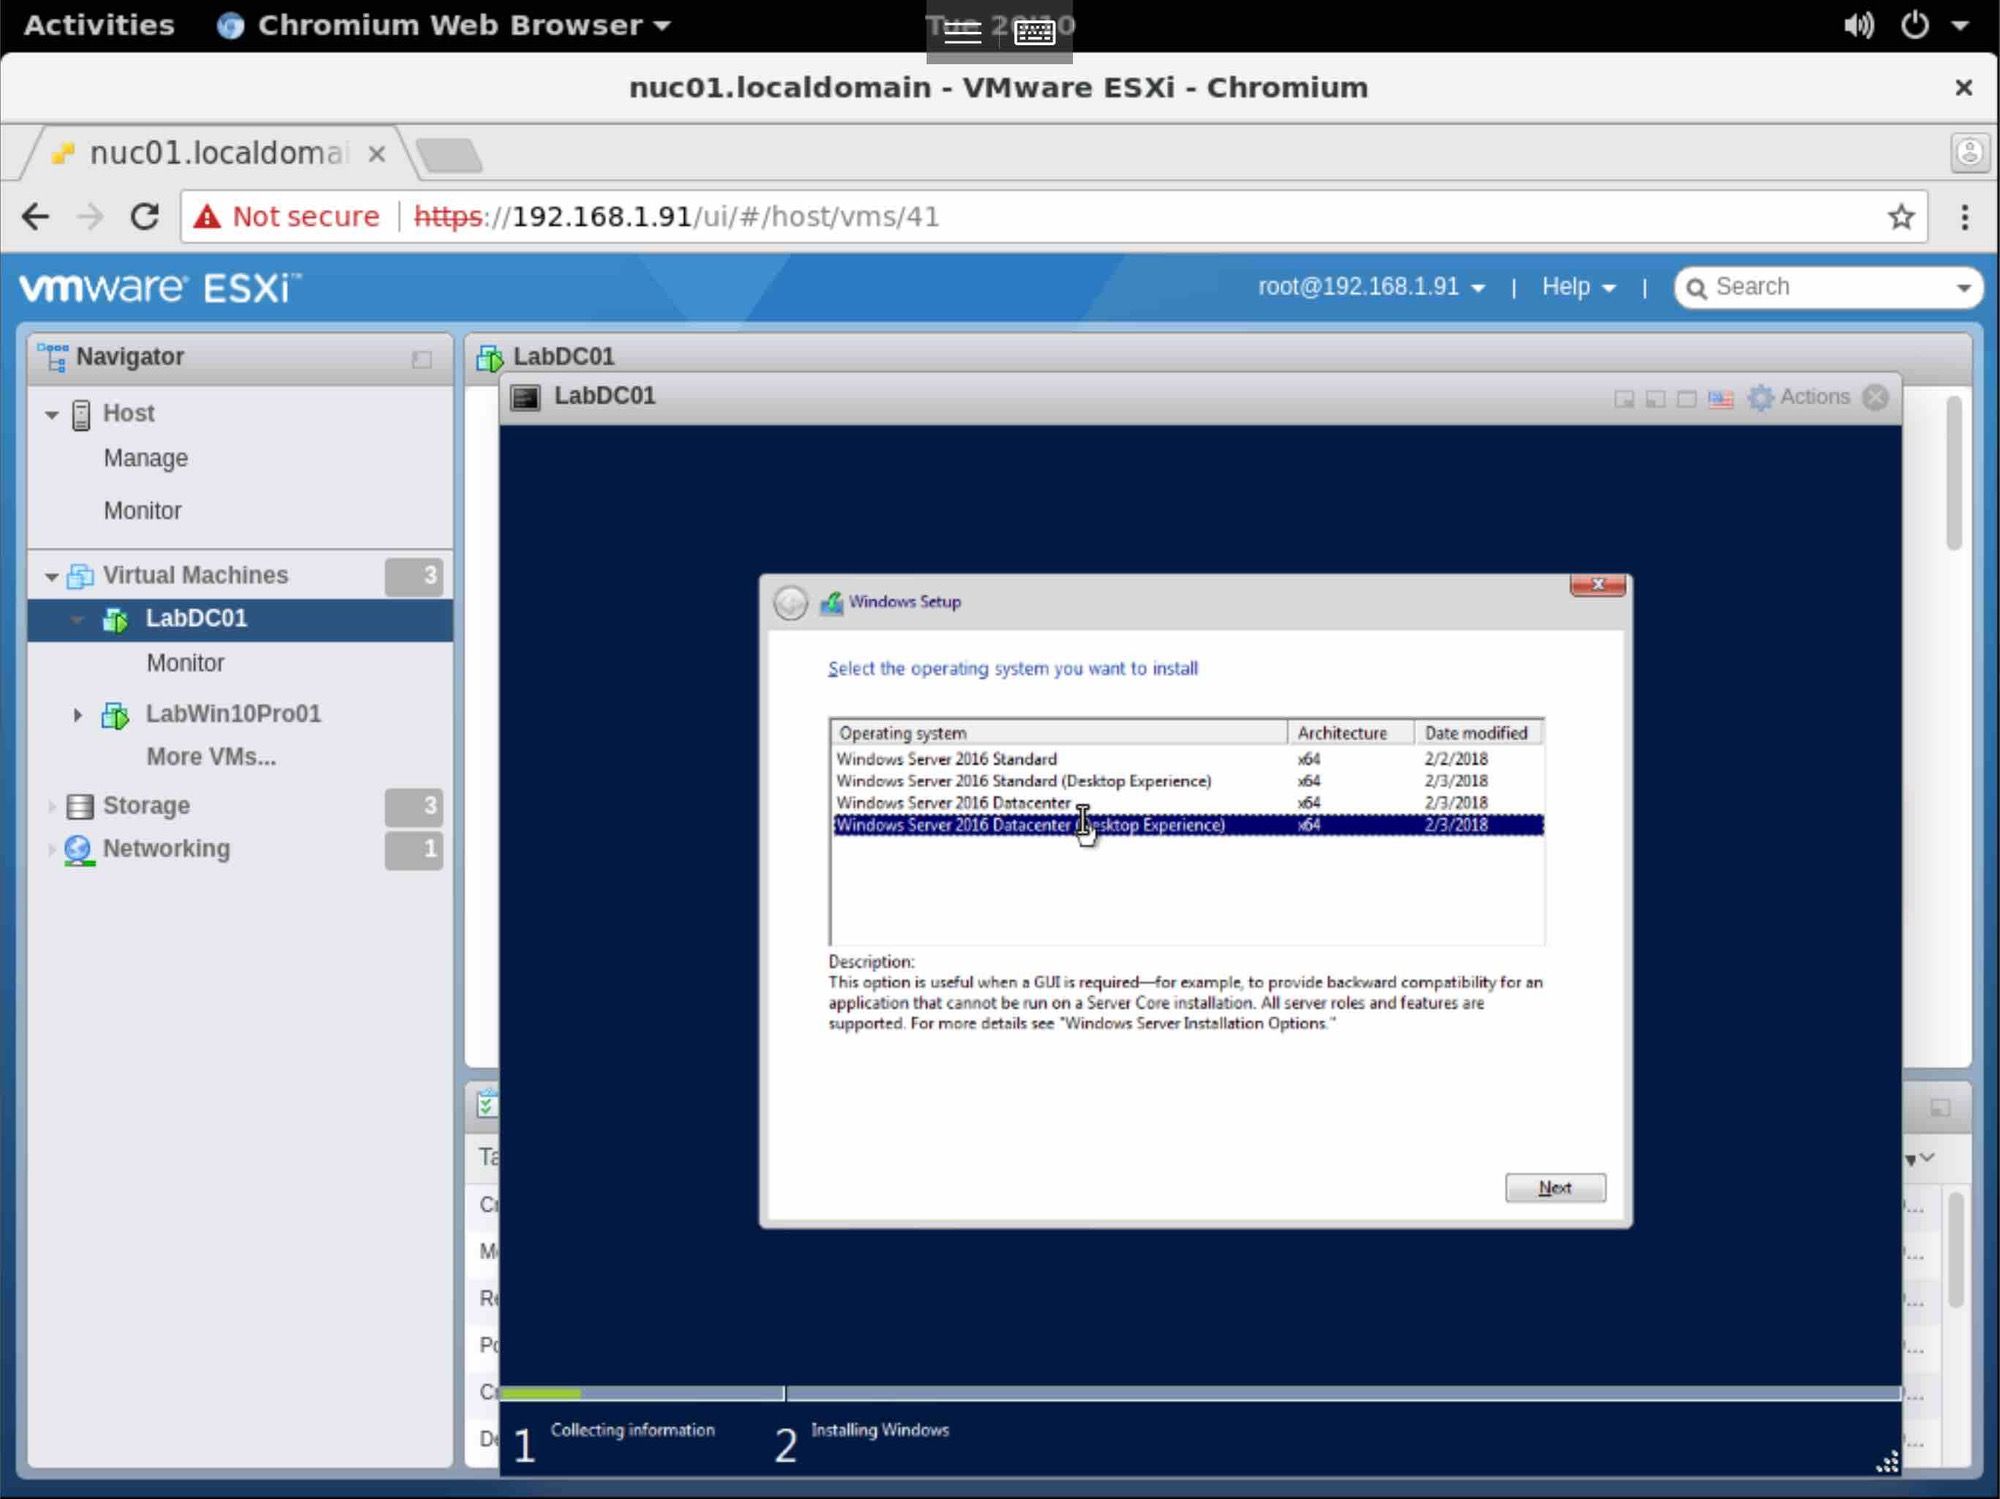
Select the edition of 2016 Server to install, Standard or Datacenter. Choose Desktop Experience for a GUI desktop, else it’s Server Core.
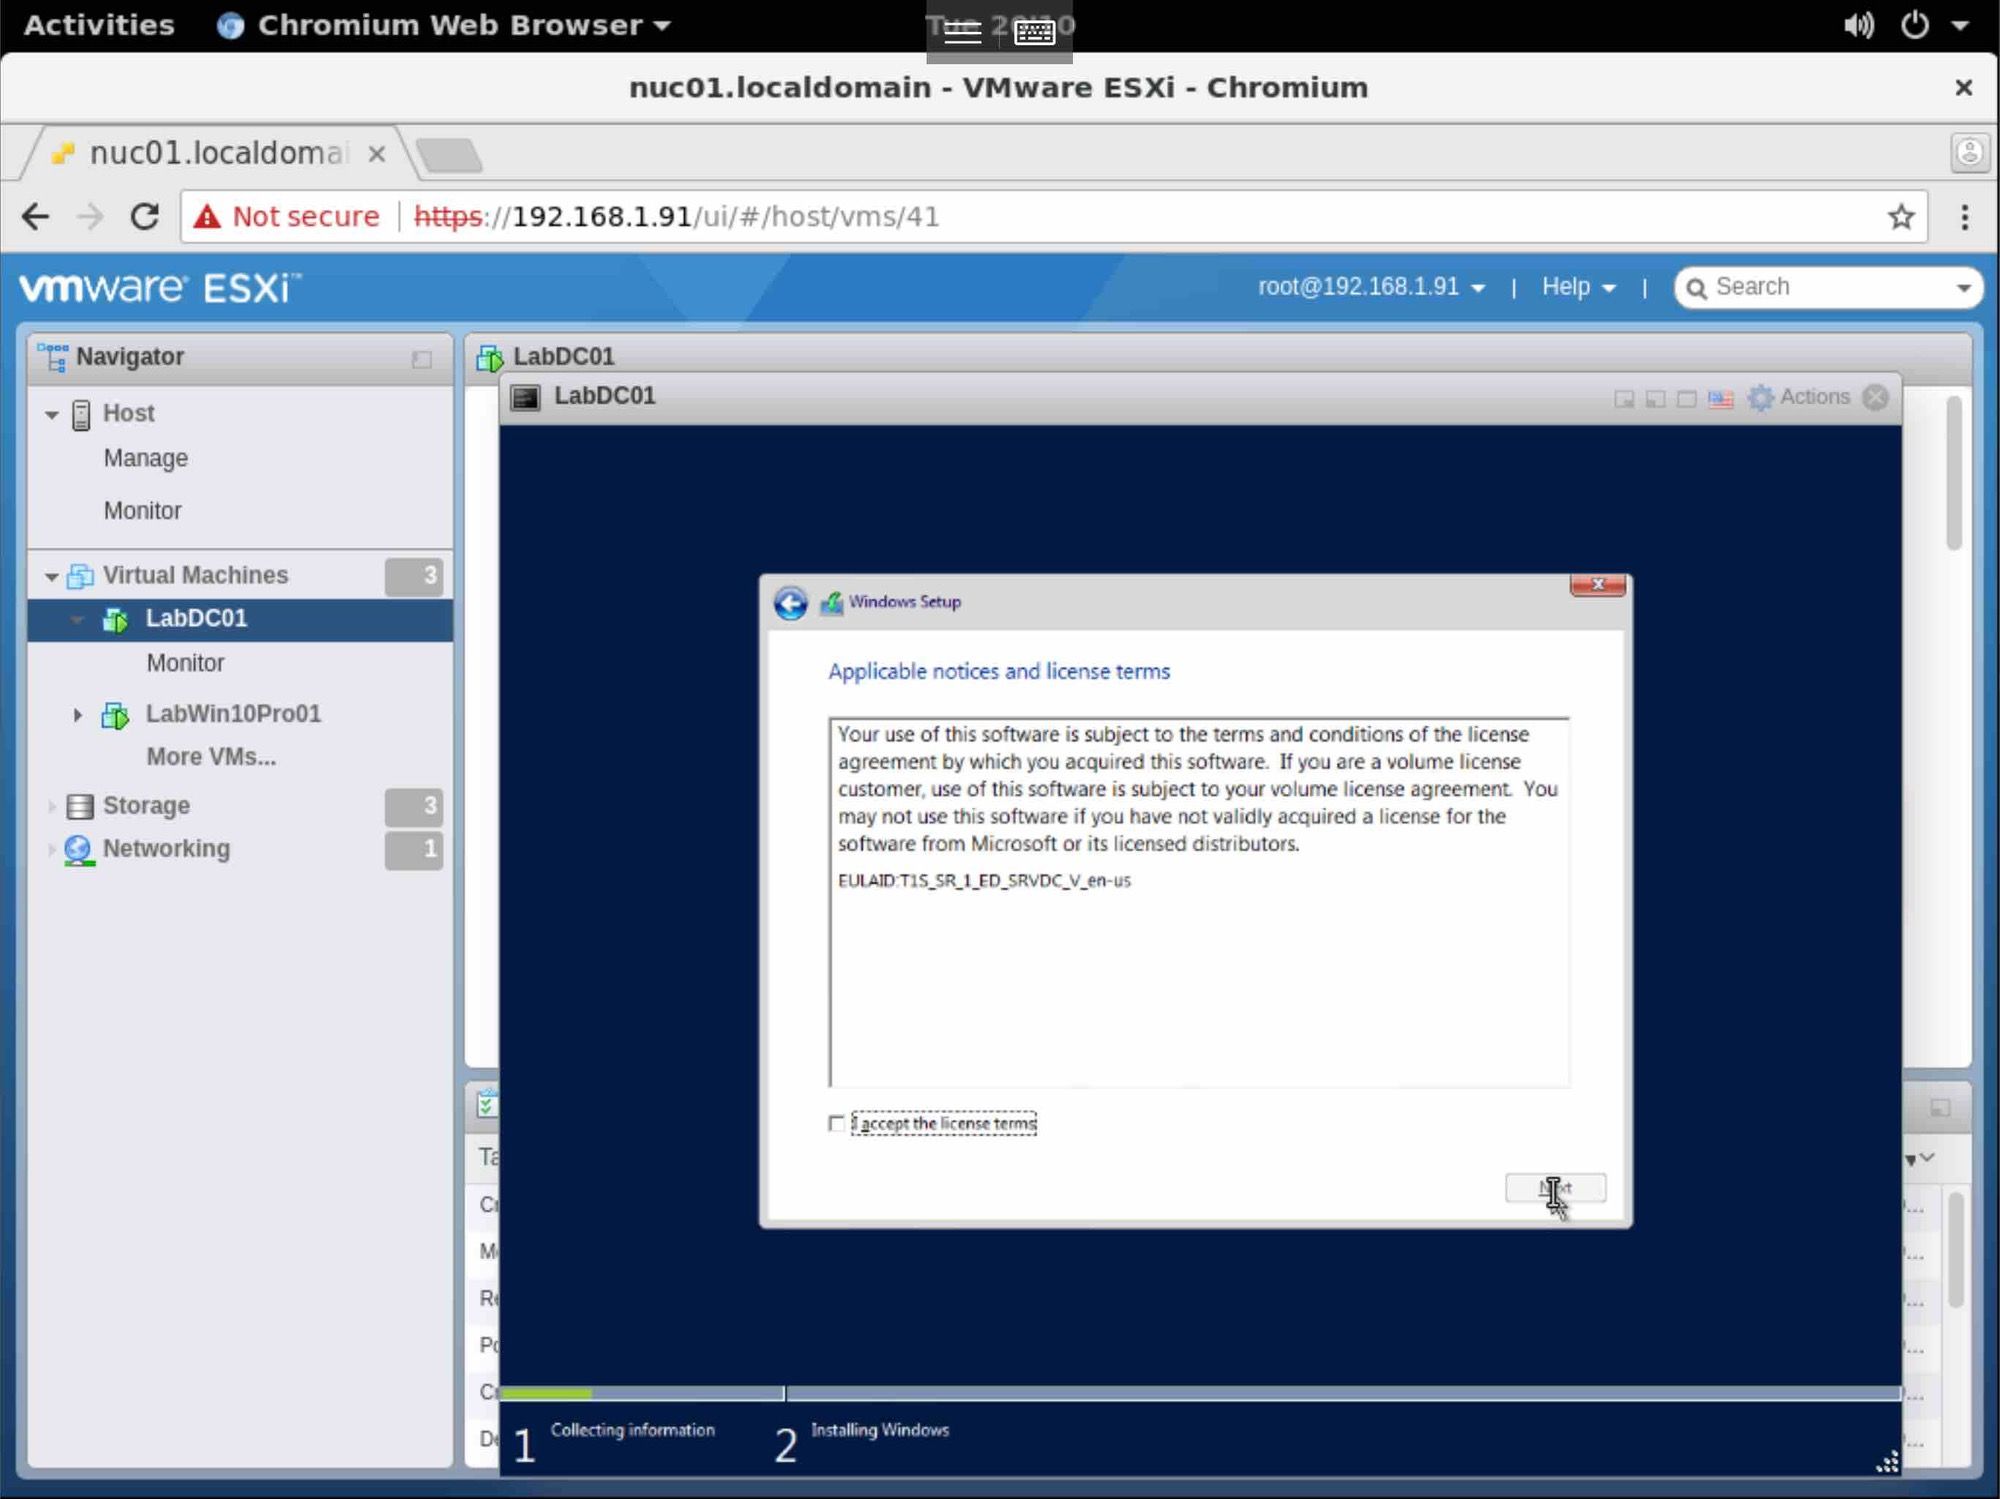
Accept the Terms of Service, and click Next
Choose which disk to install Windows.

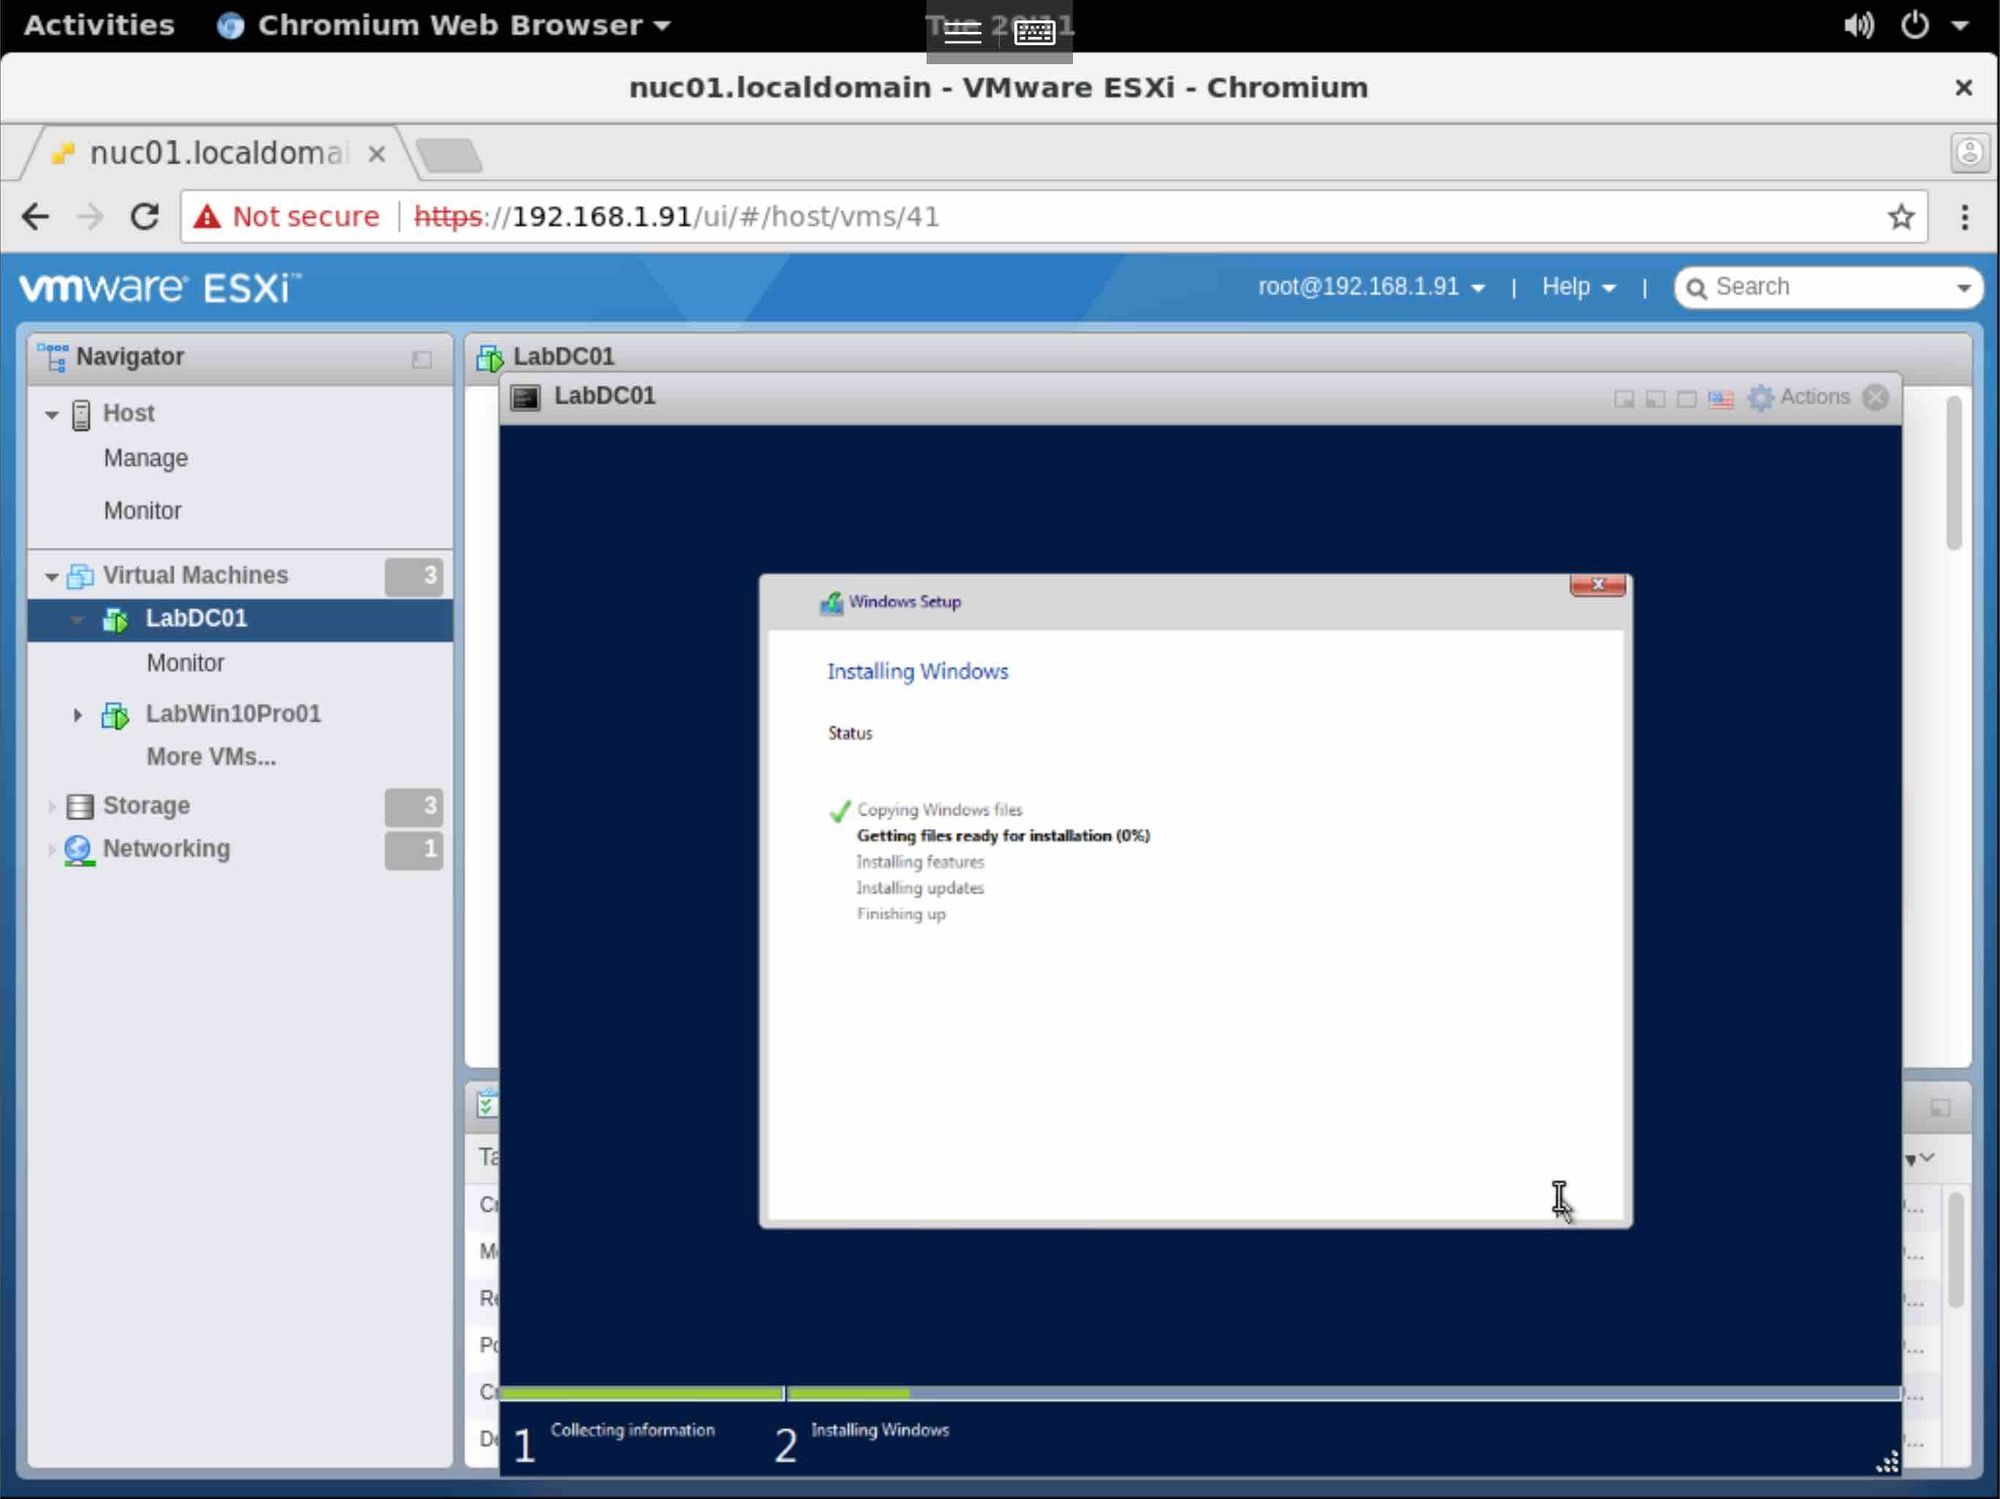
Installing
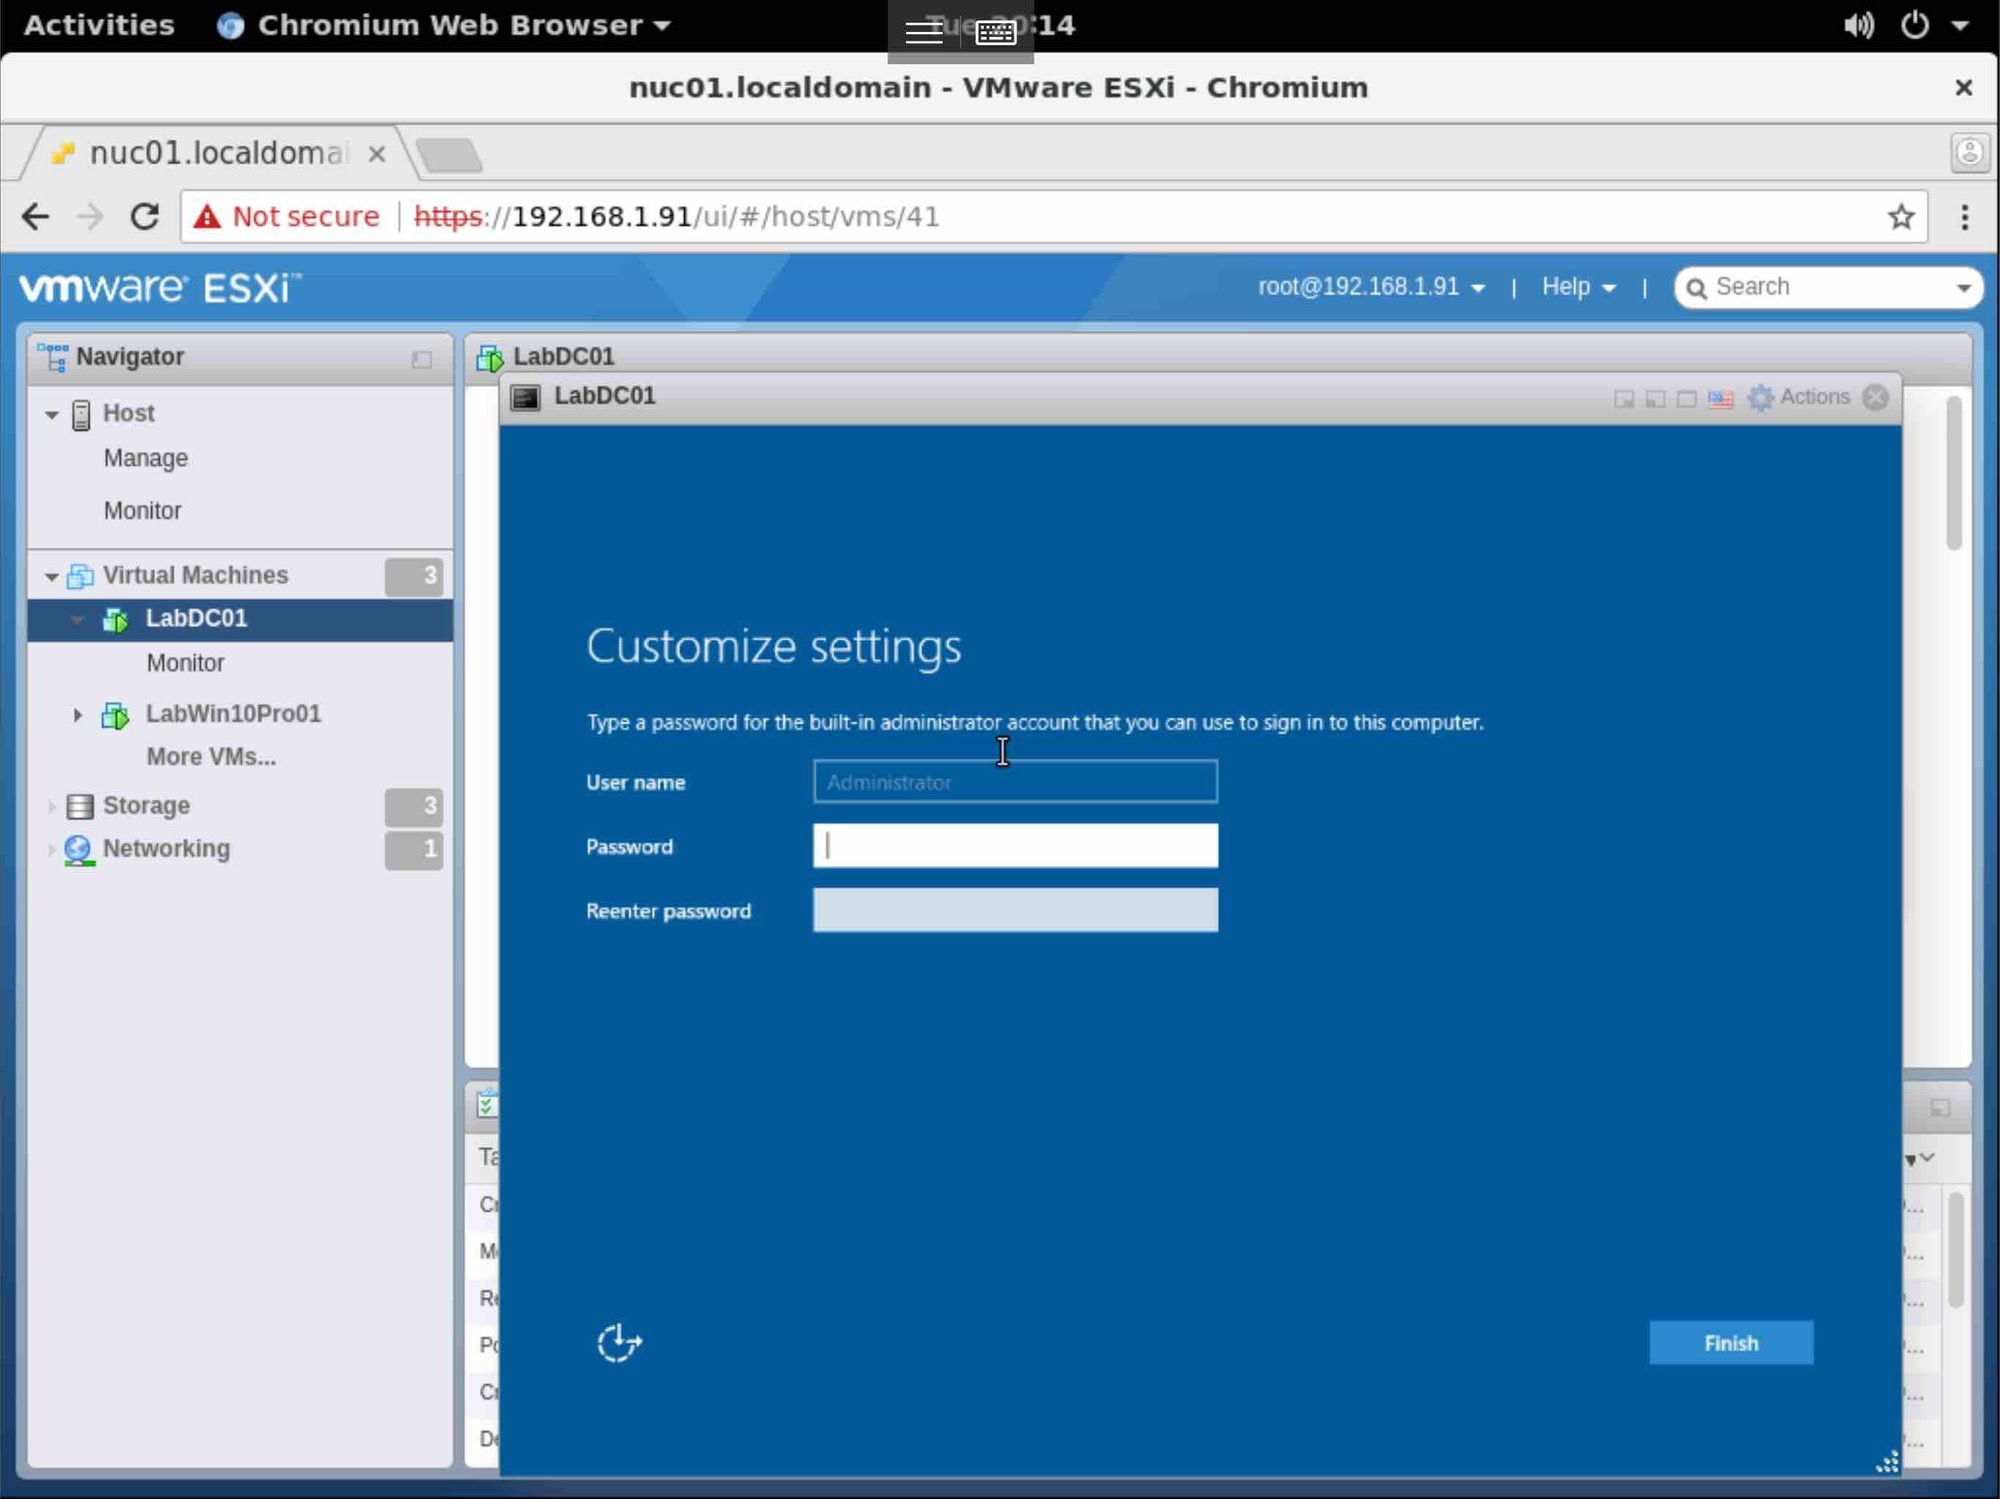
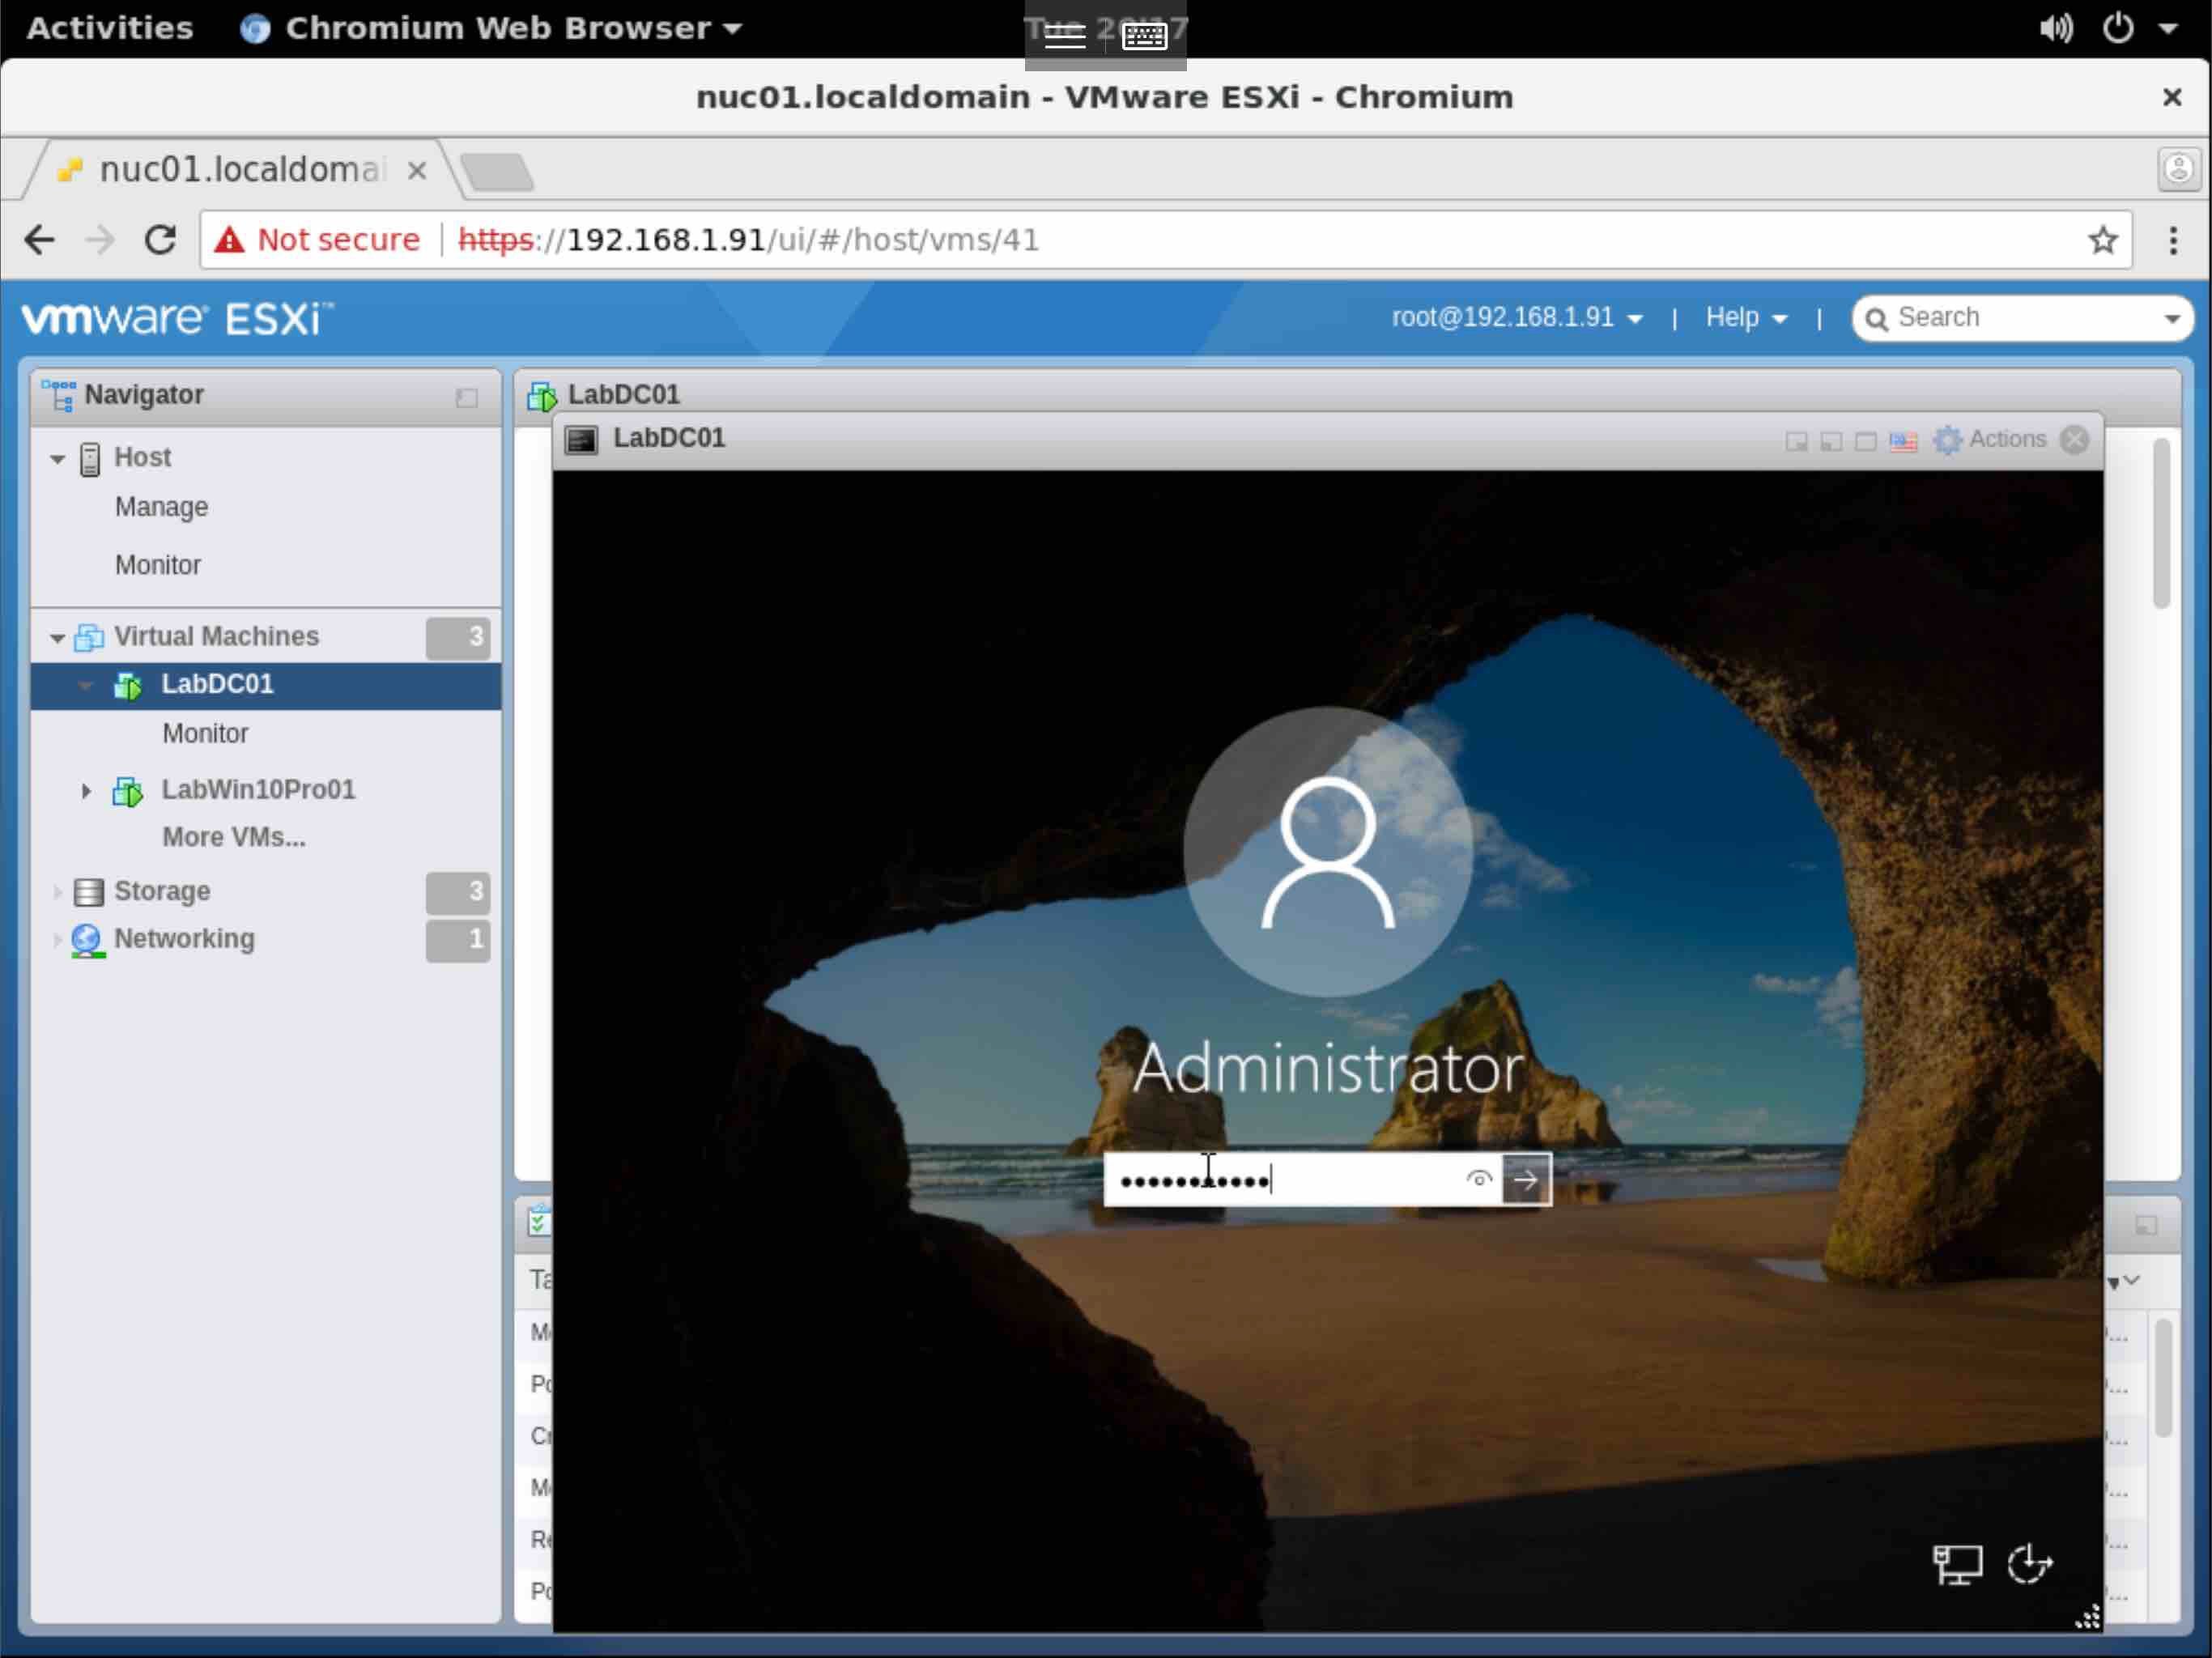
Set the Administrator password, and verify.
The first thing needed, is to install the VMware Tools, which will optimize the performance, and interaction with the Guest OS.
In the VM Actions, select Guest, then Install VMware Tools
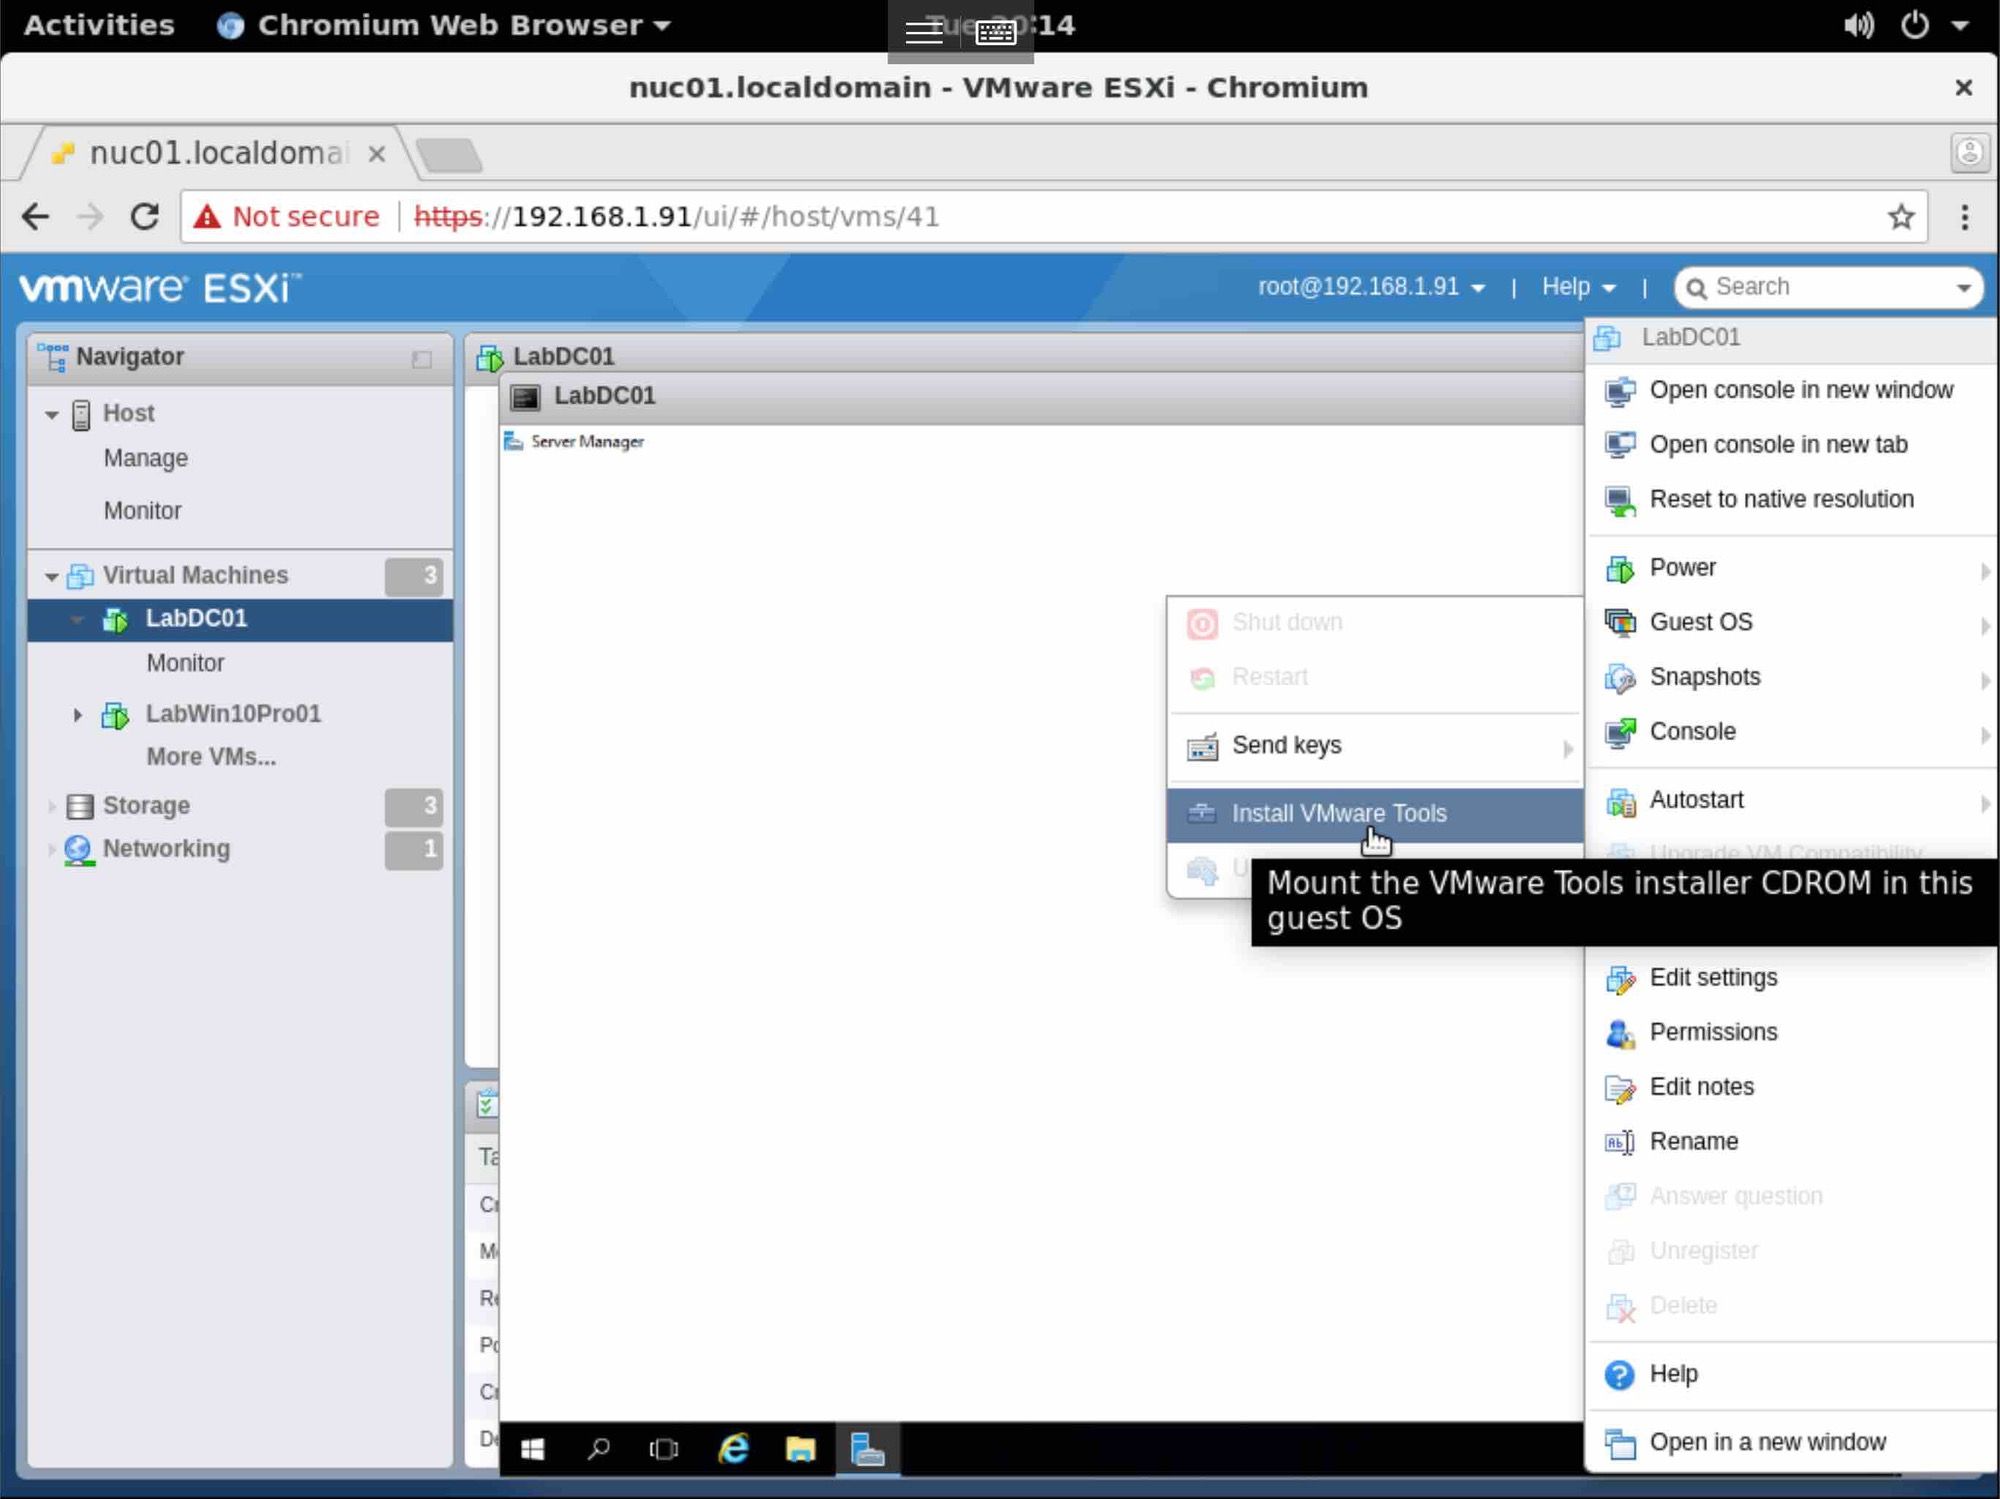
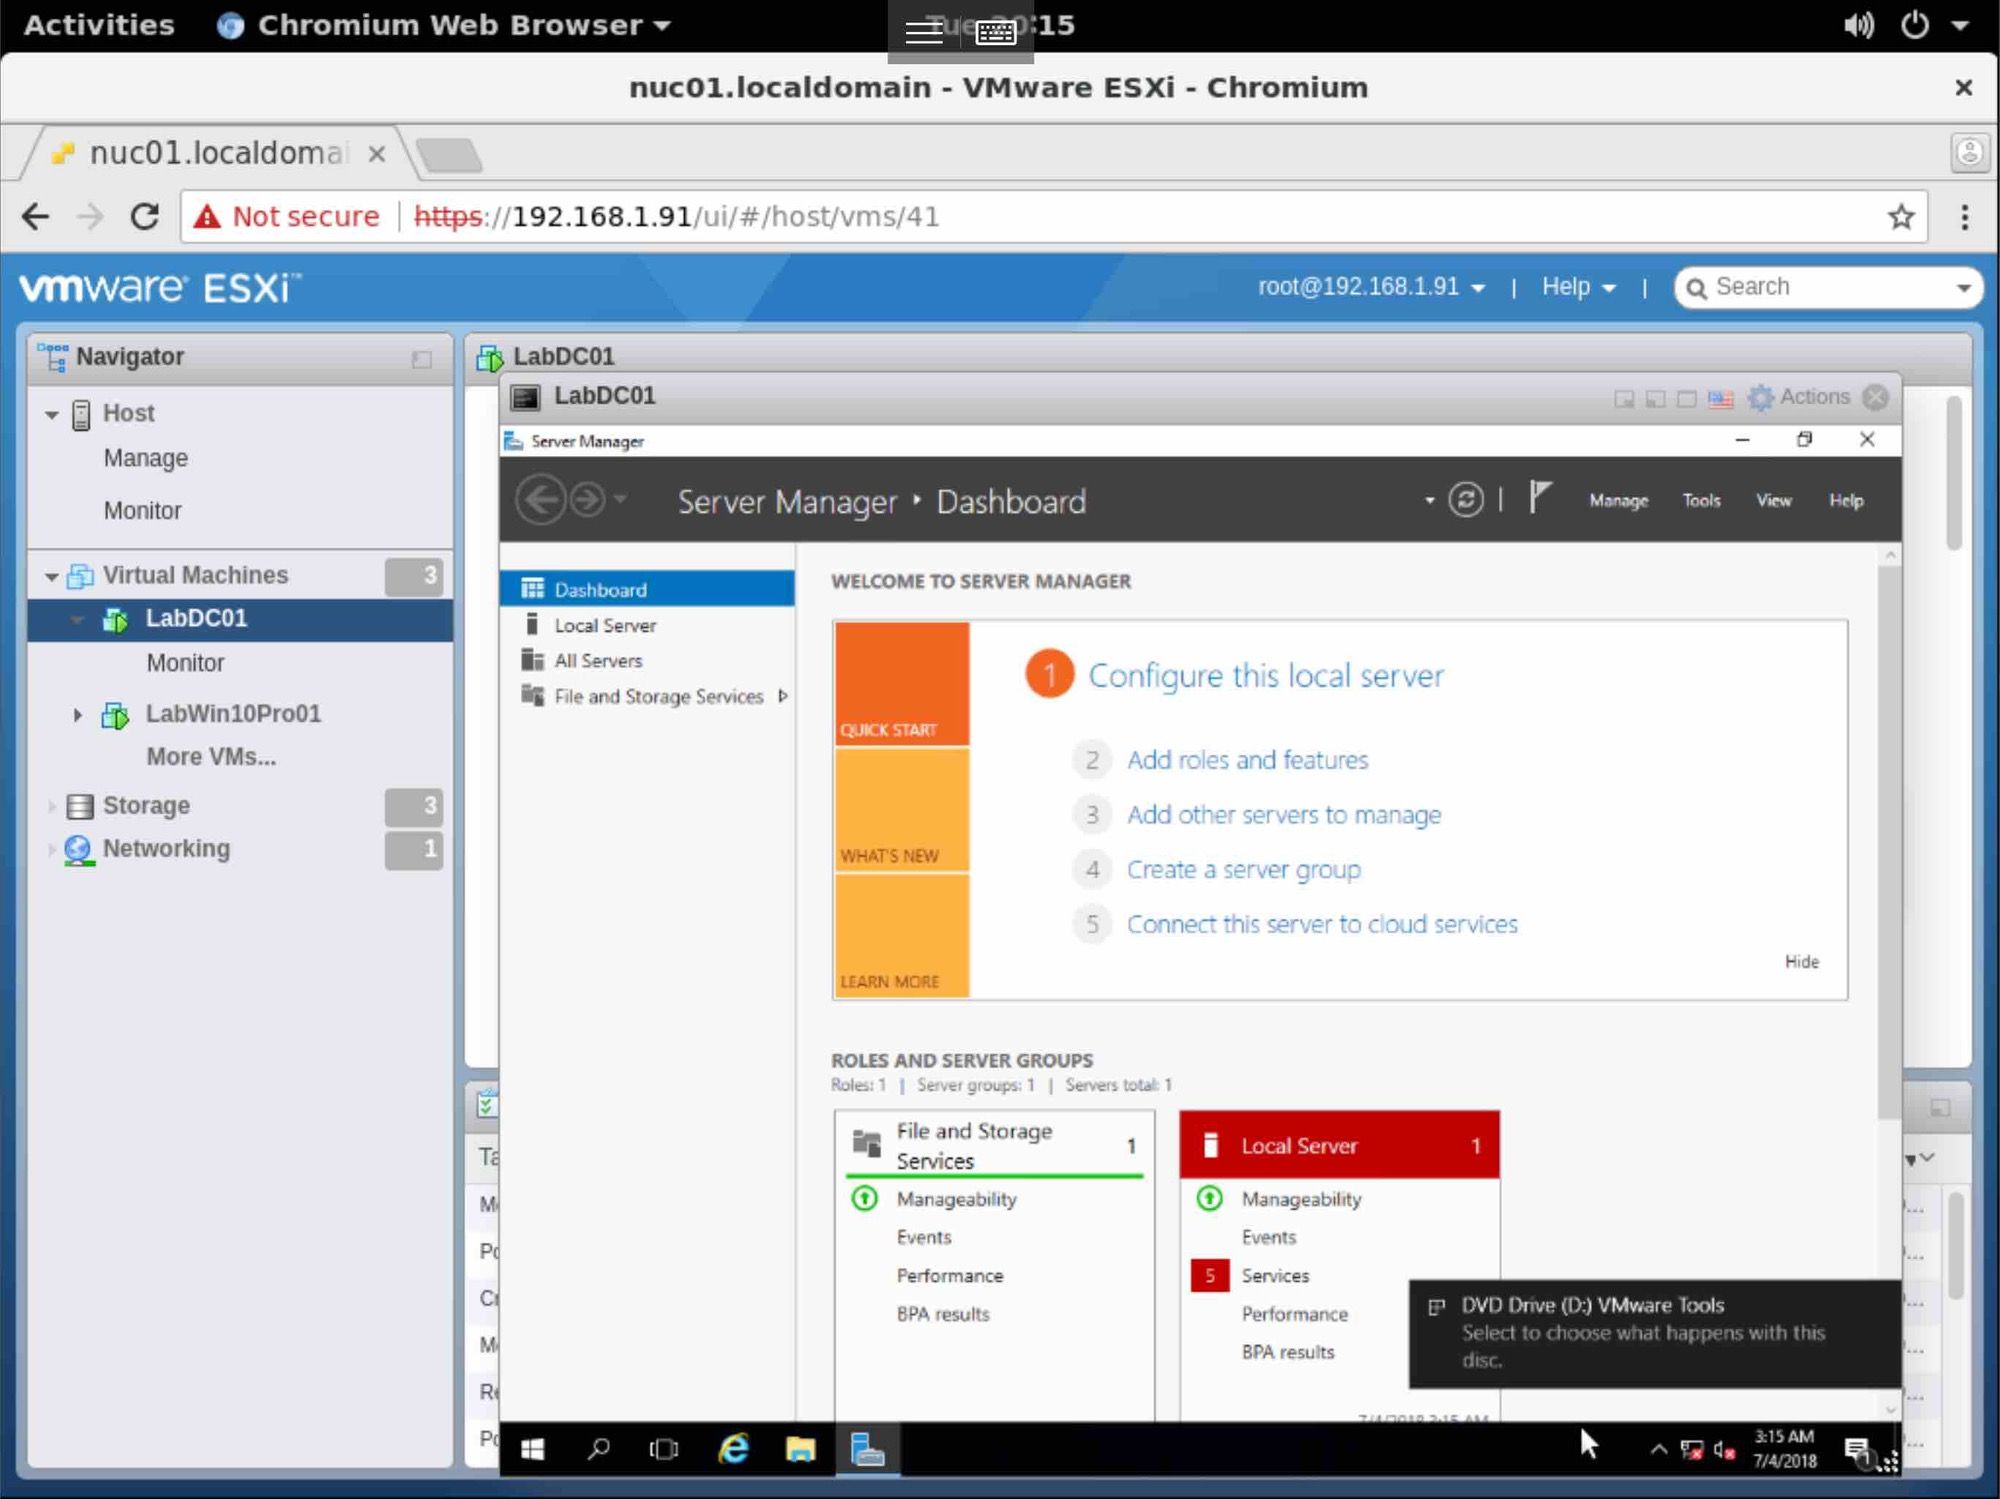
Once the disk is mounted on the Guest VM, run the install.
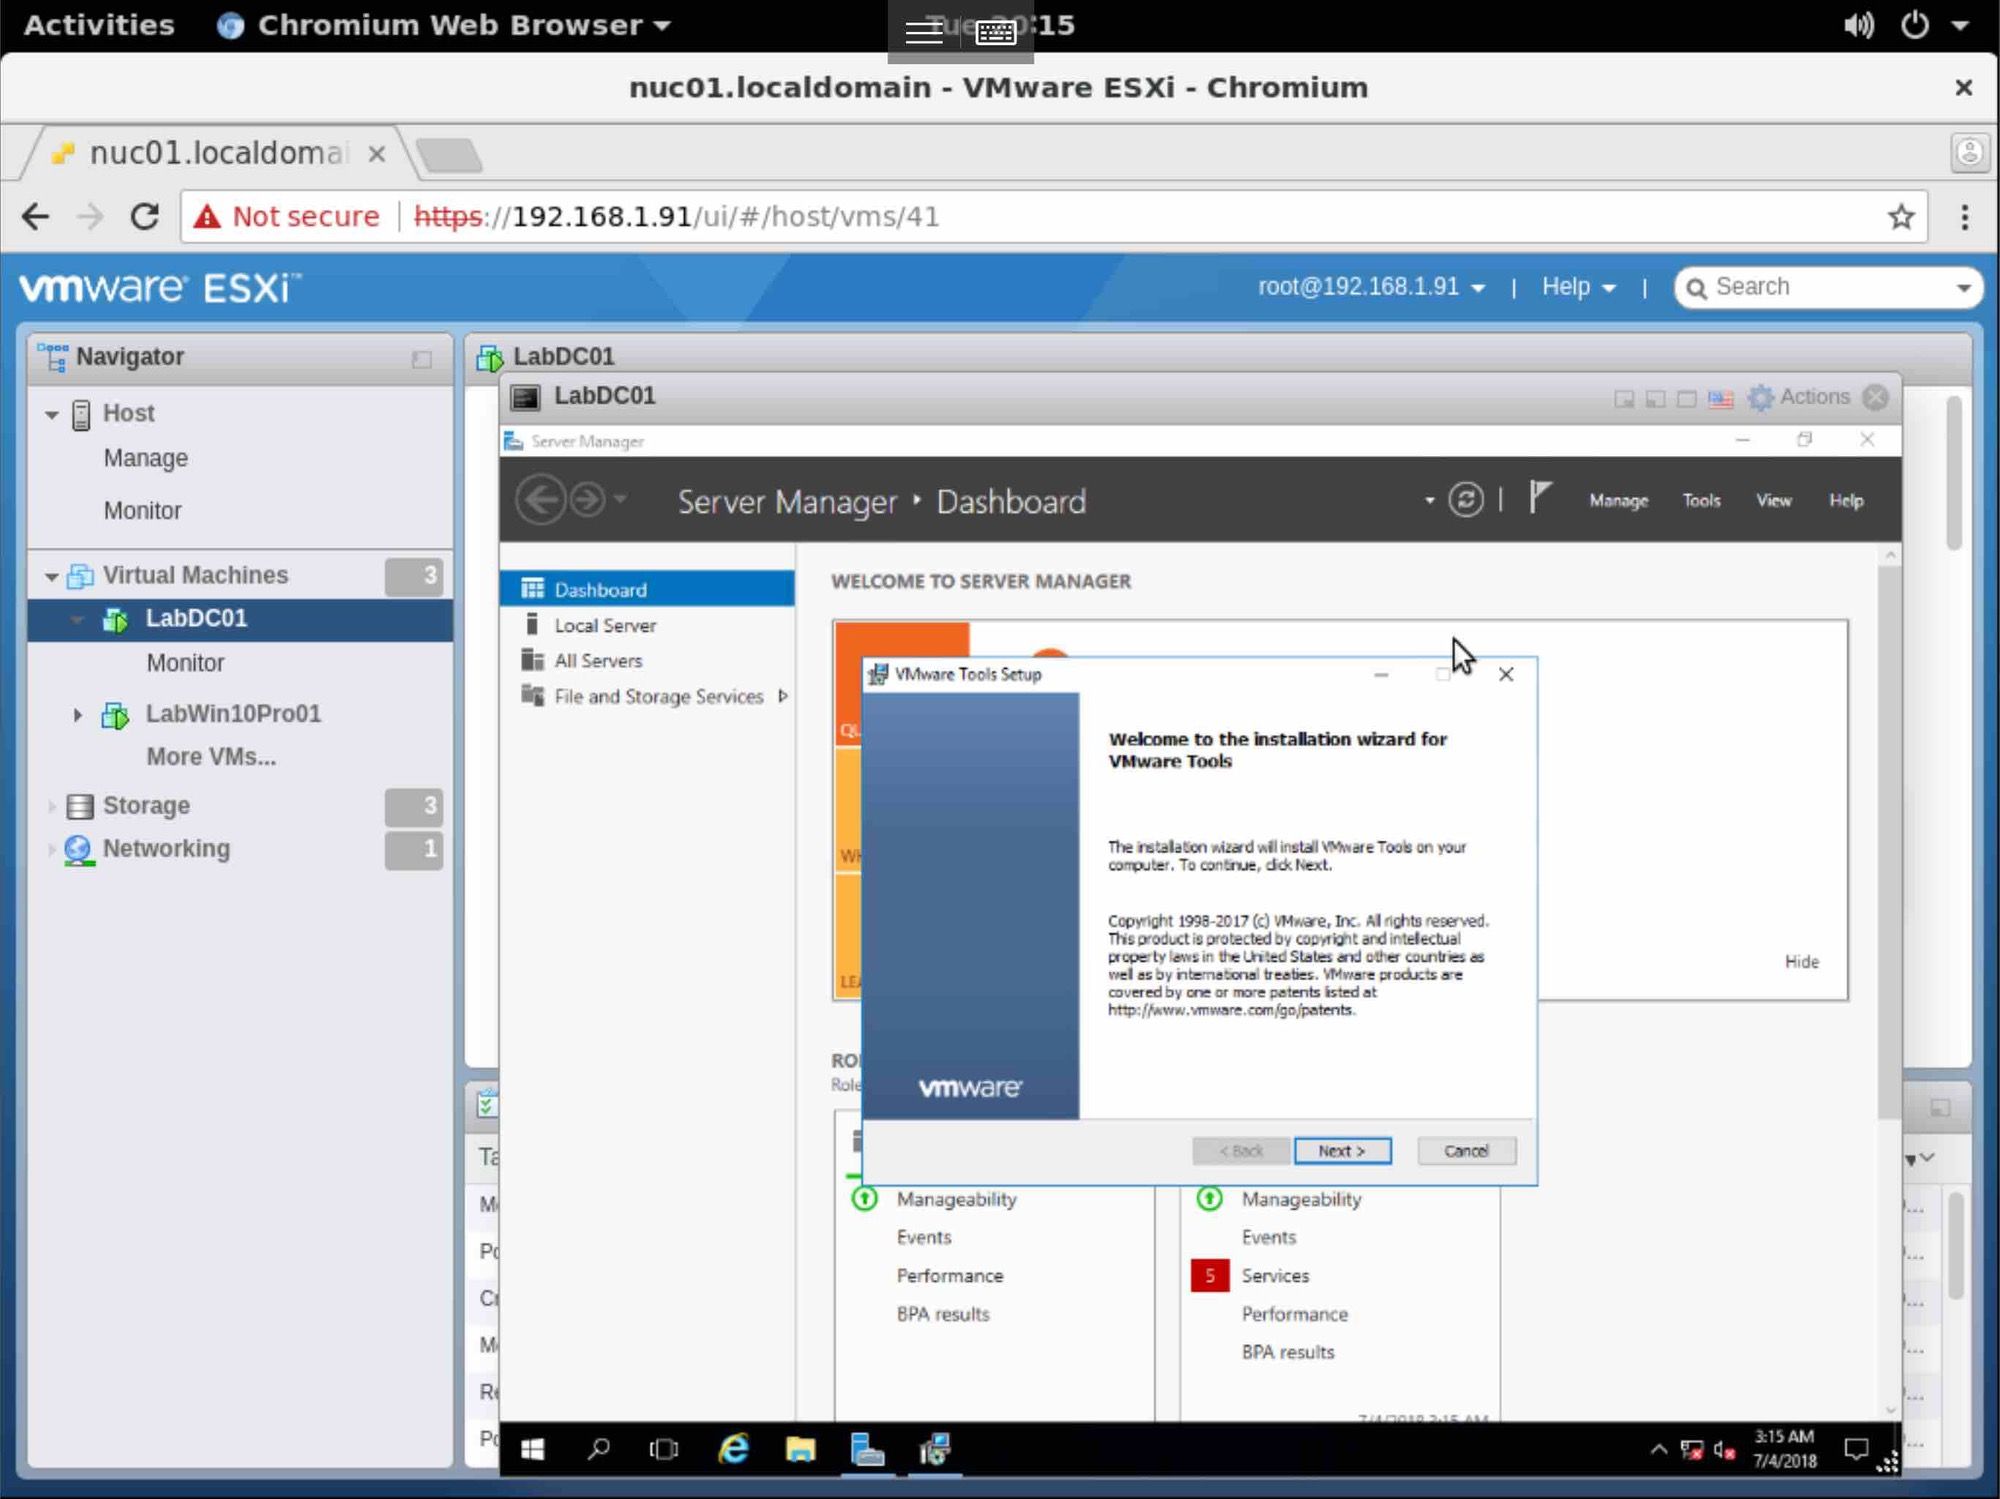
Click Next
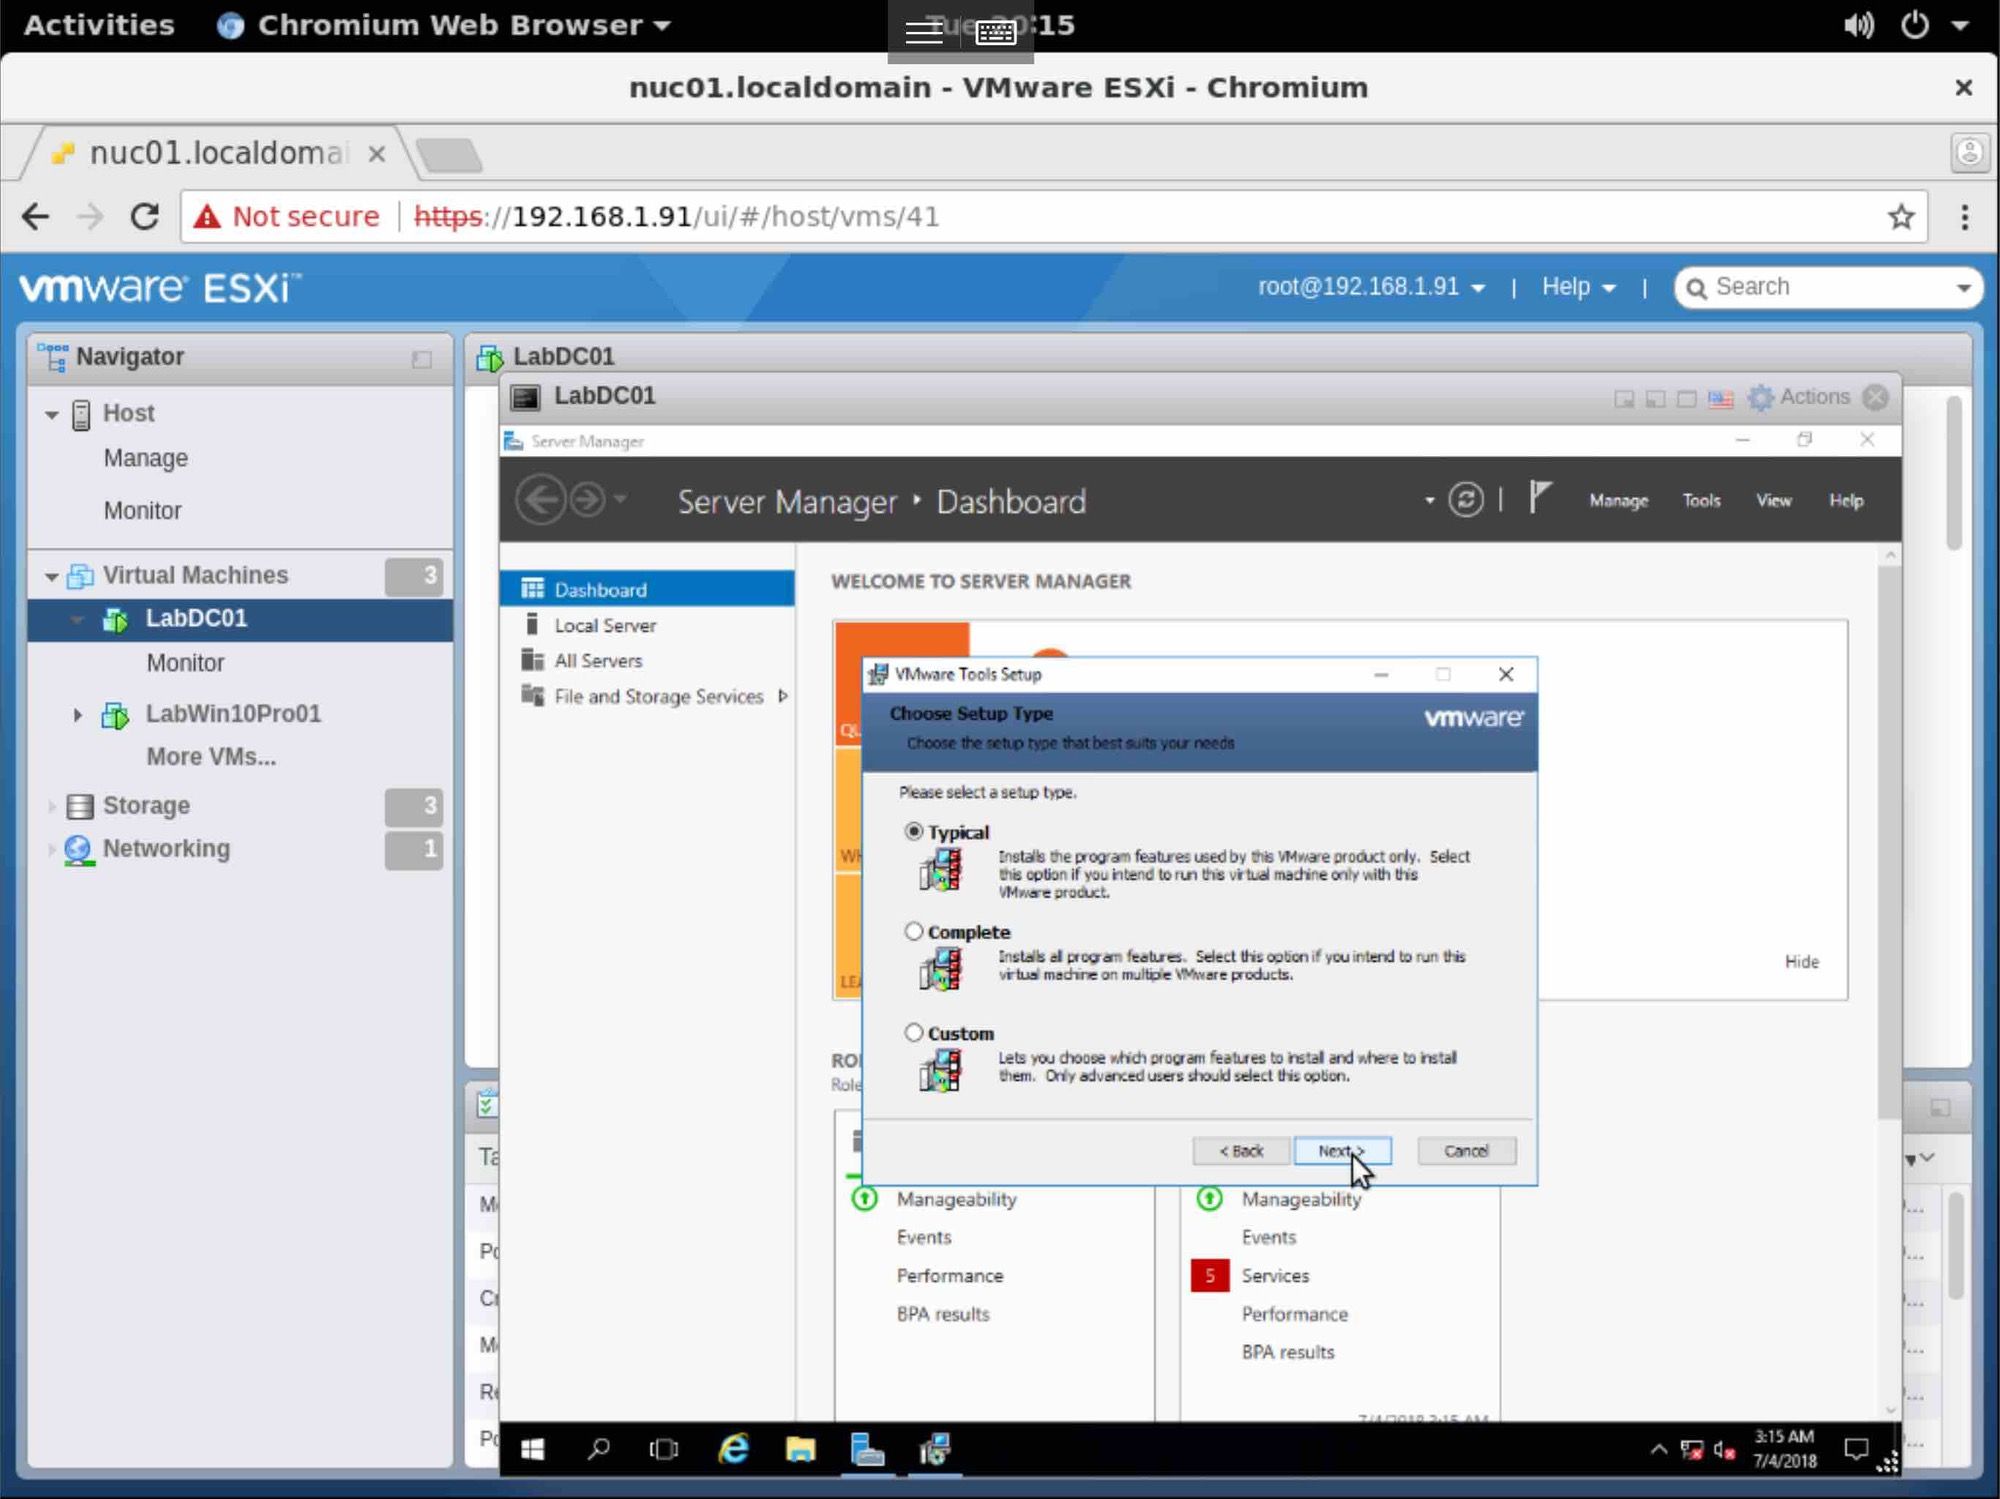
Select the type of setup to be installed. I’ve chosen the default of typical. Click Next
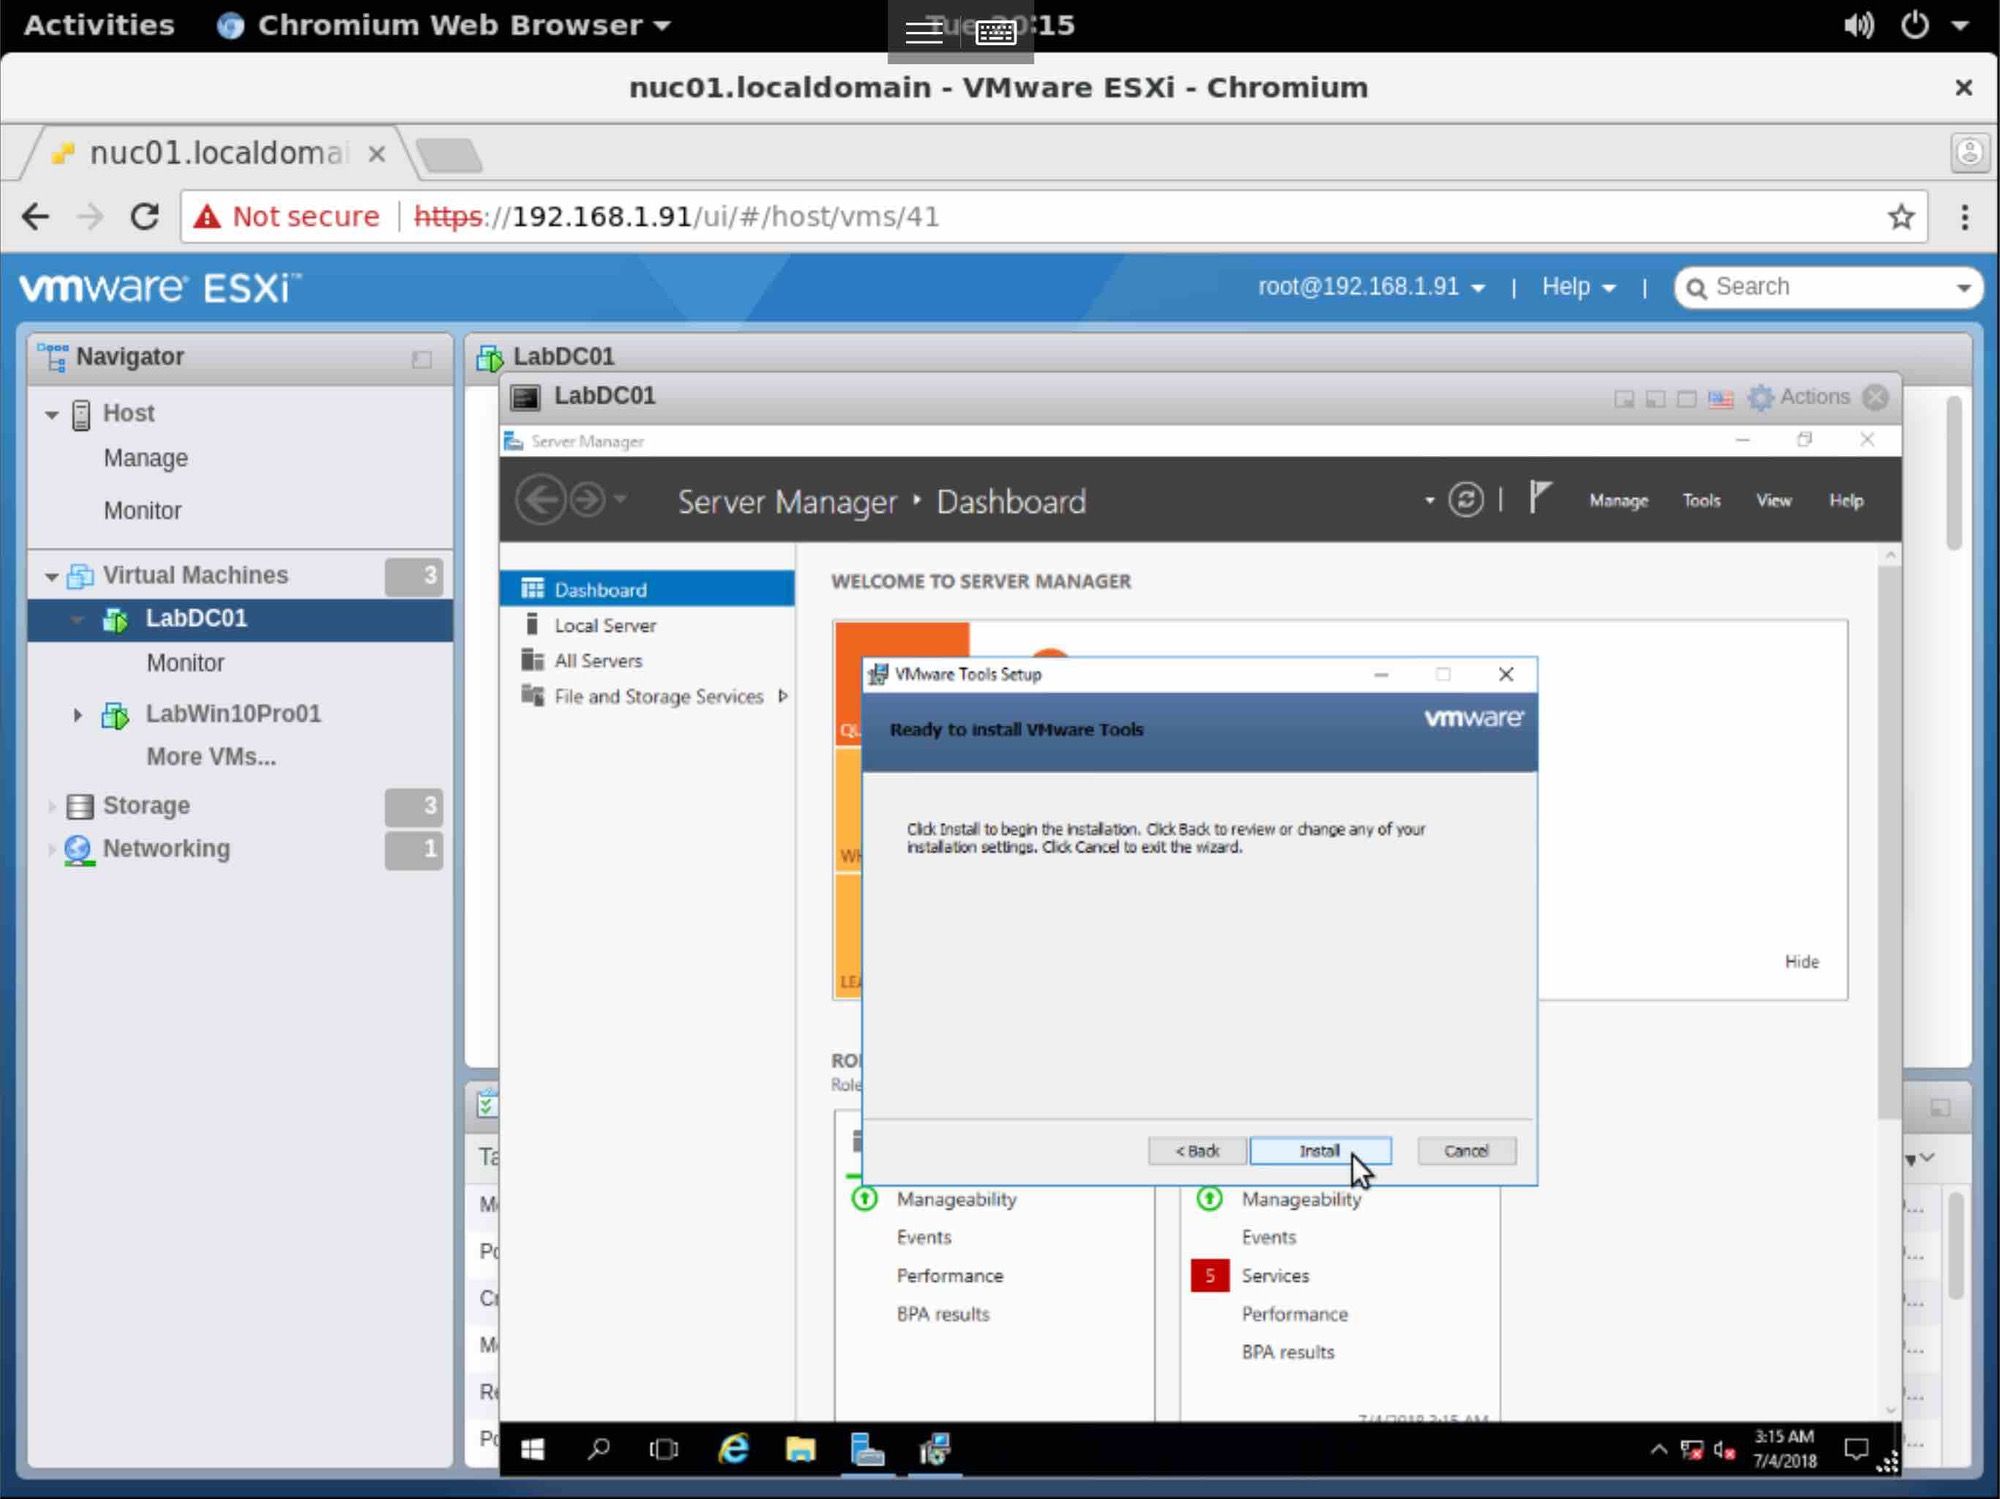
Click Install
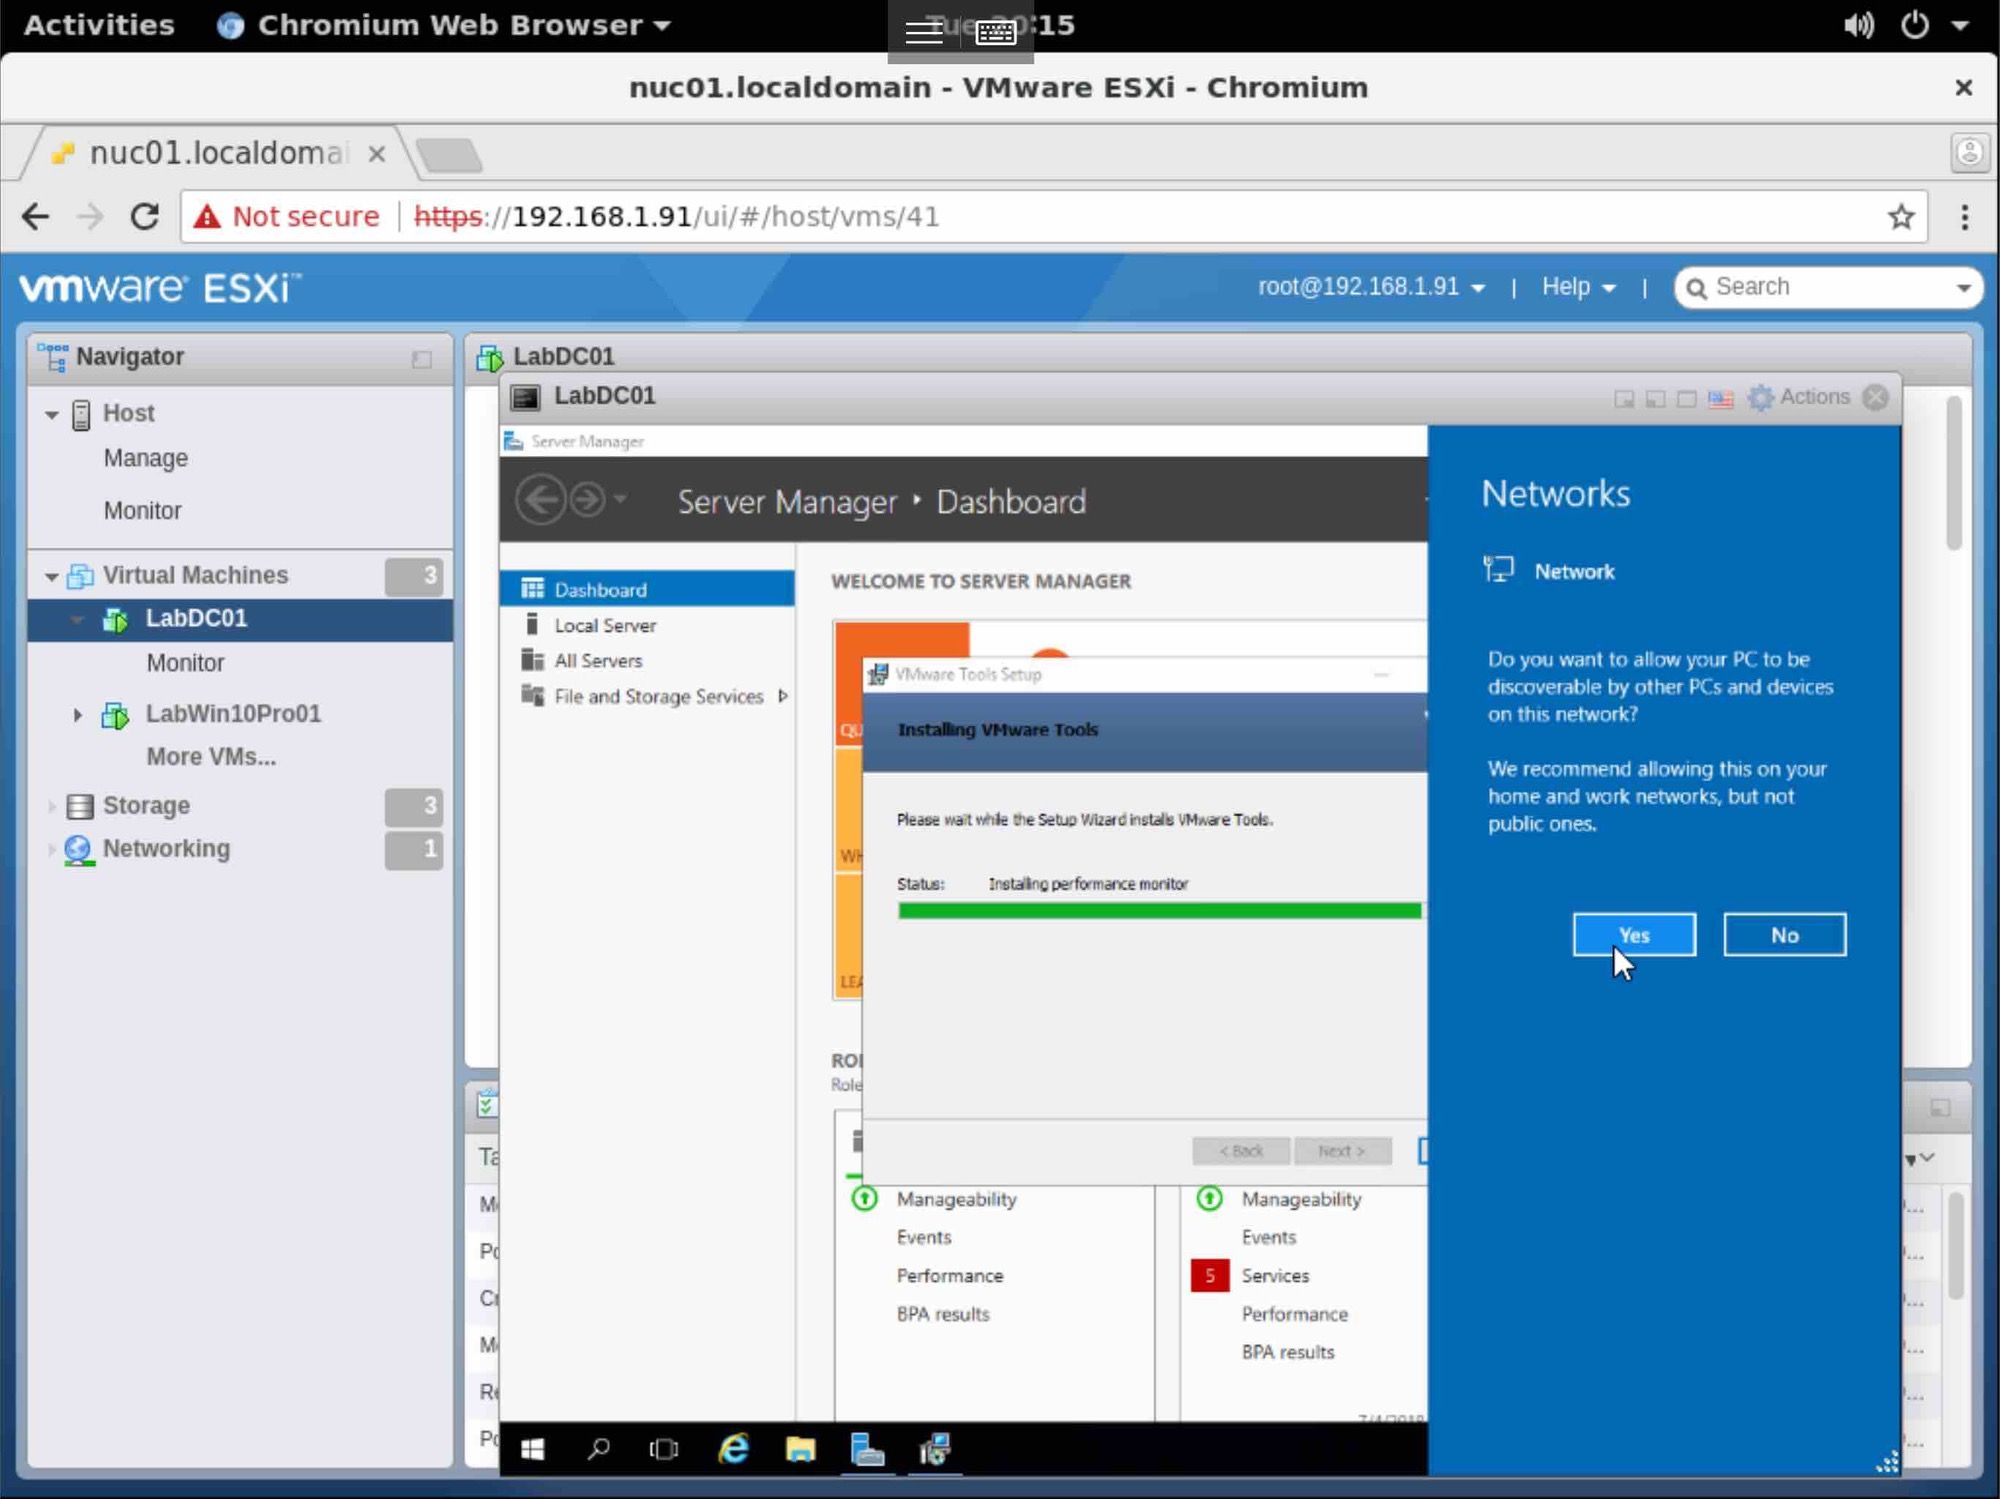
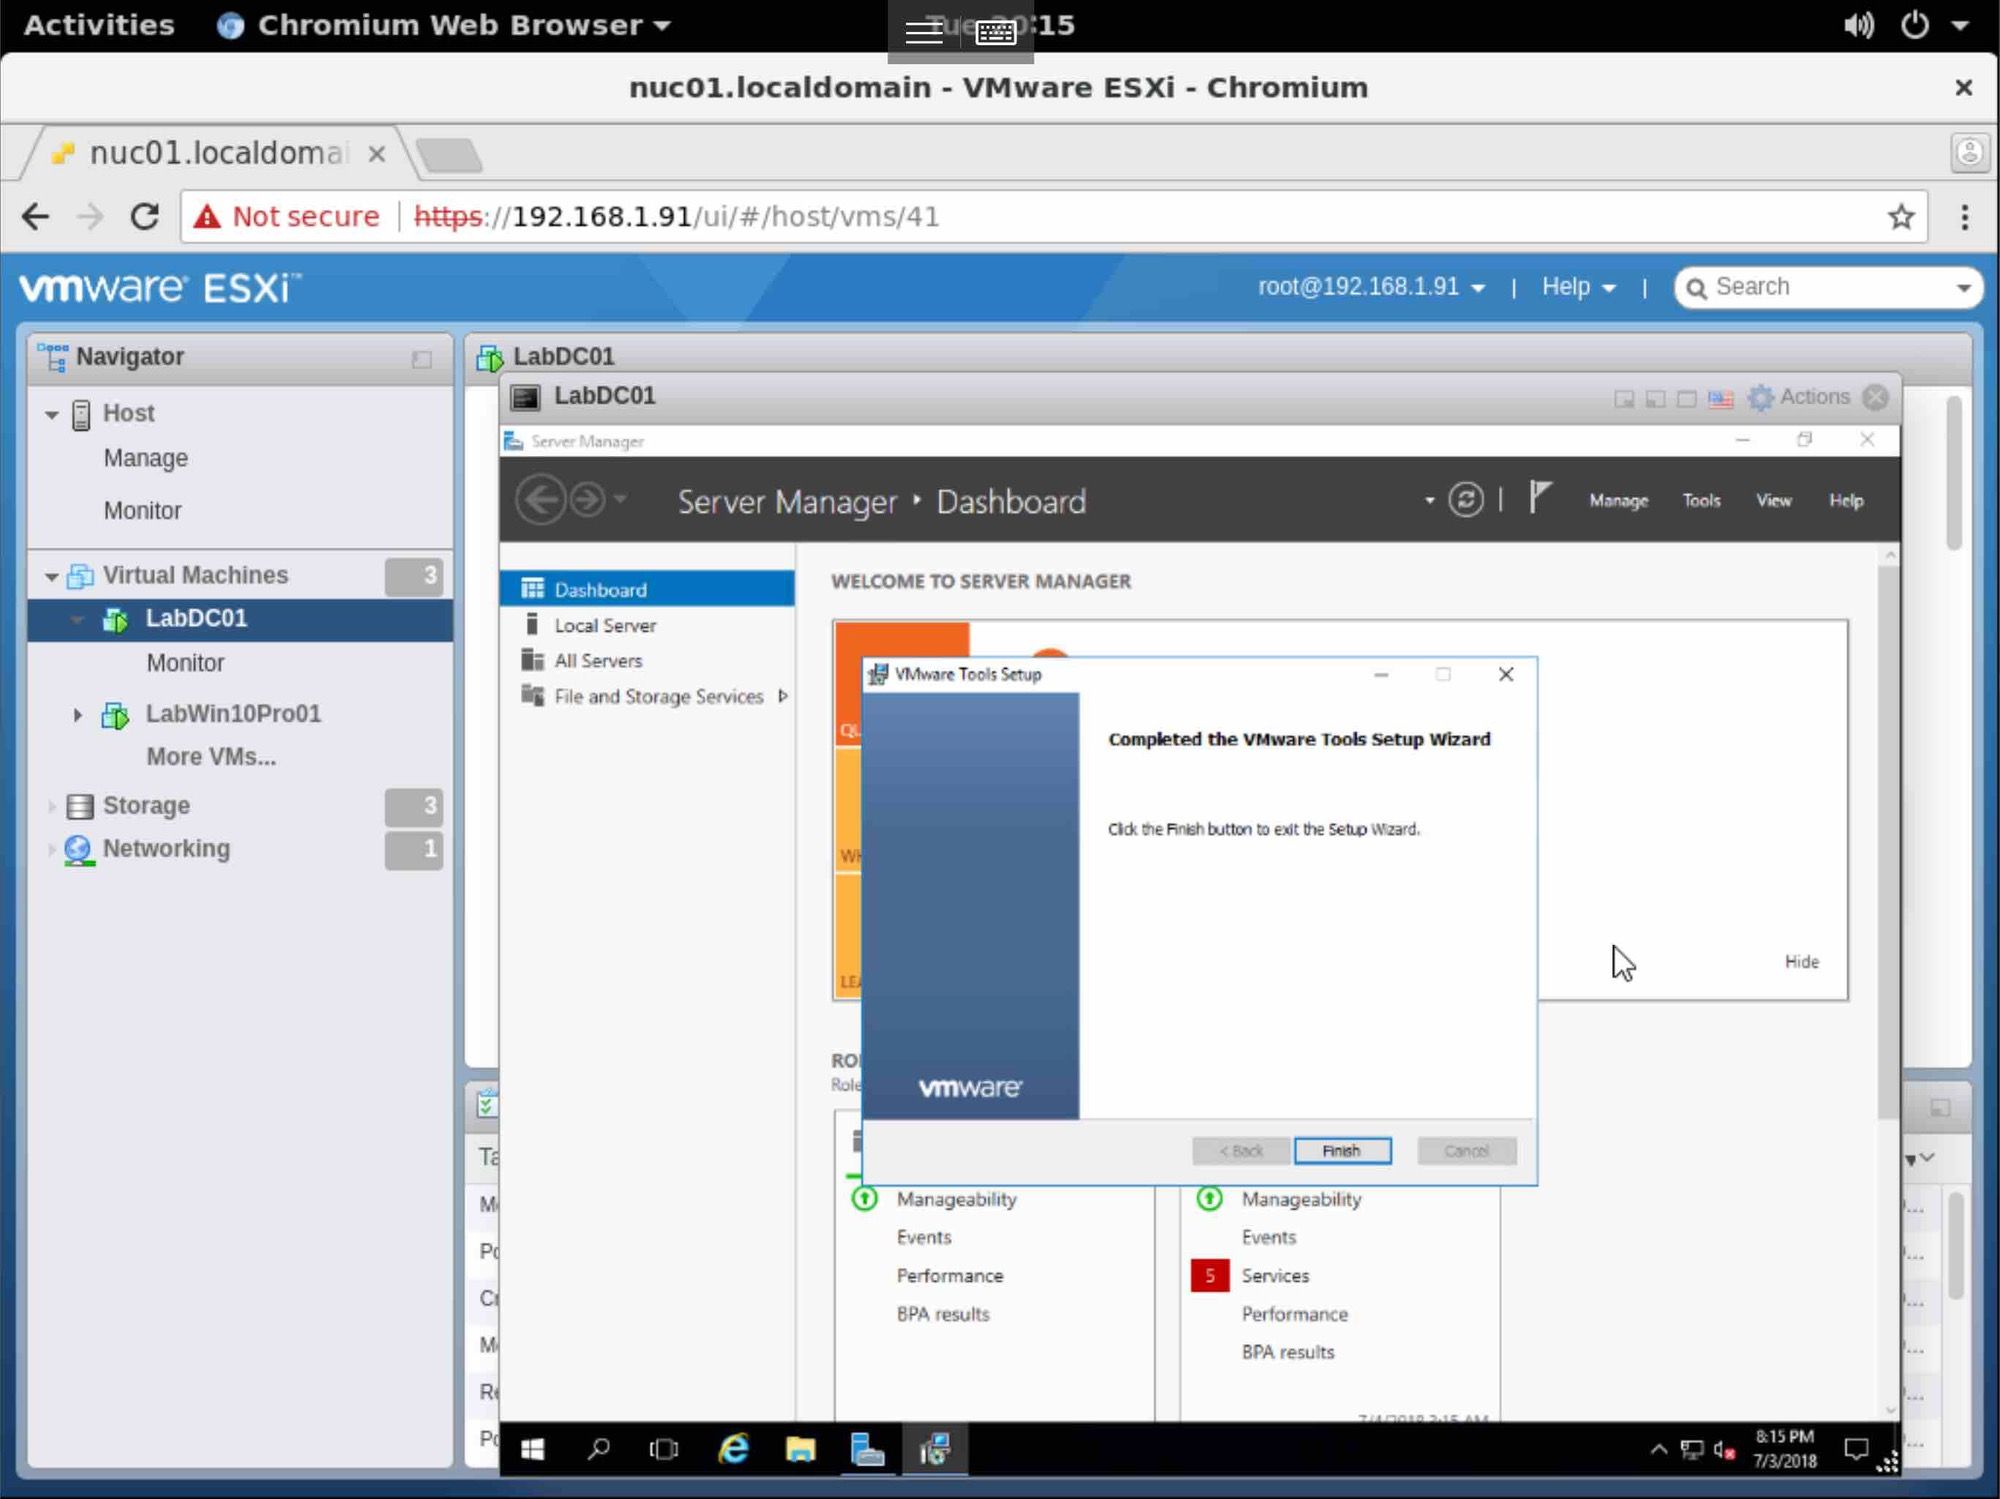
When the install is complete, click Finish.
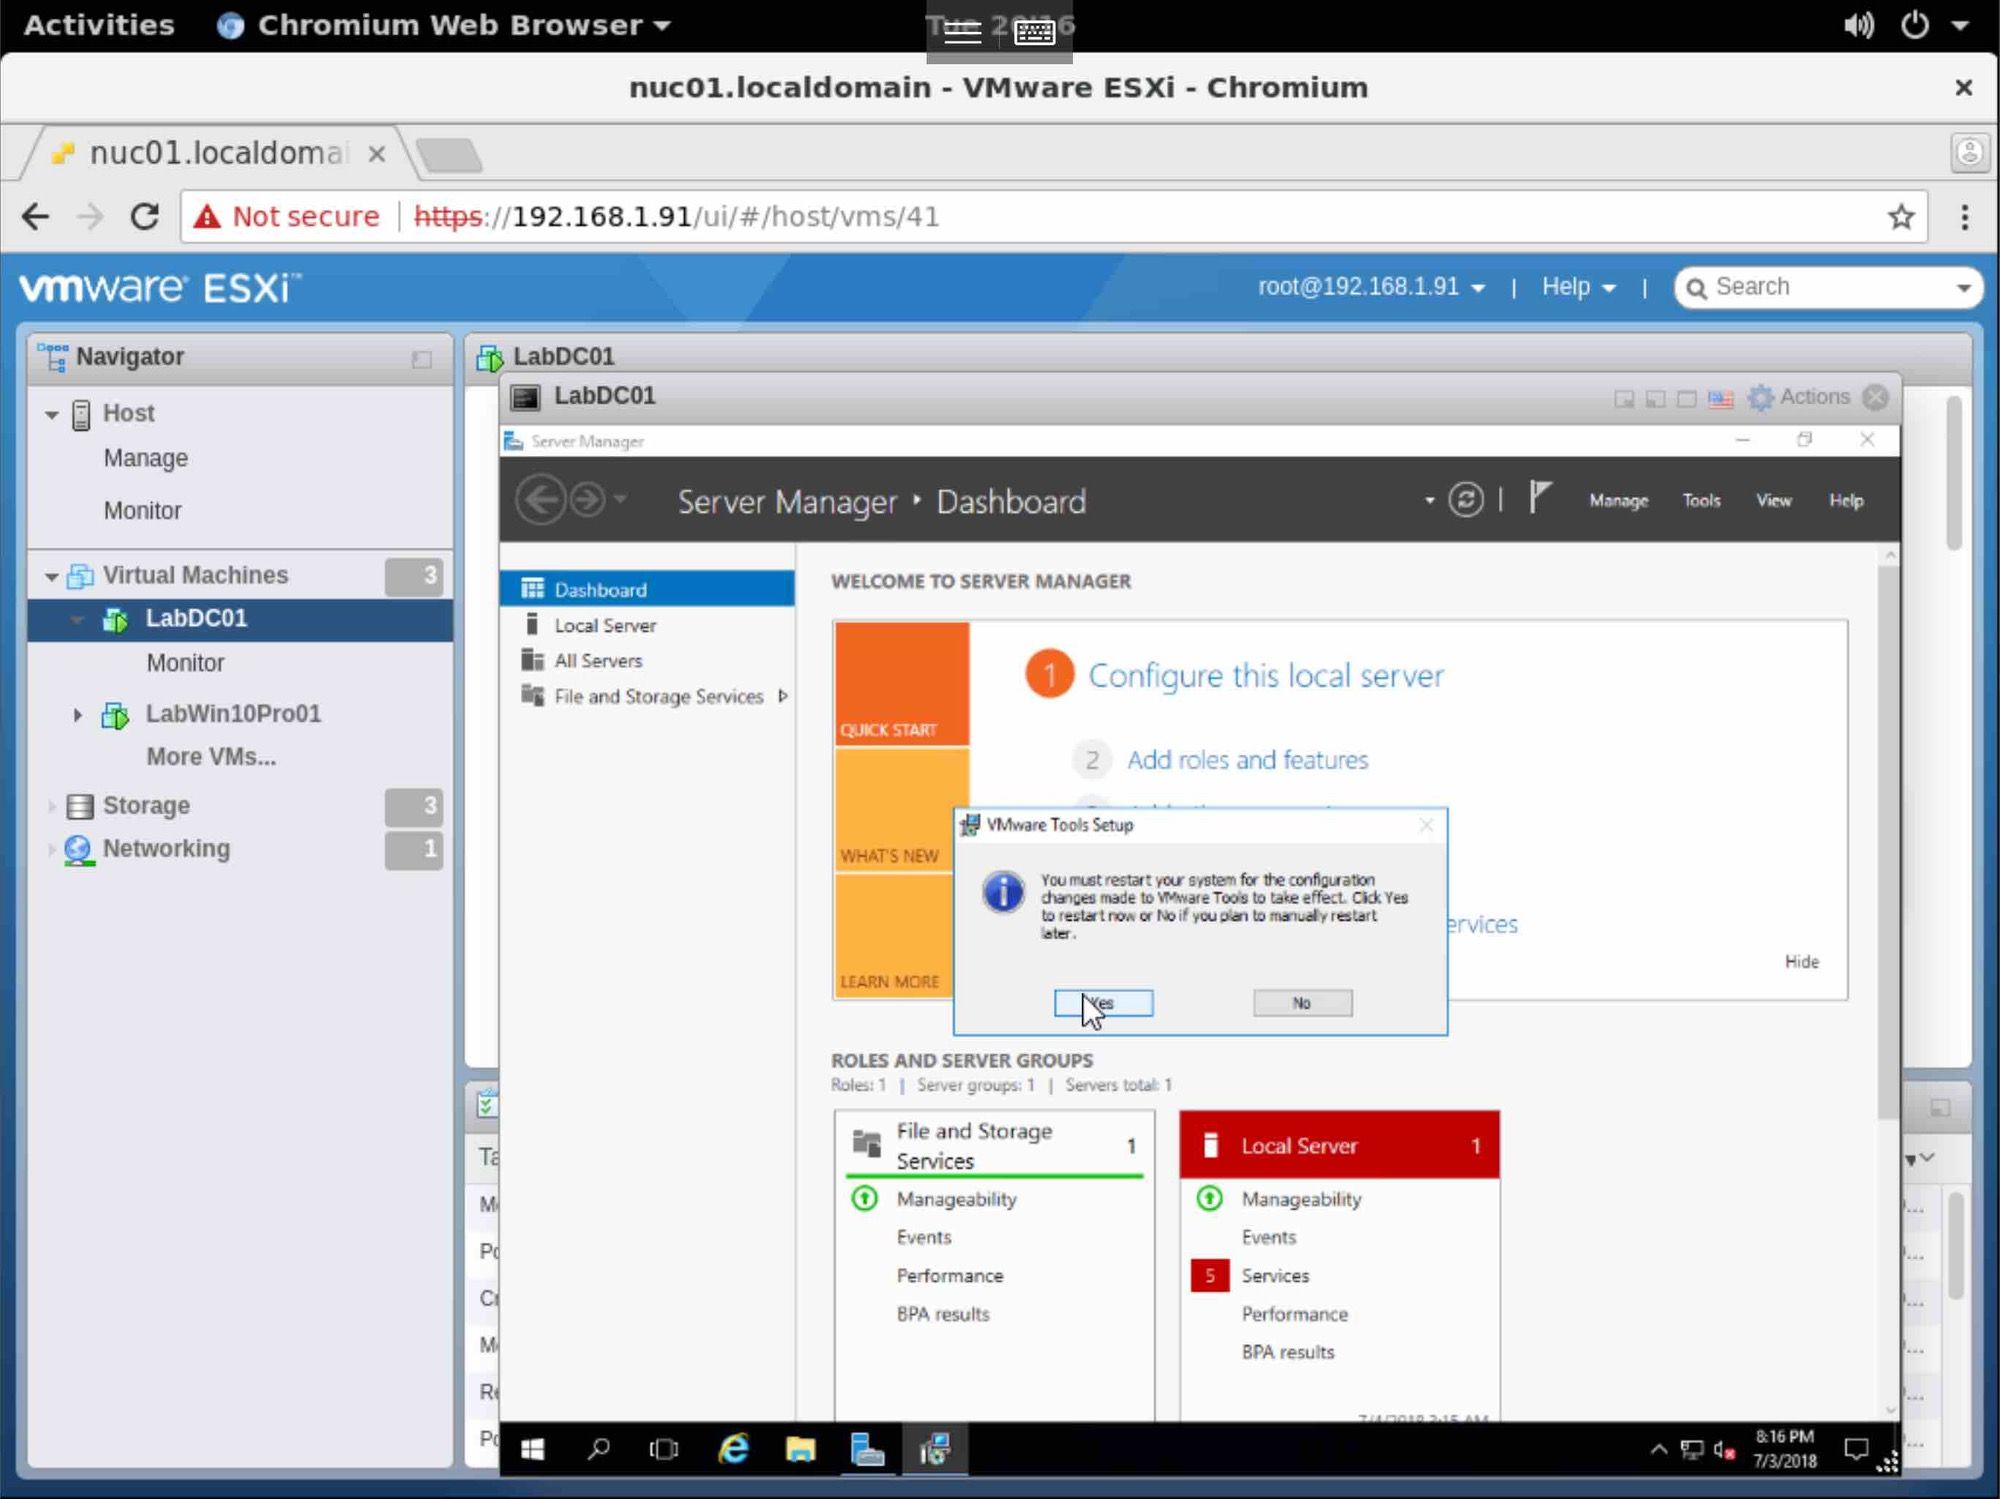
Click Yes to Reboot
Log back in after reboot
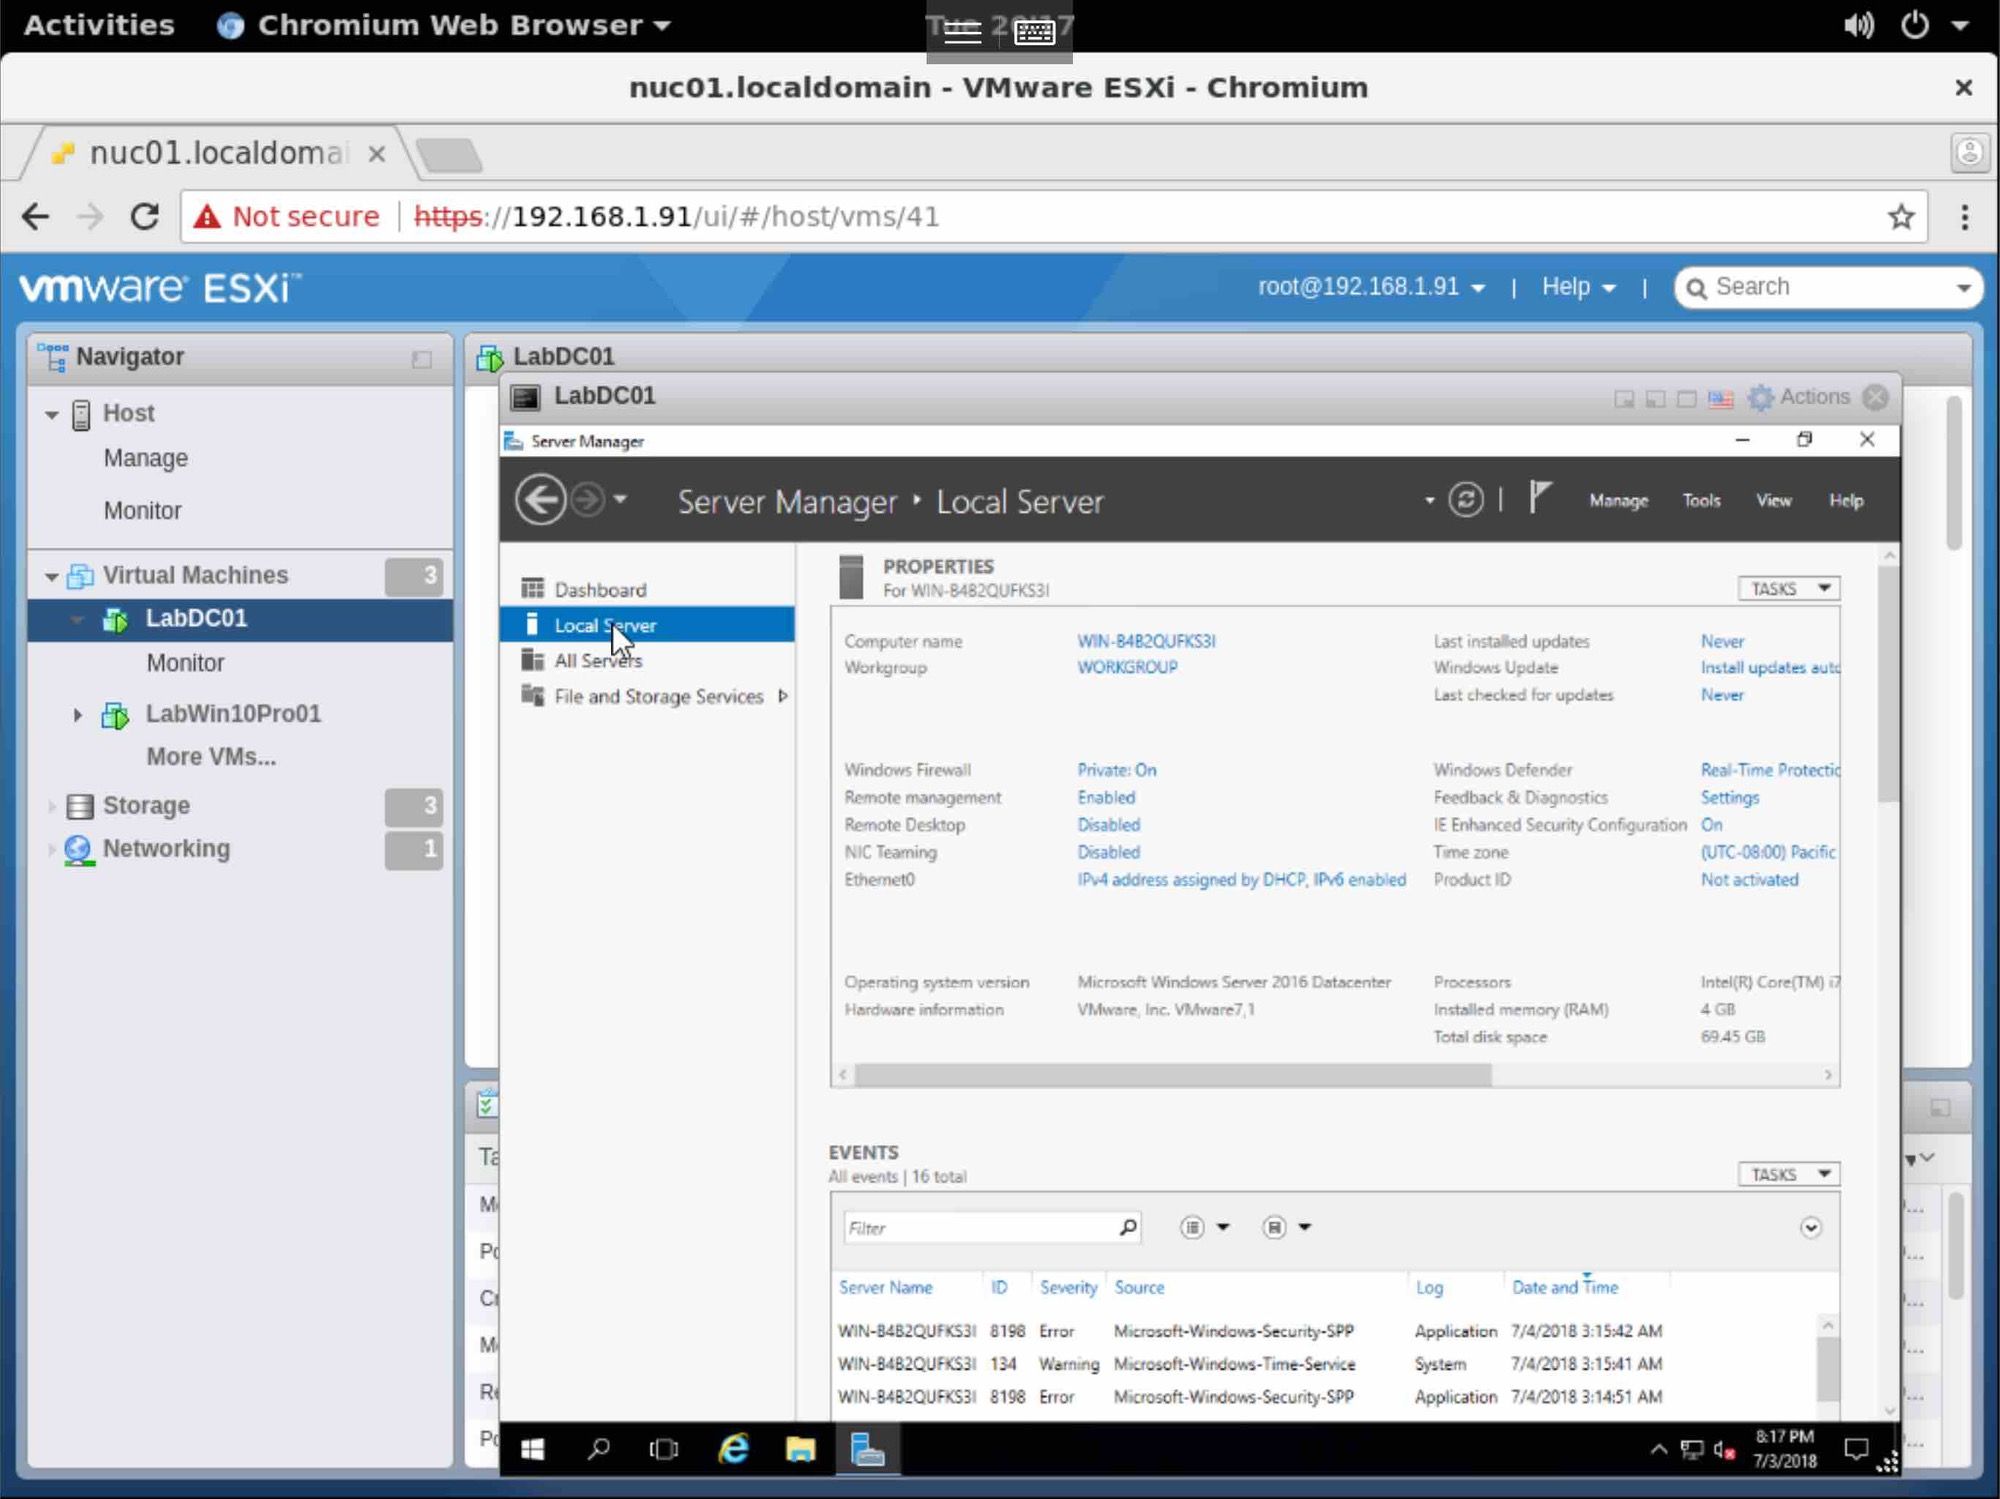
From Server Manager, click on the nic, in this case Ethernet0
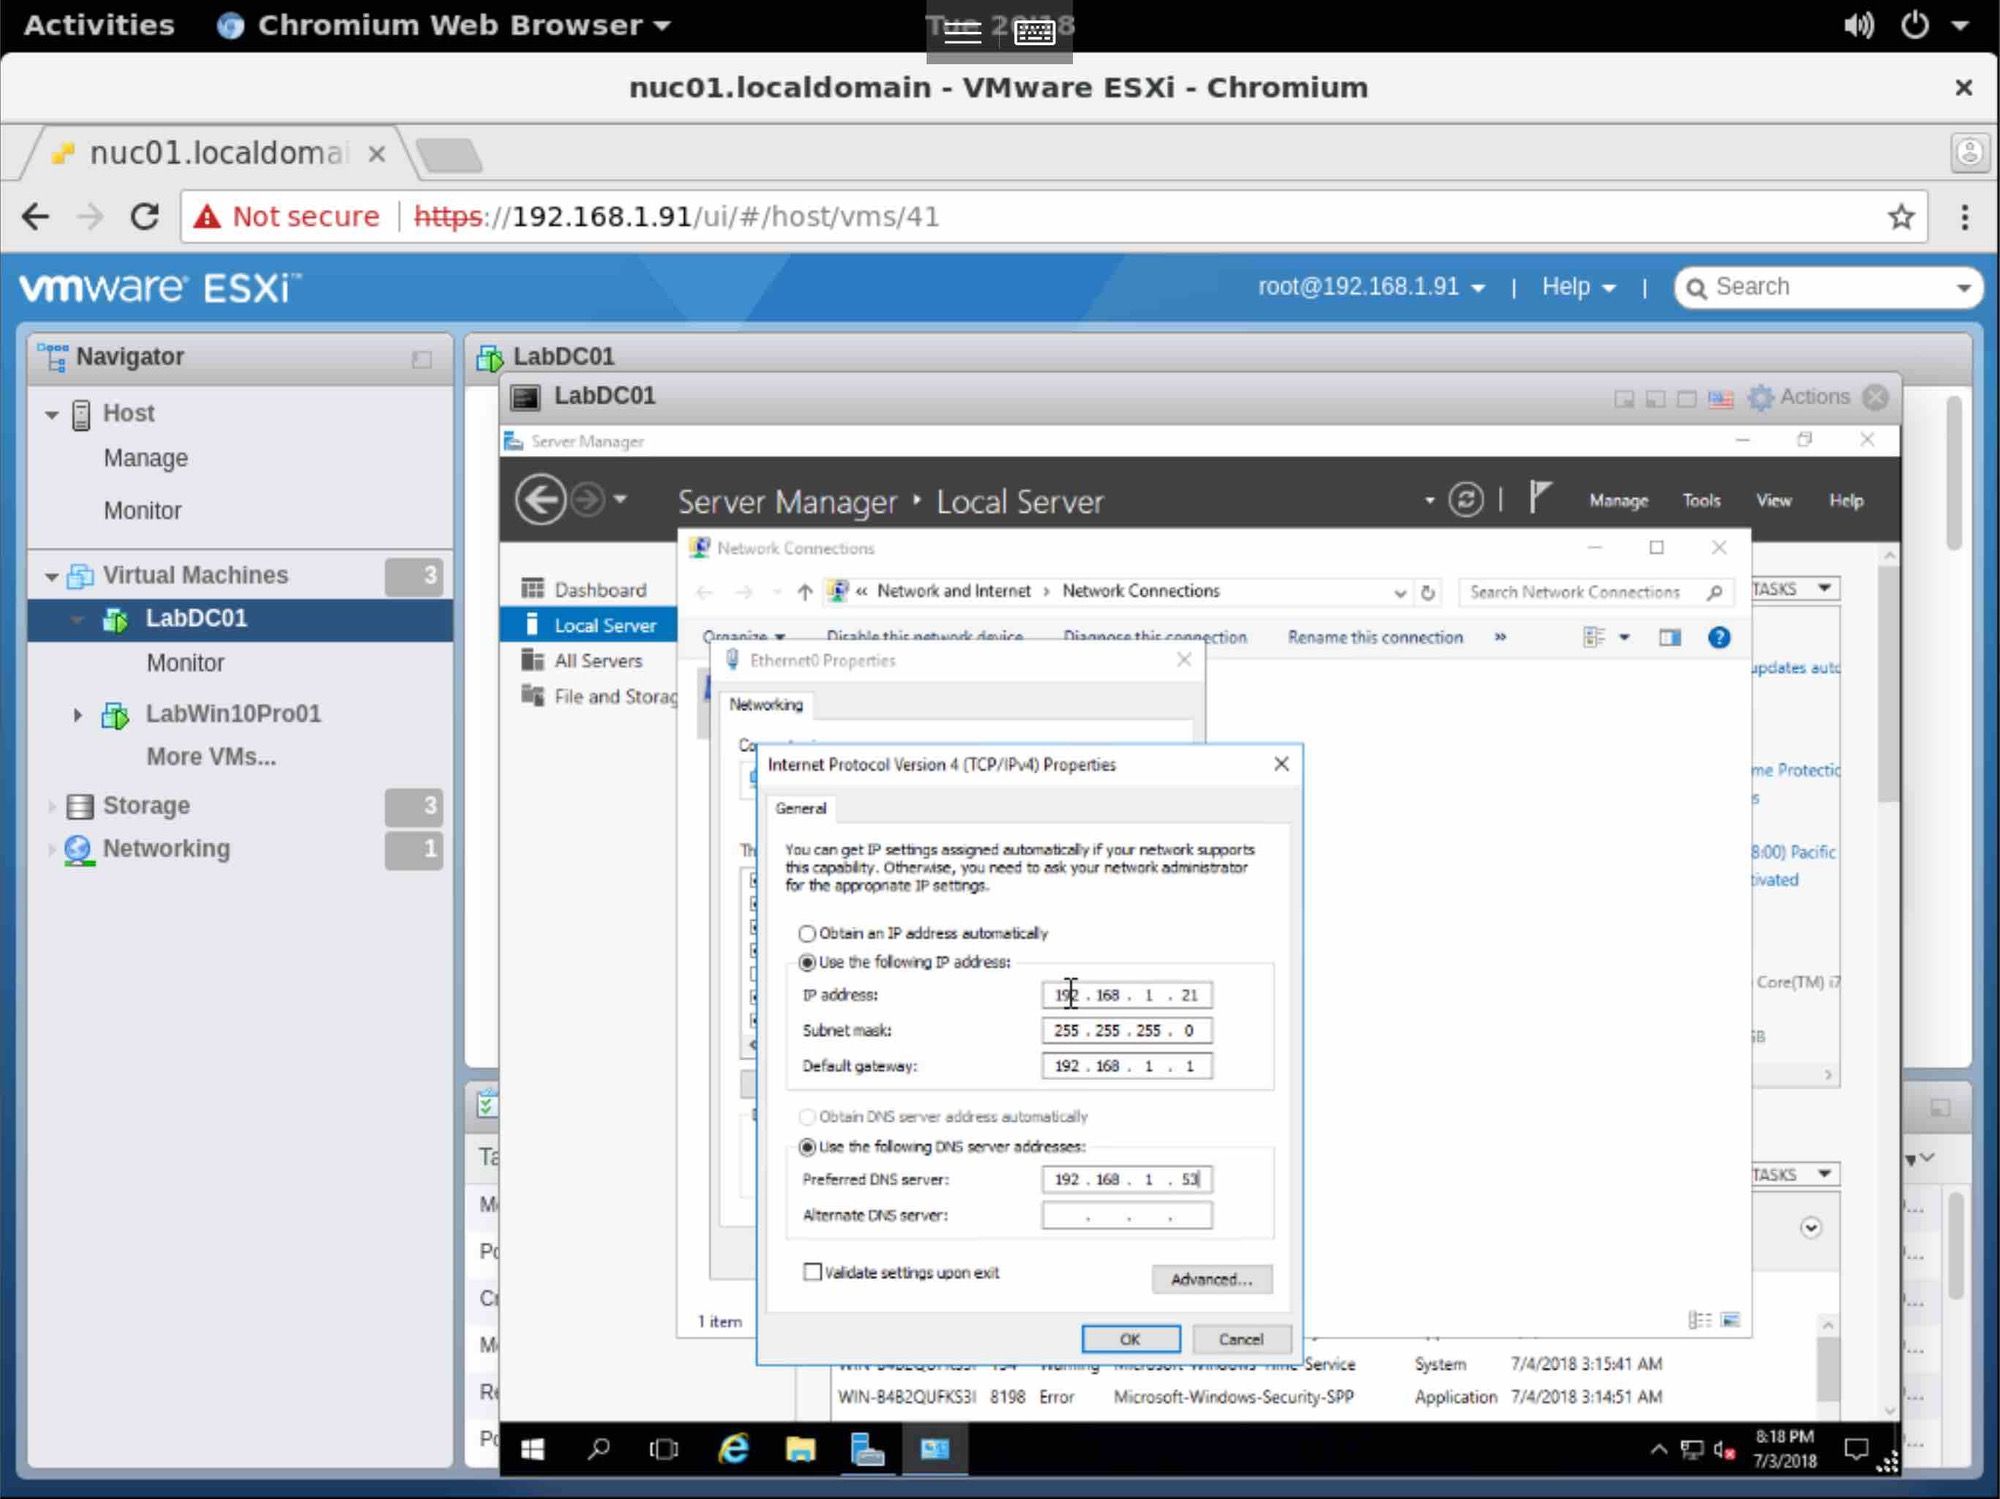
Assign a Static IP, Subnet, Default Gateway, DNS server, and click OK.
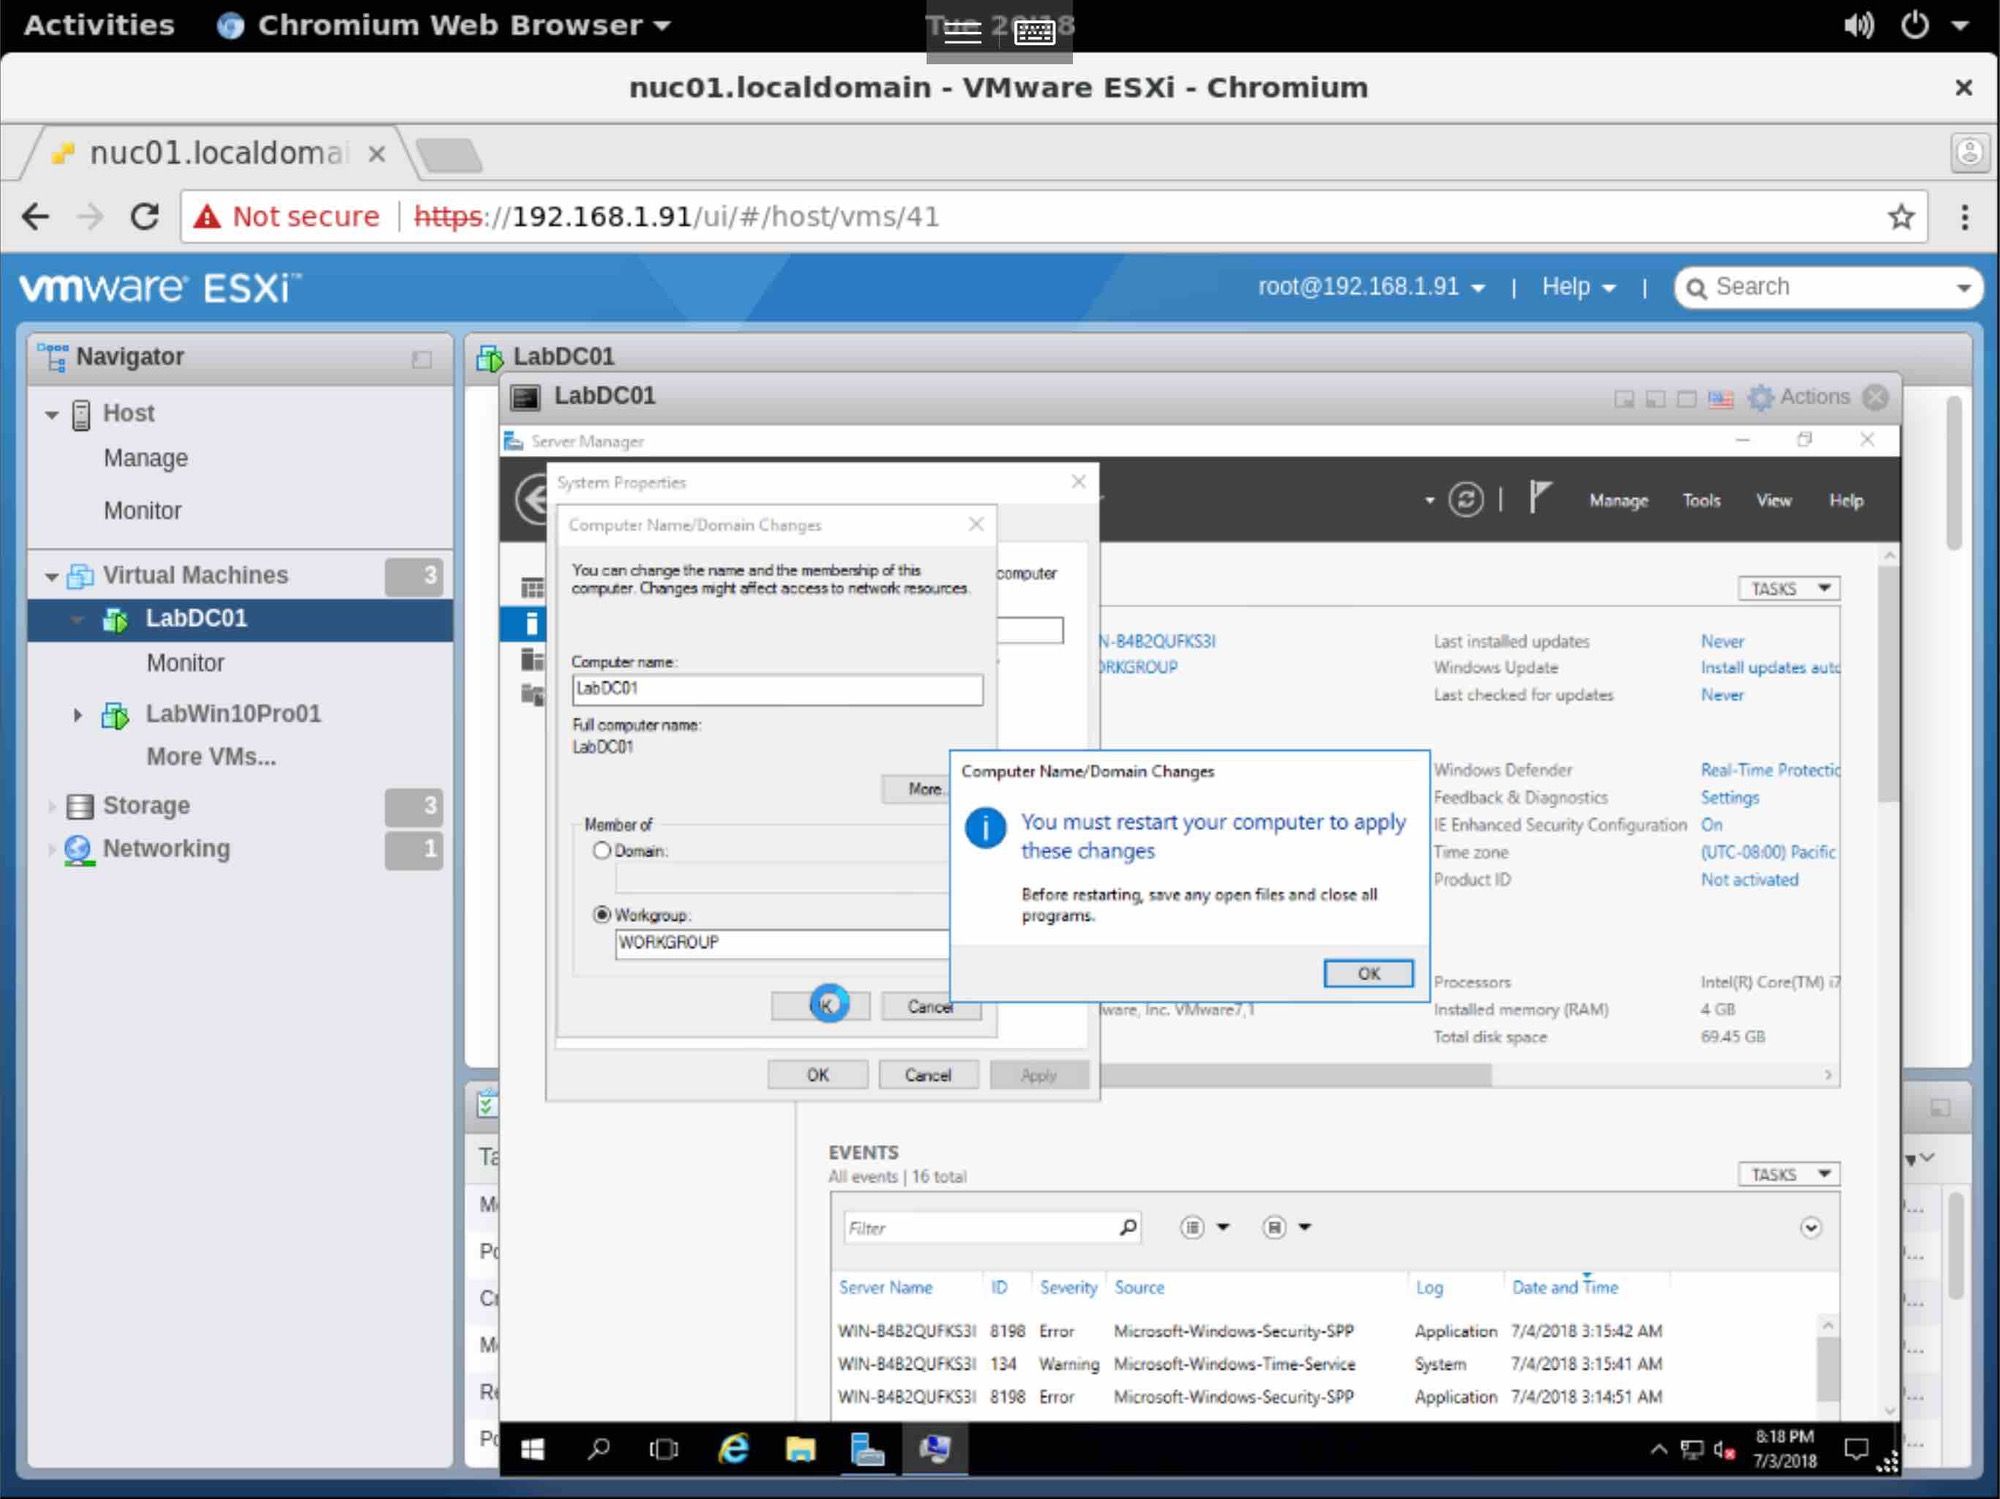
Click on the Computer Name, click OK.
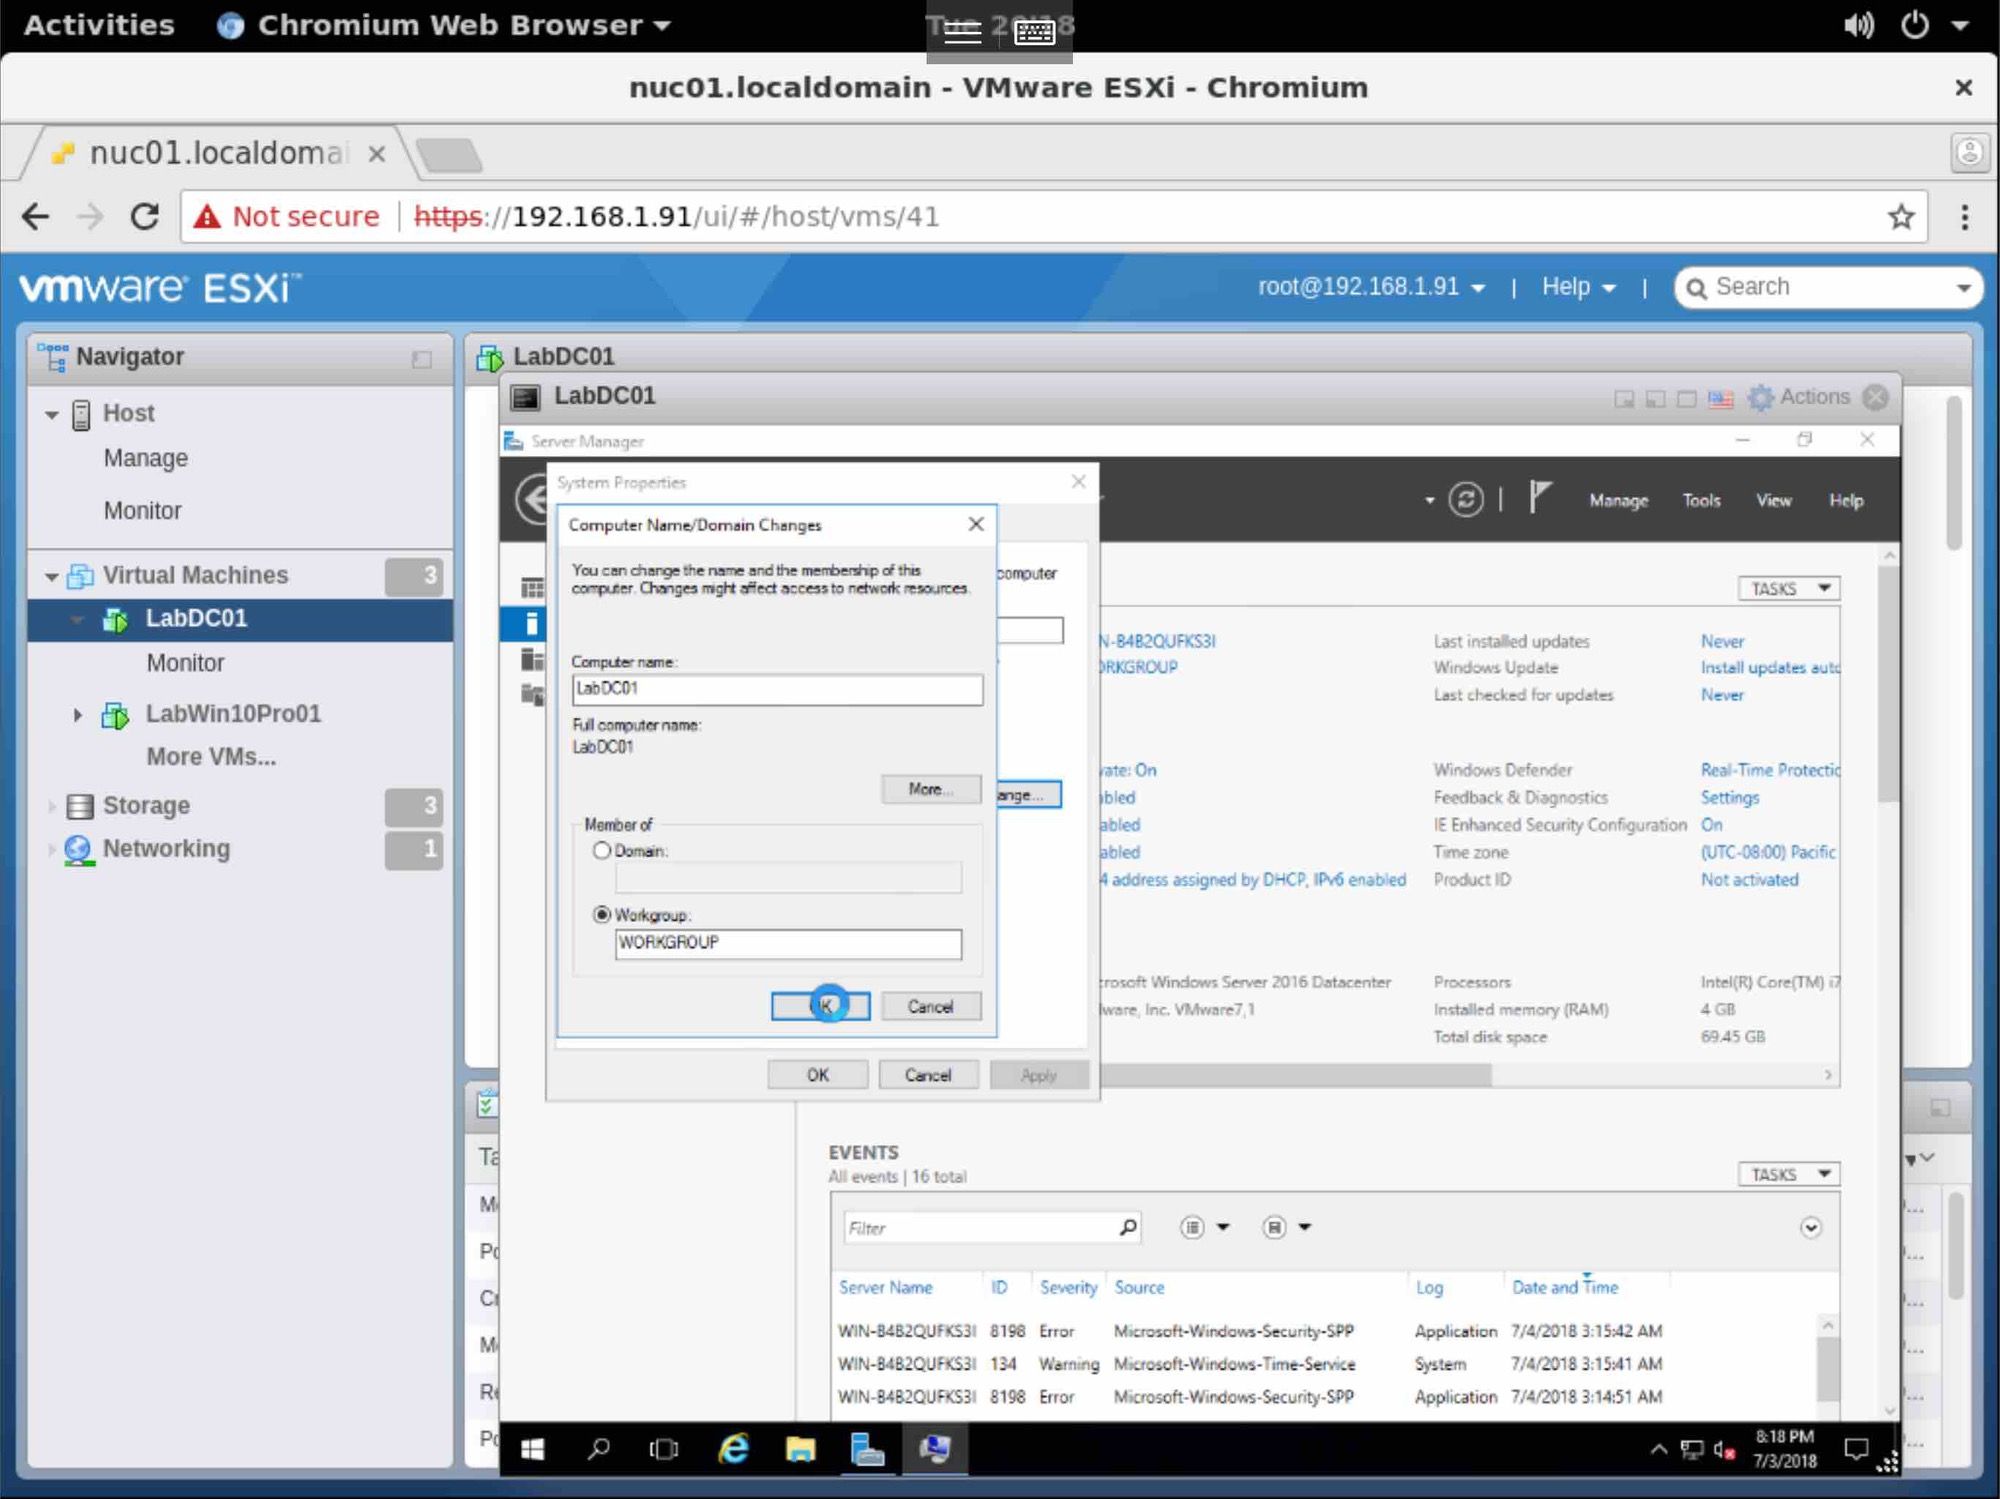
A name change requires a reboot. Reboot, and log back in.
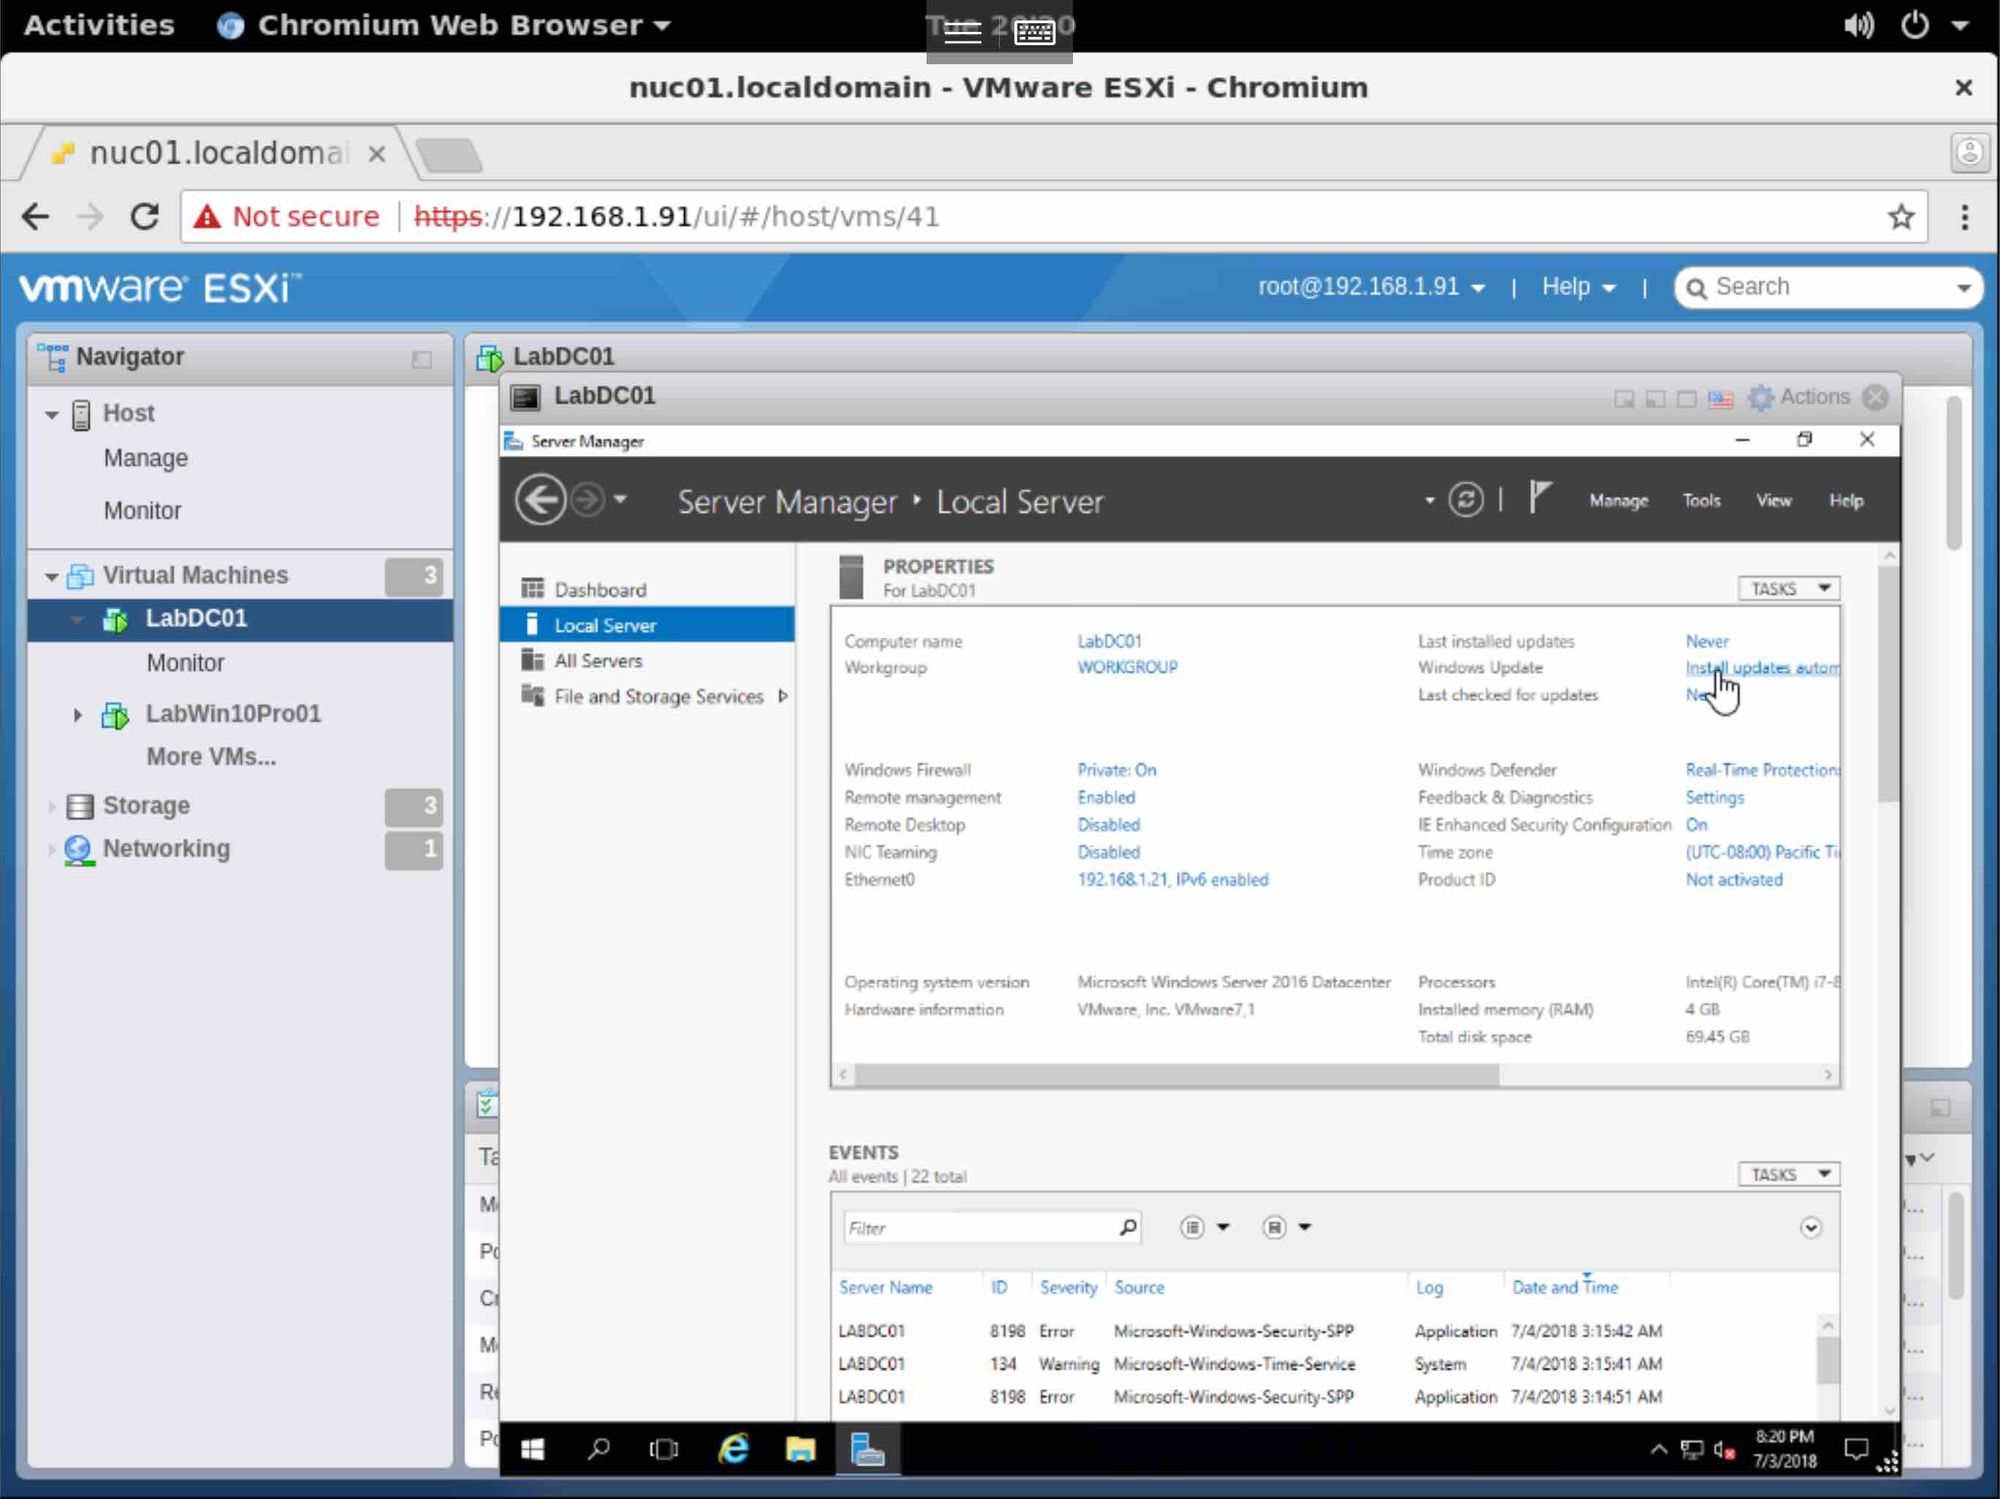
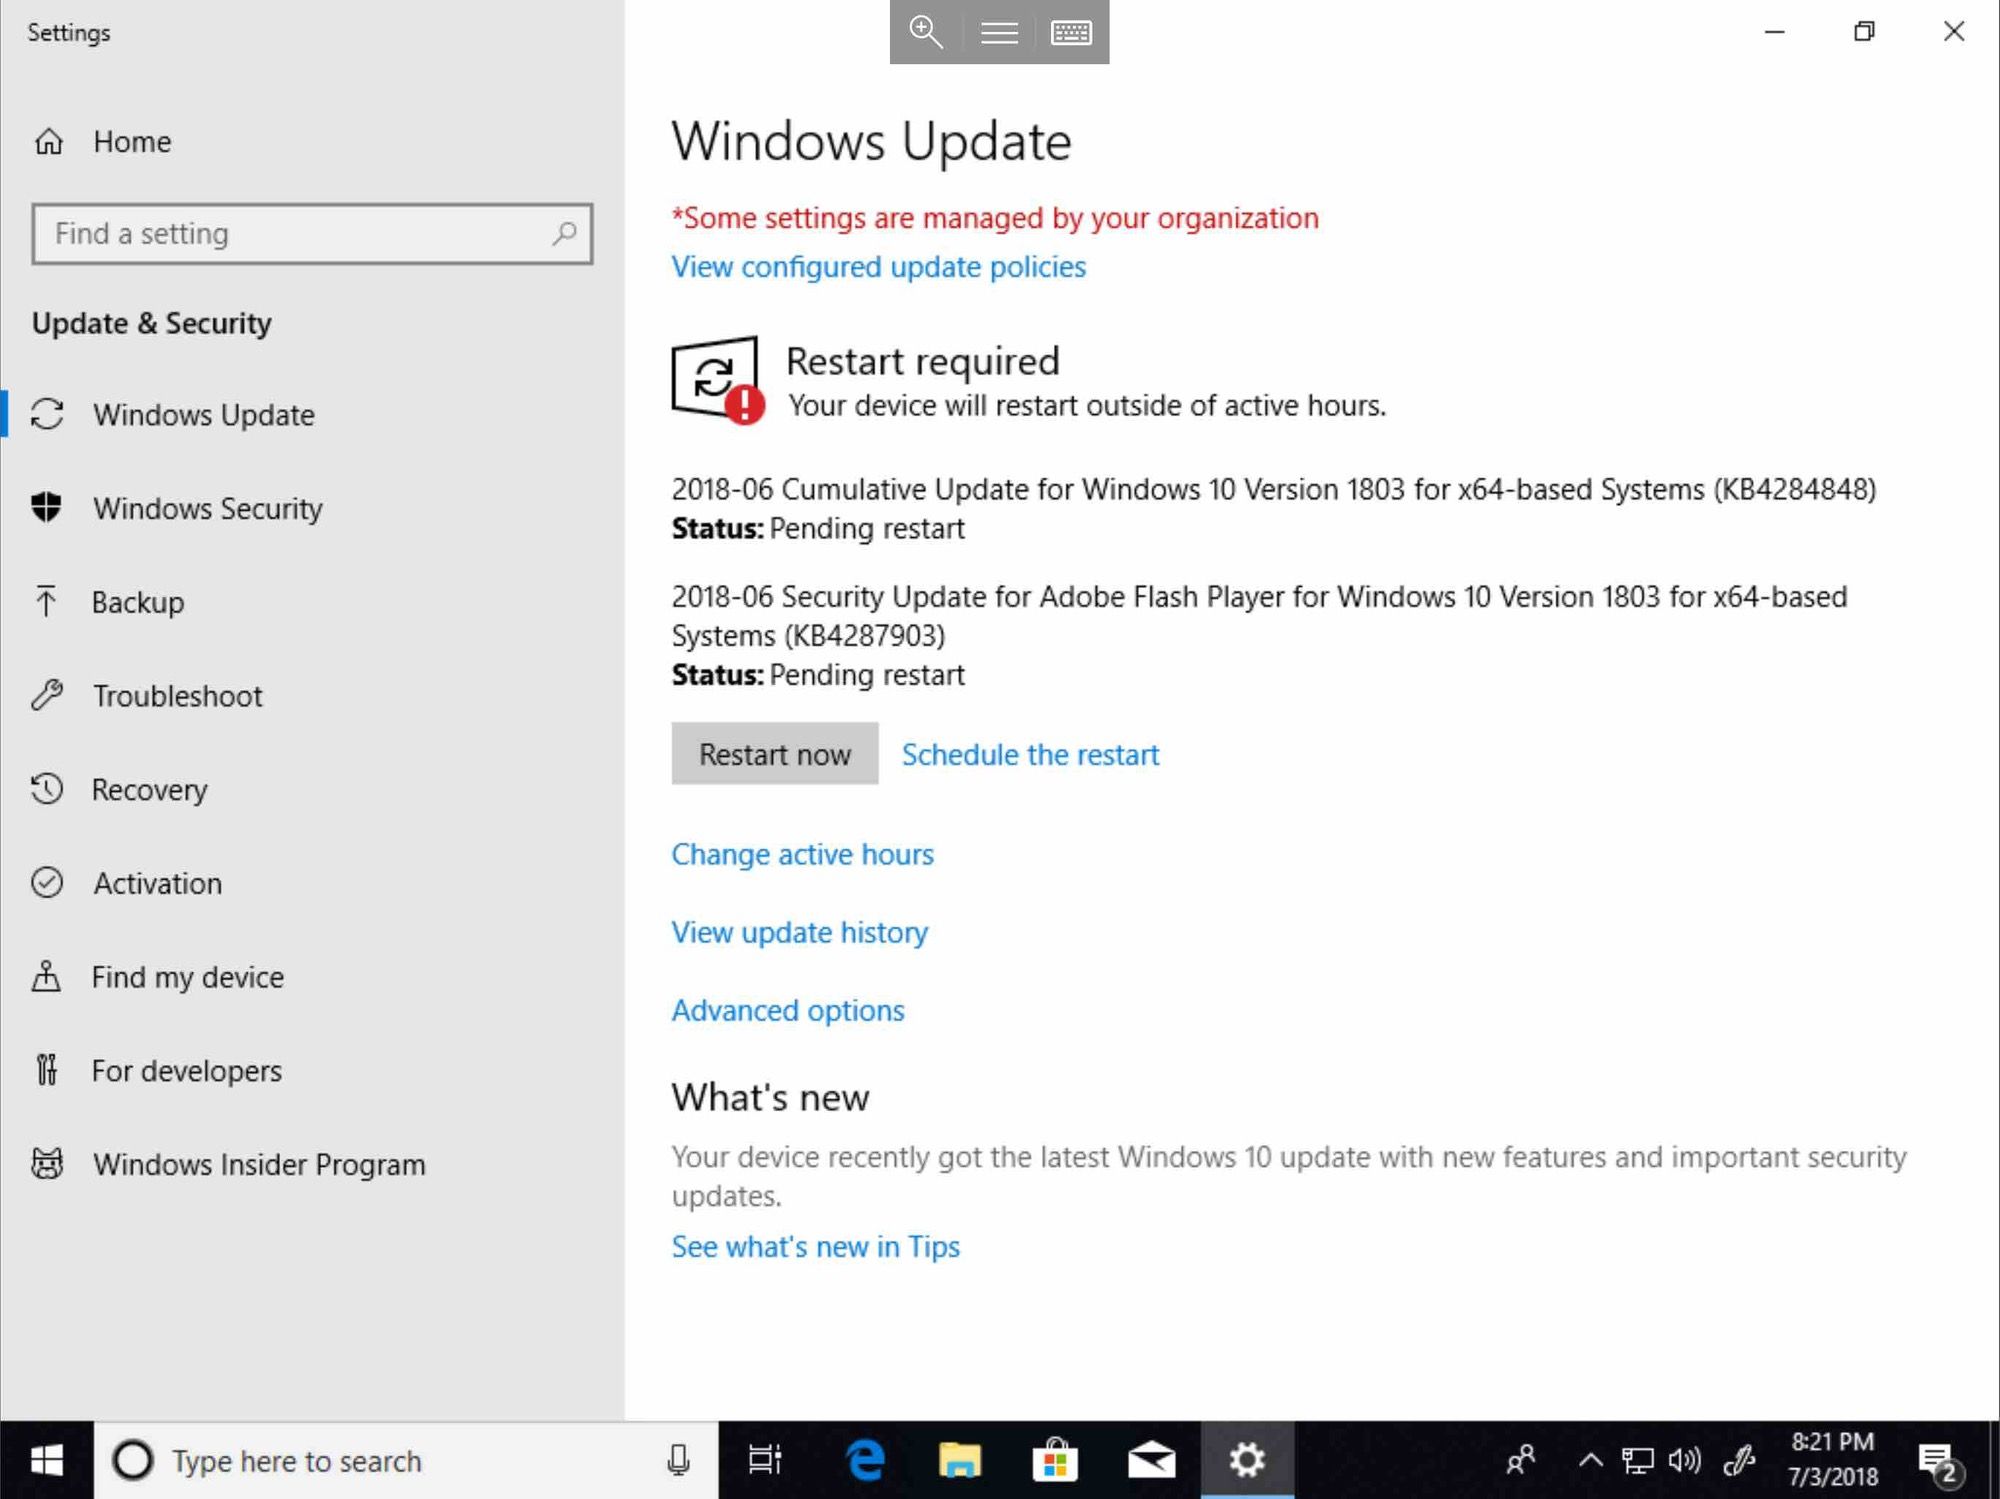
Click on Windows Updates, then Check for Updates.
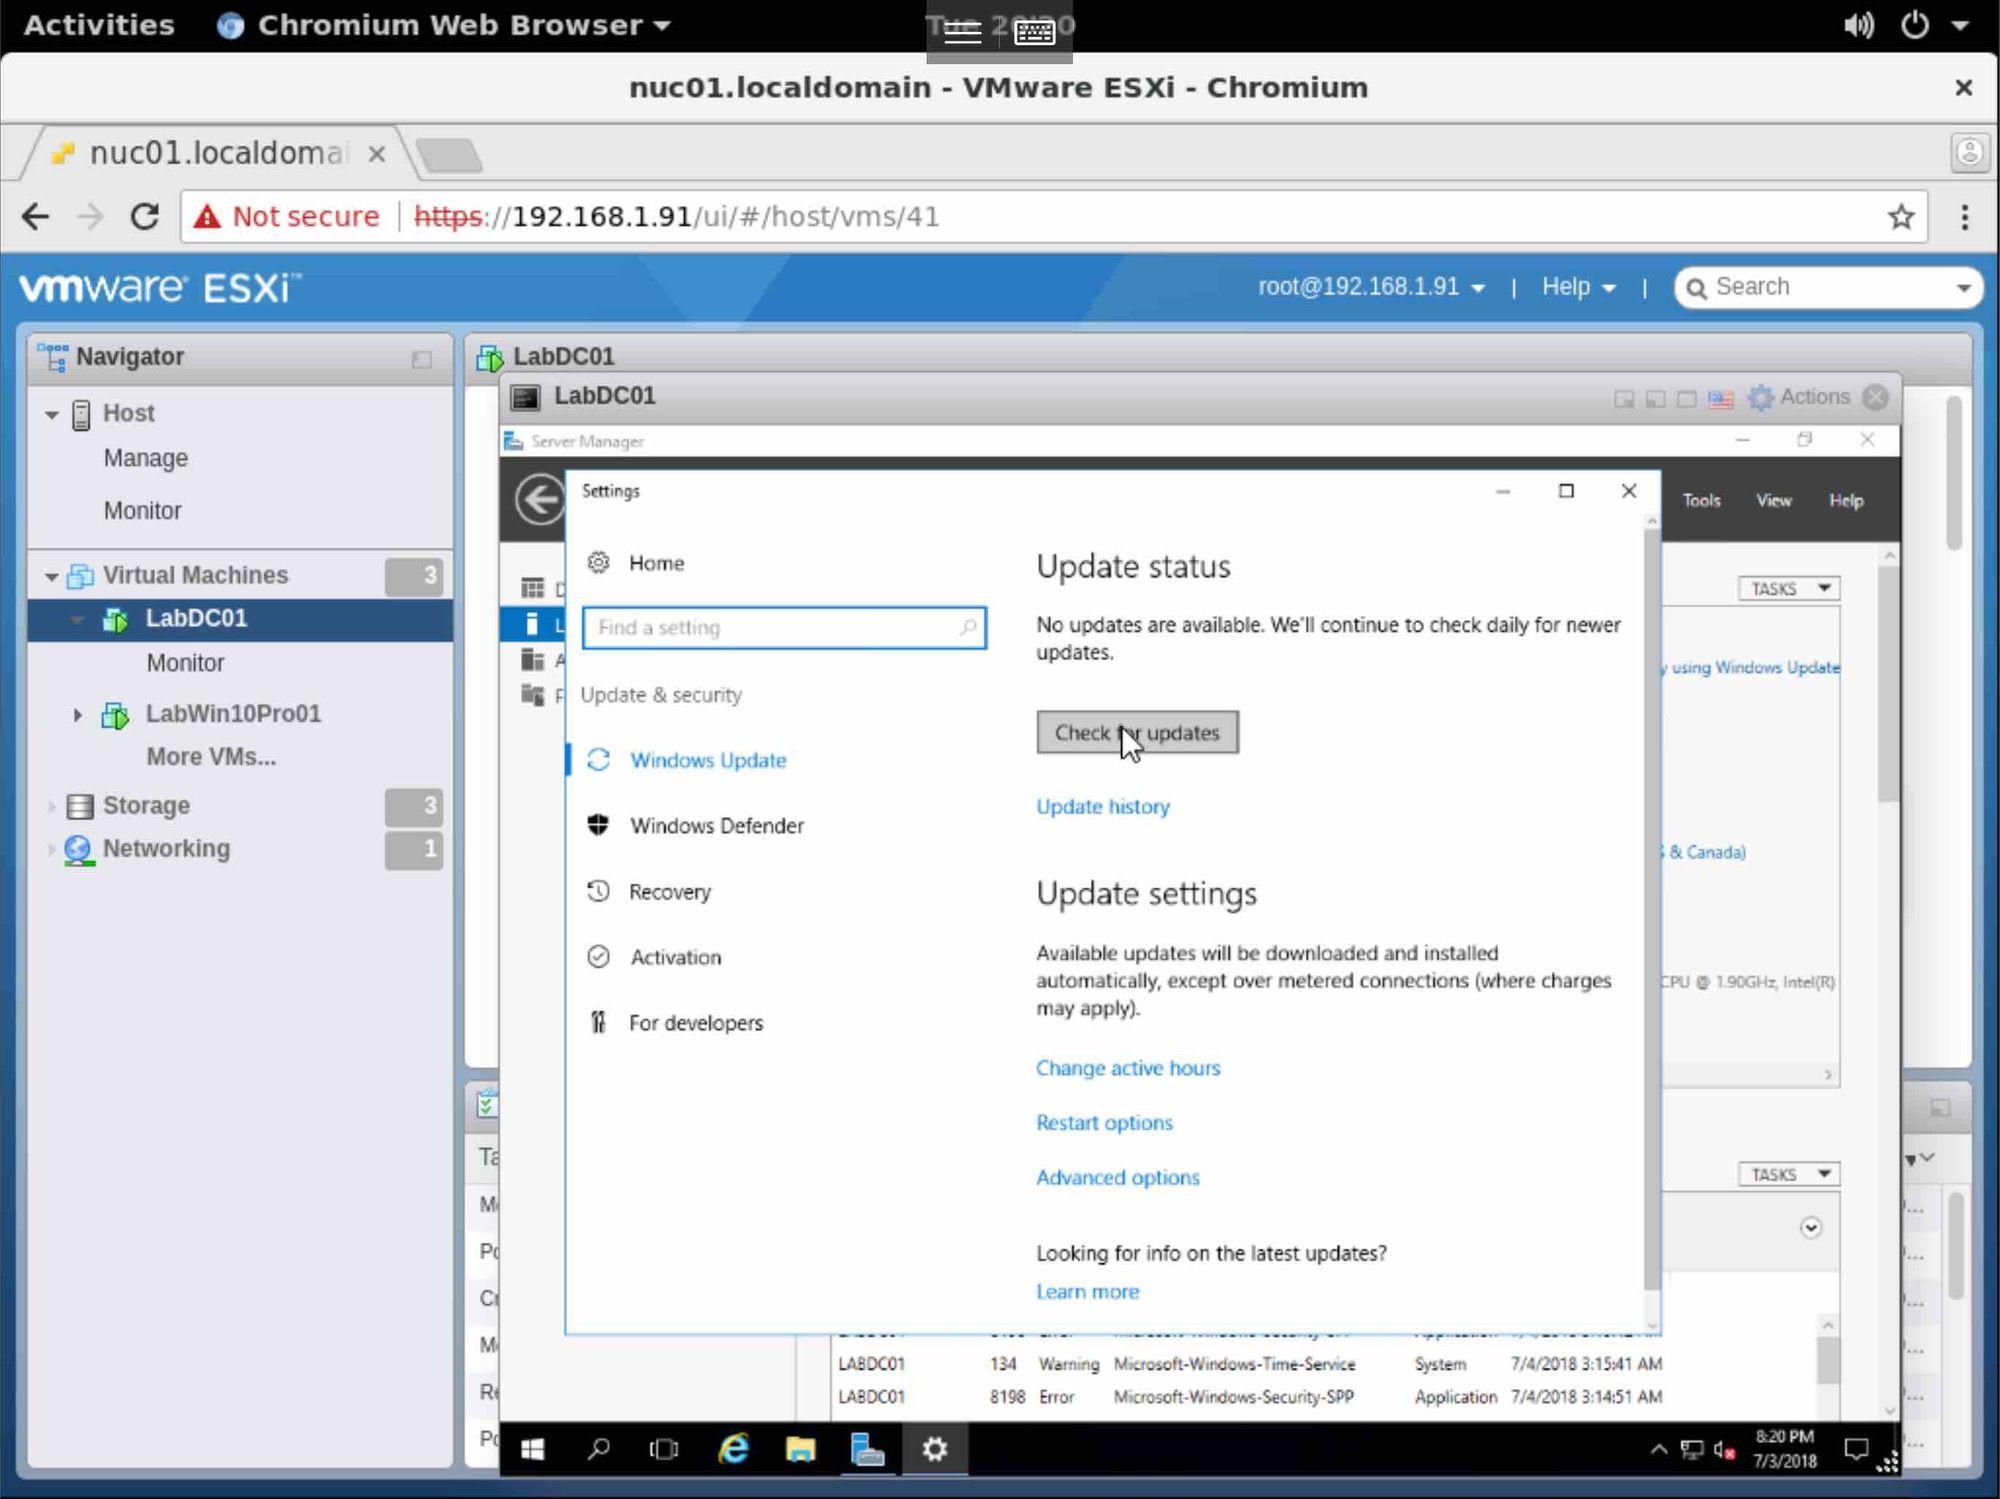
Select, and apply any available updates.
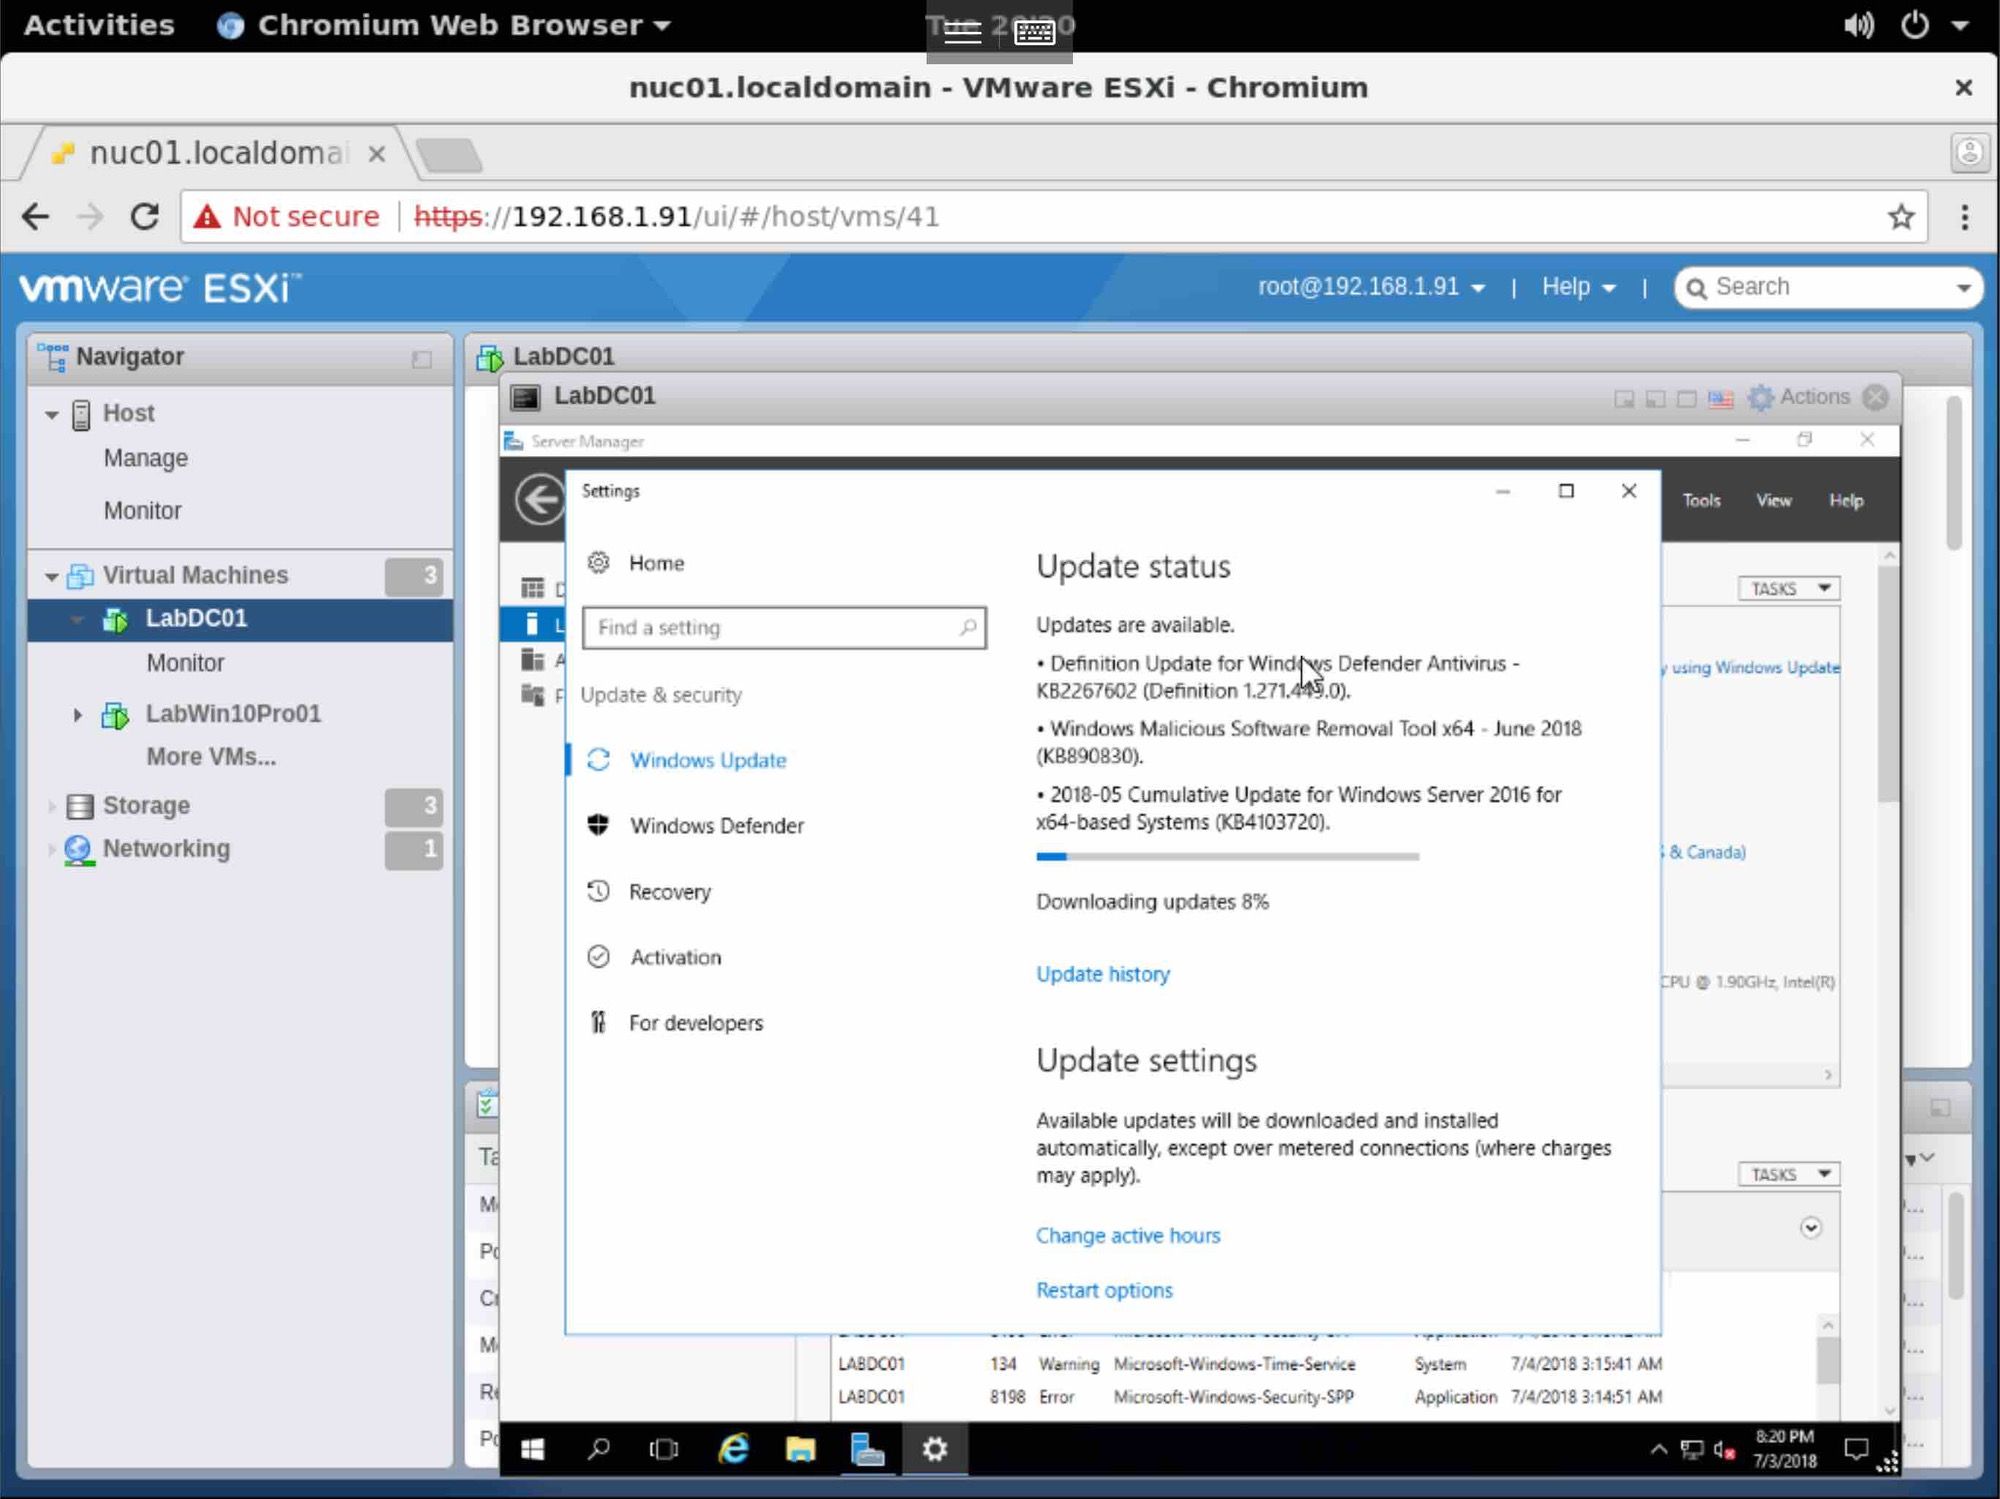
Reboot when required, and log back in.
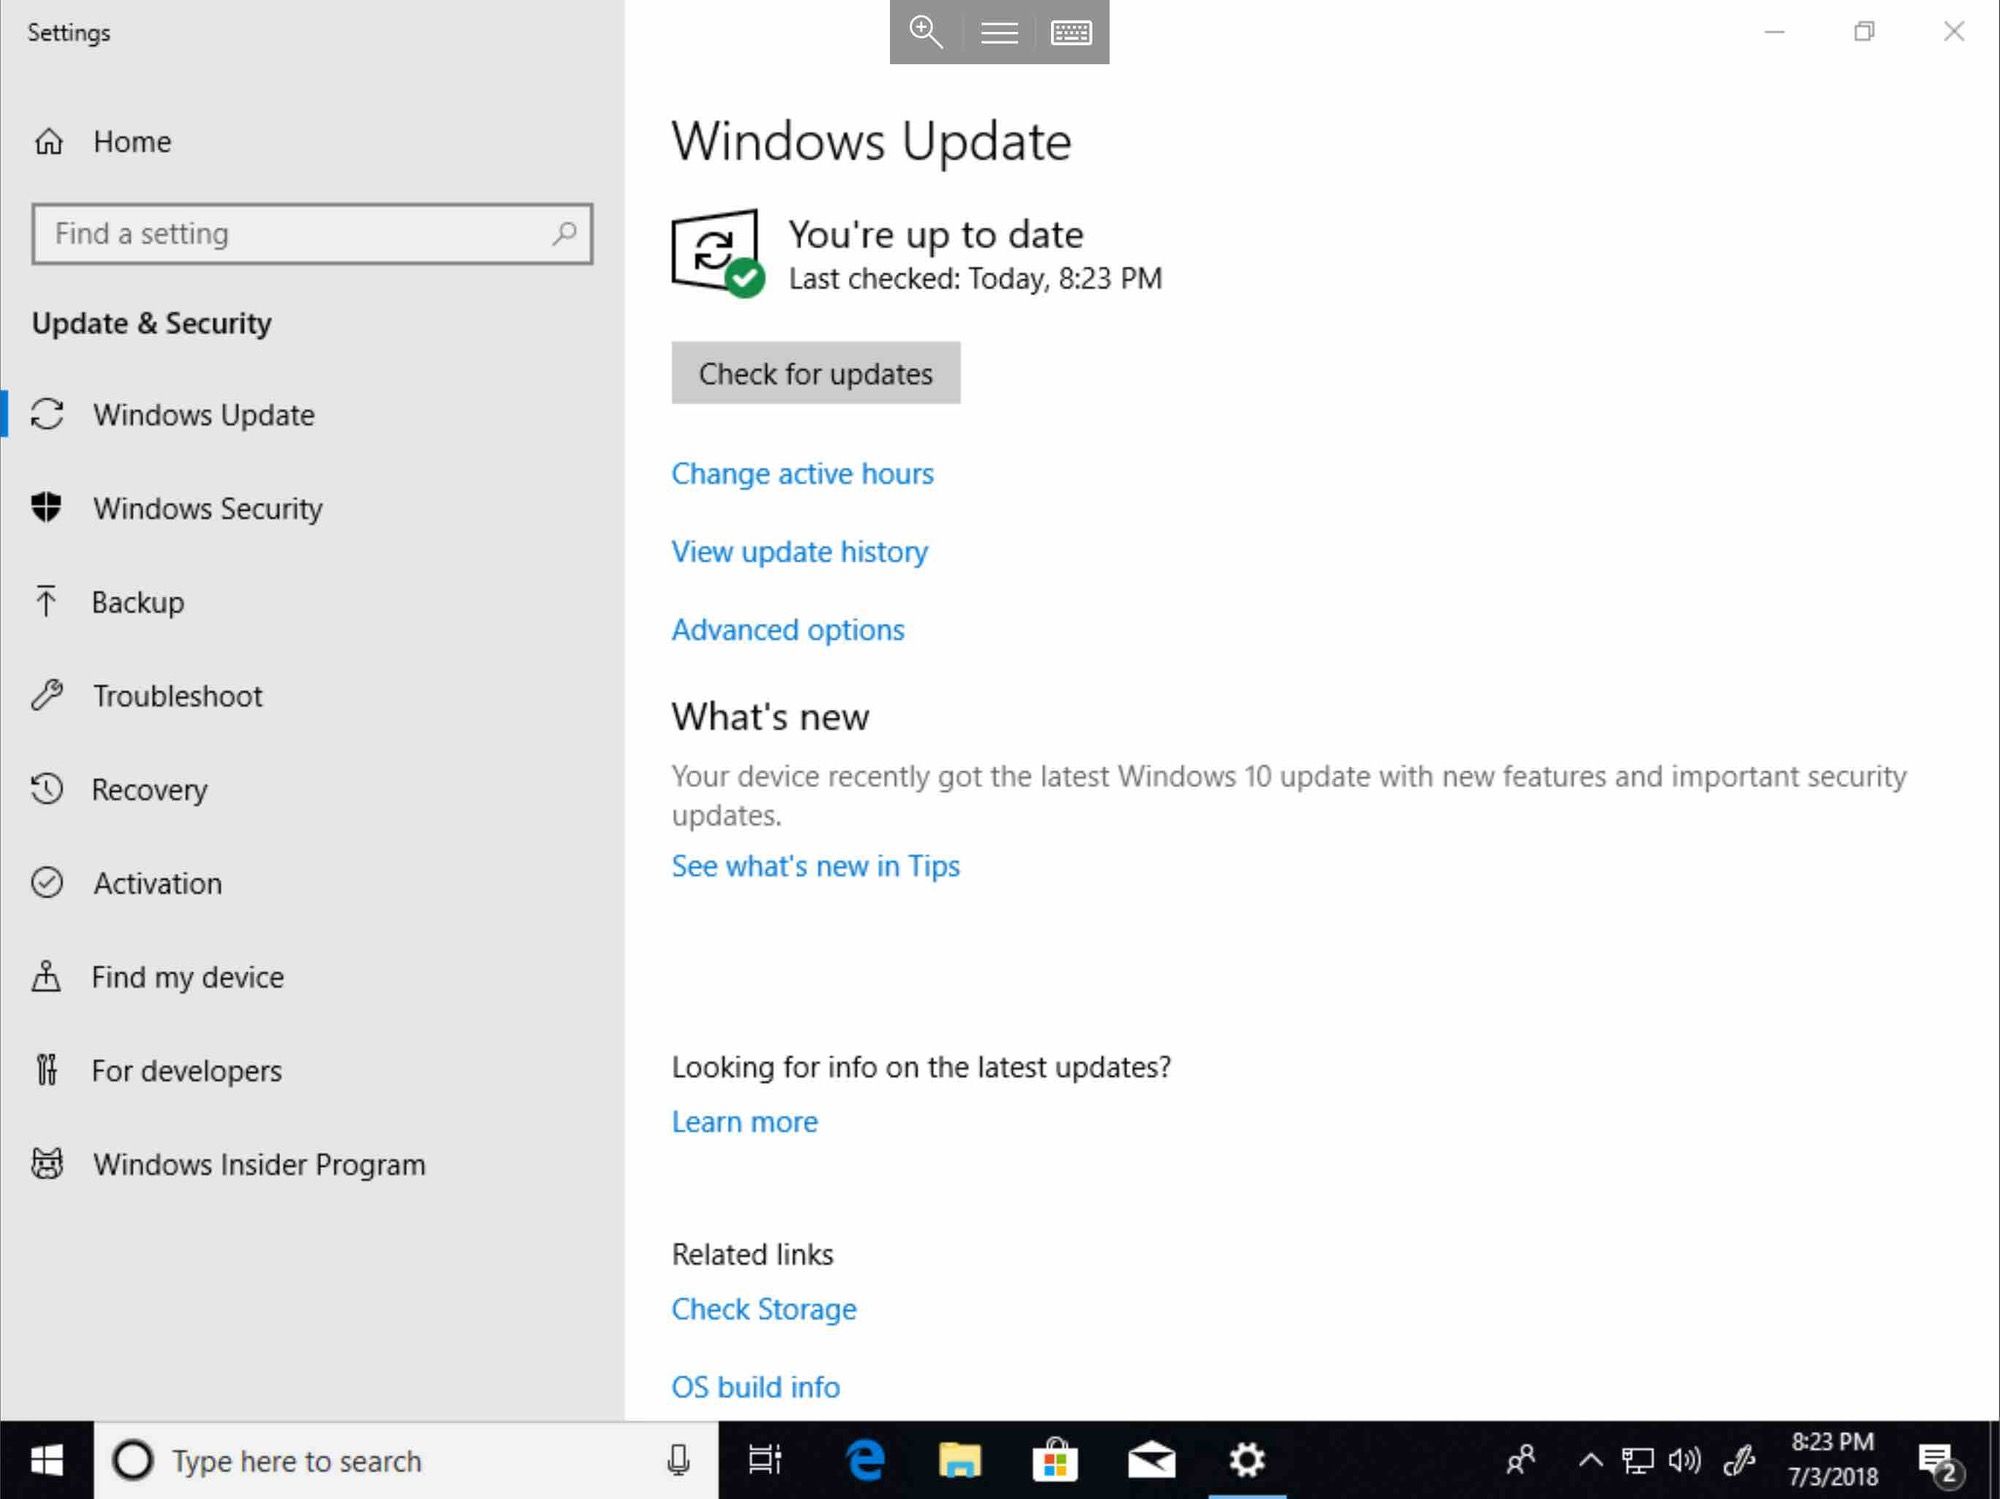
Continue to check, and apply updates, until no more are available.
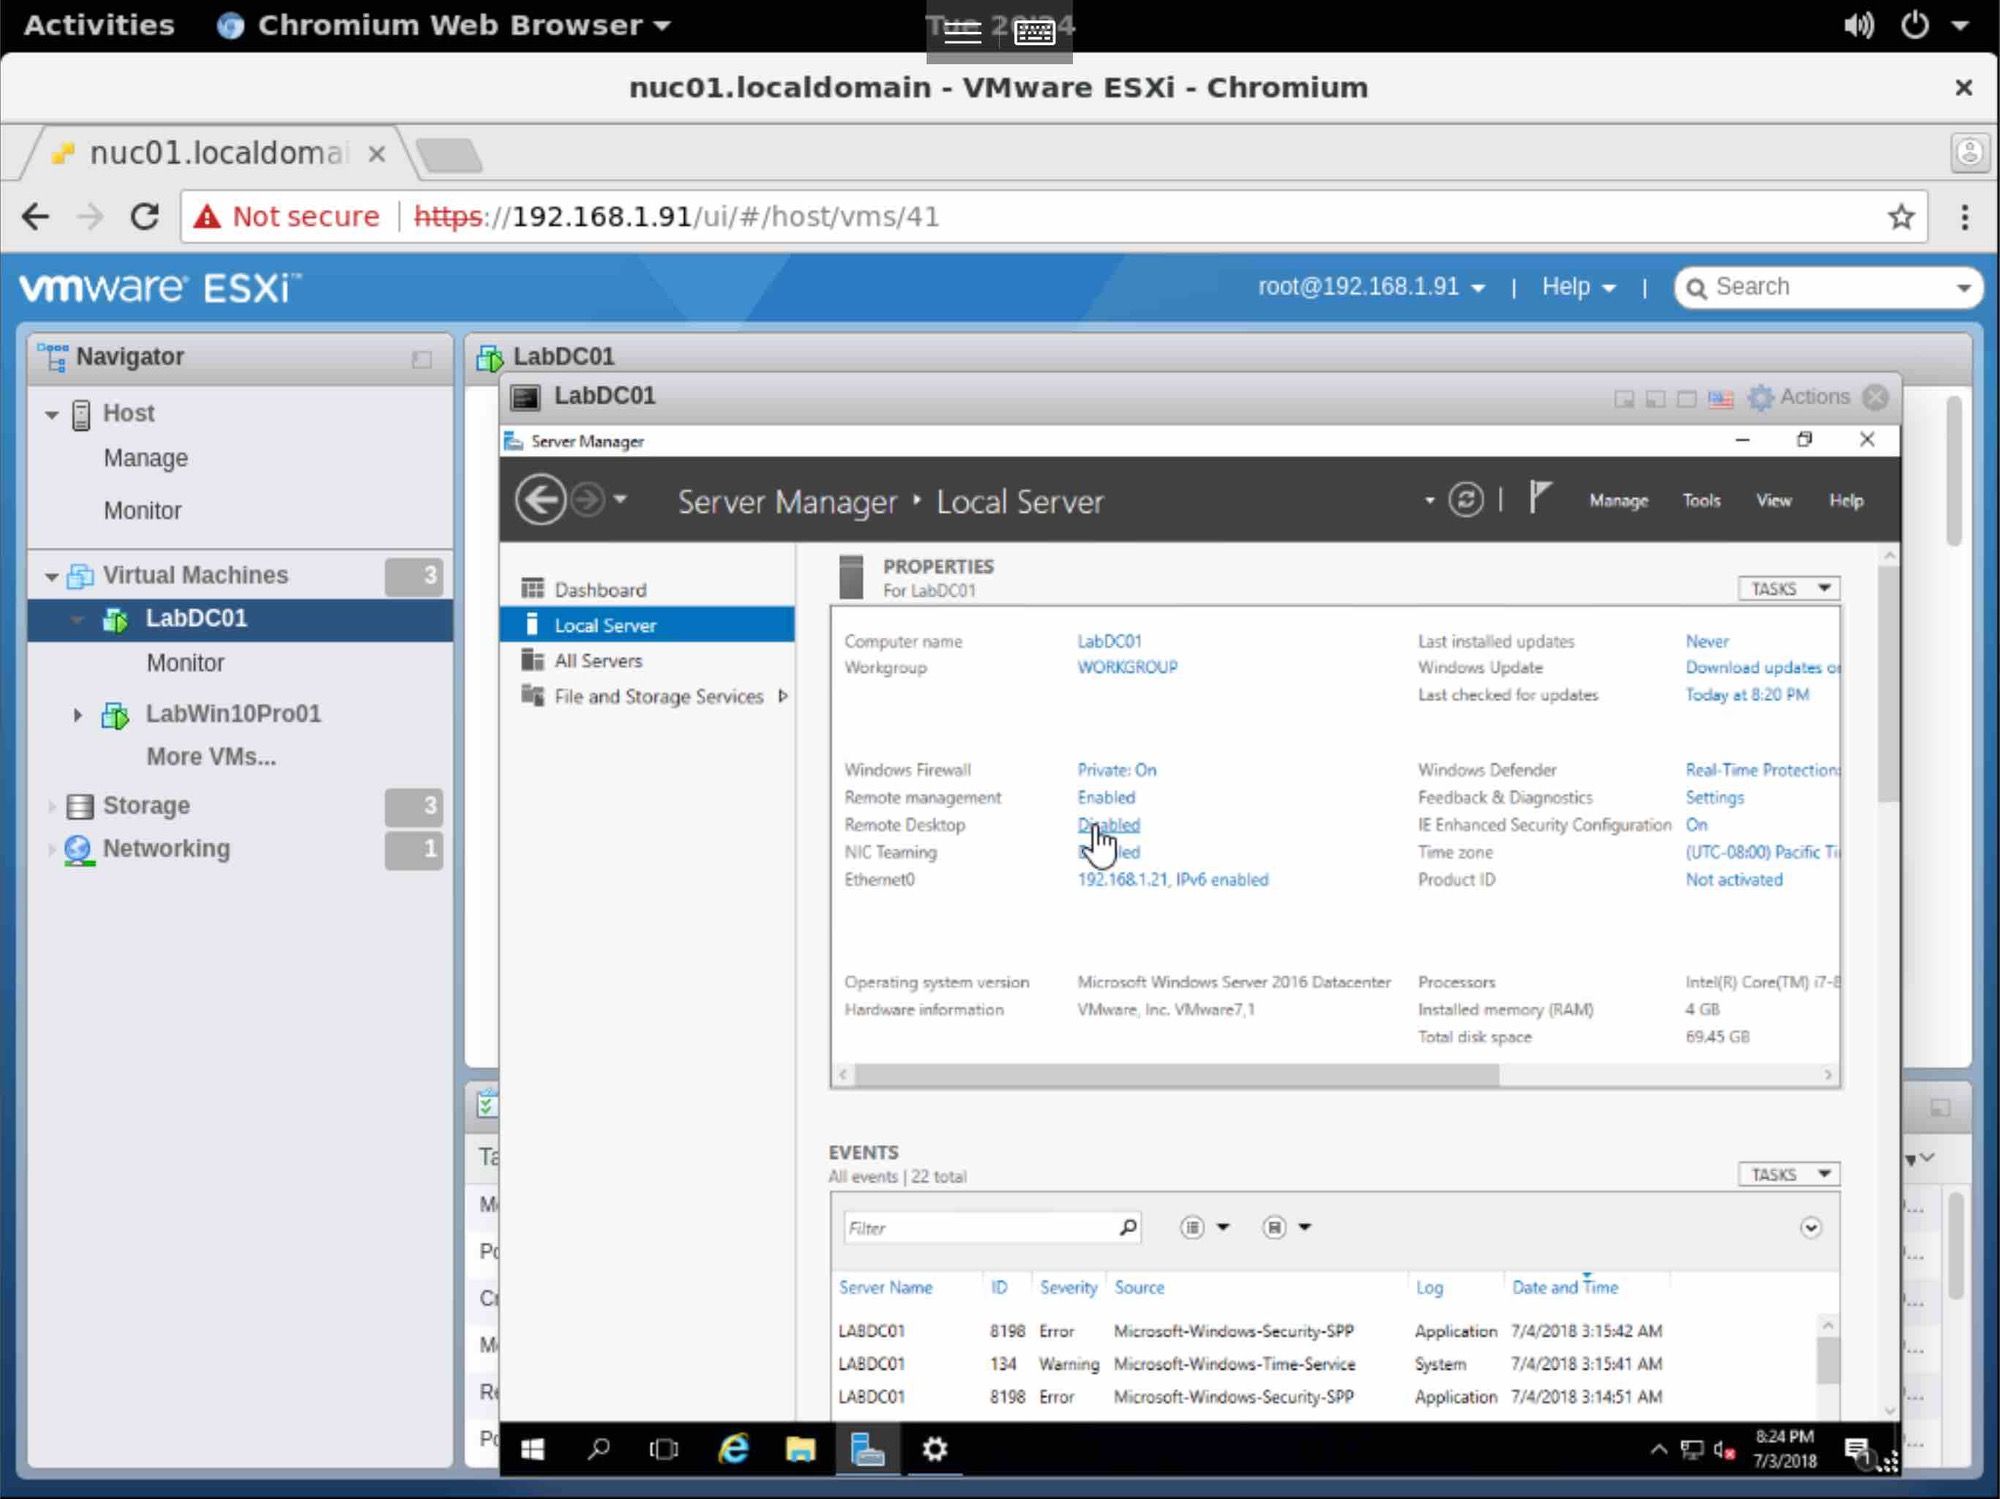
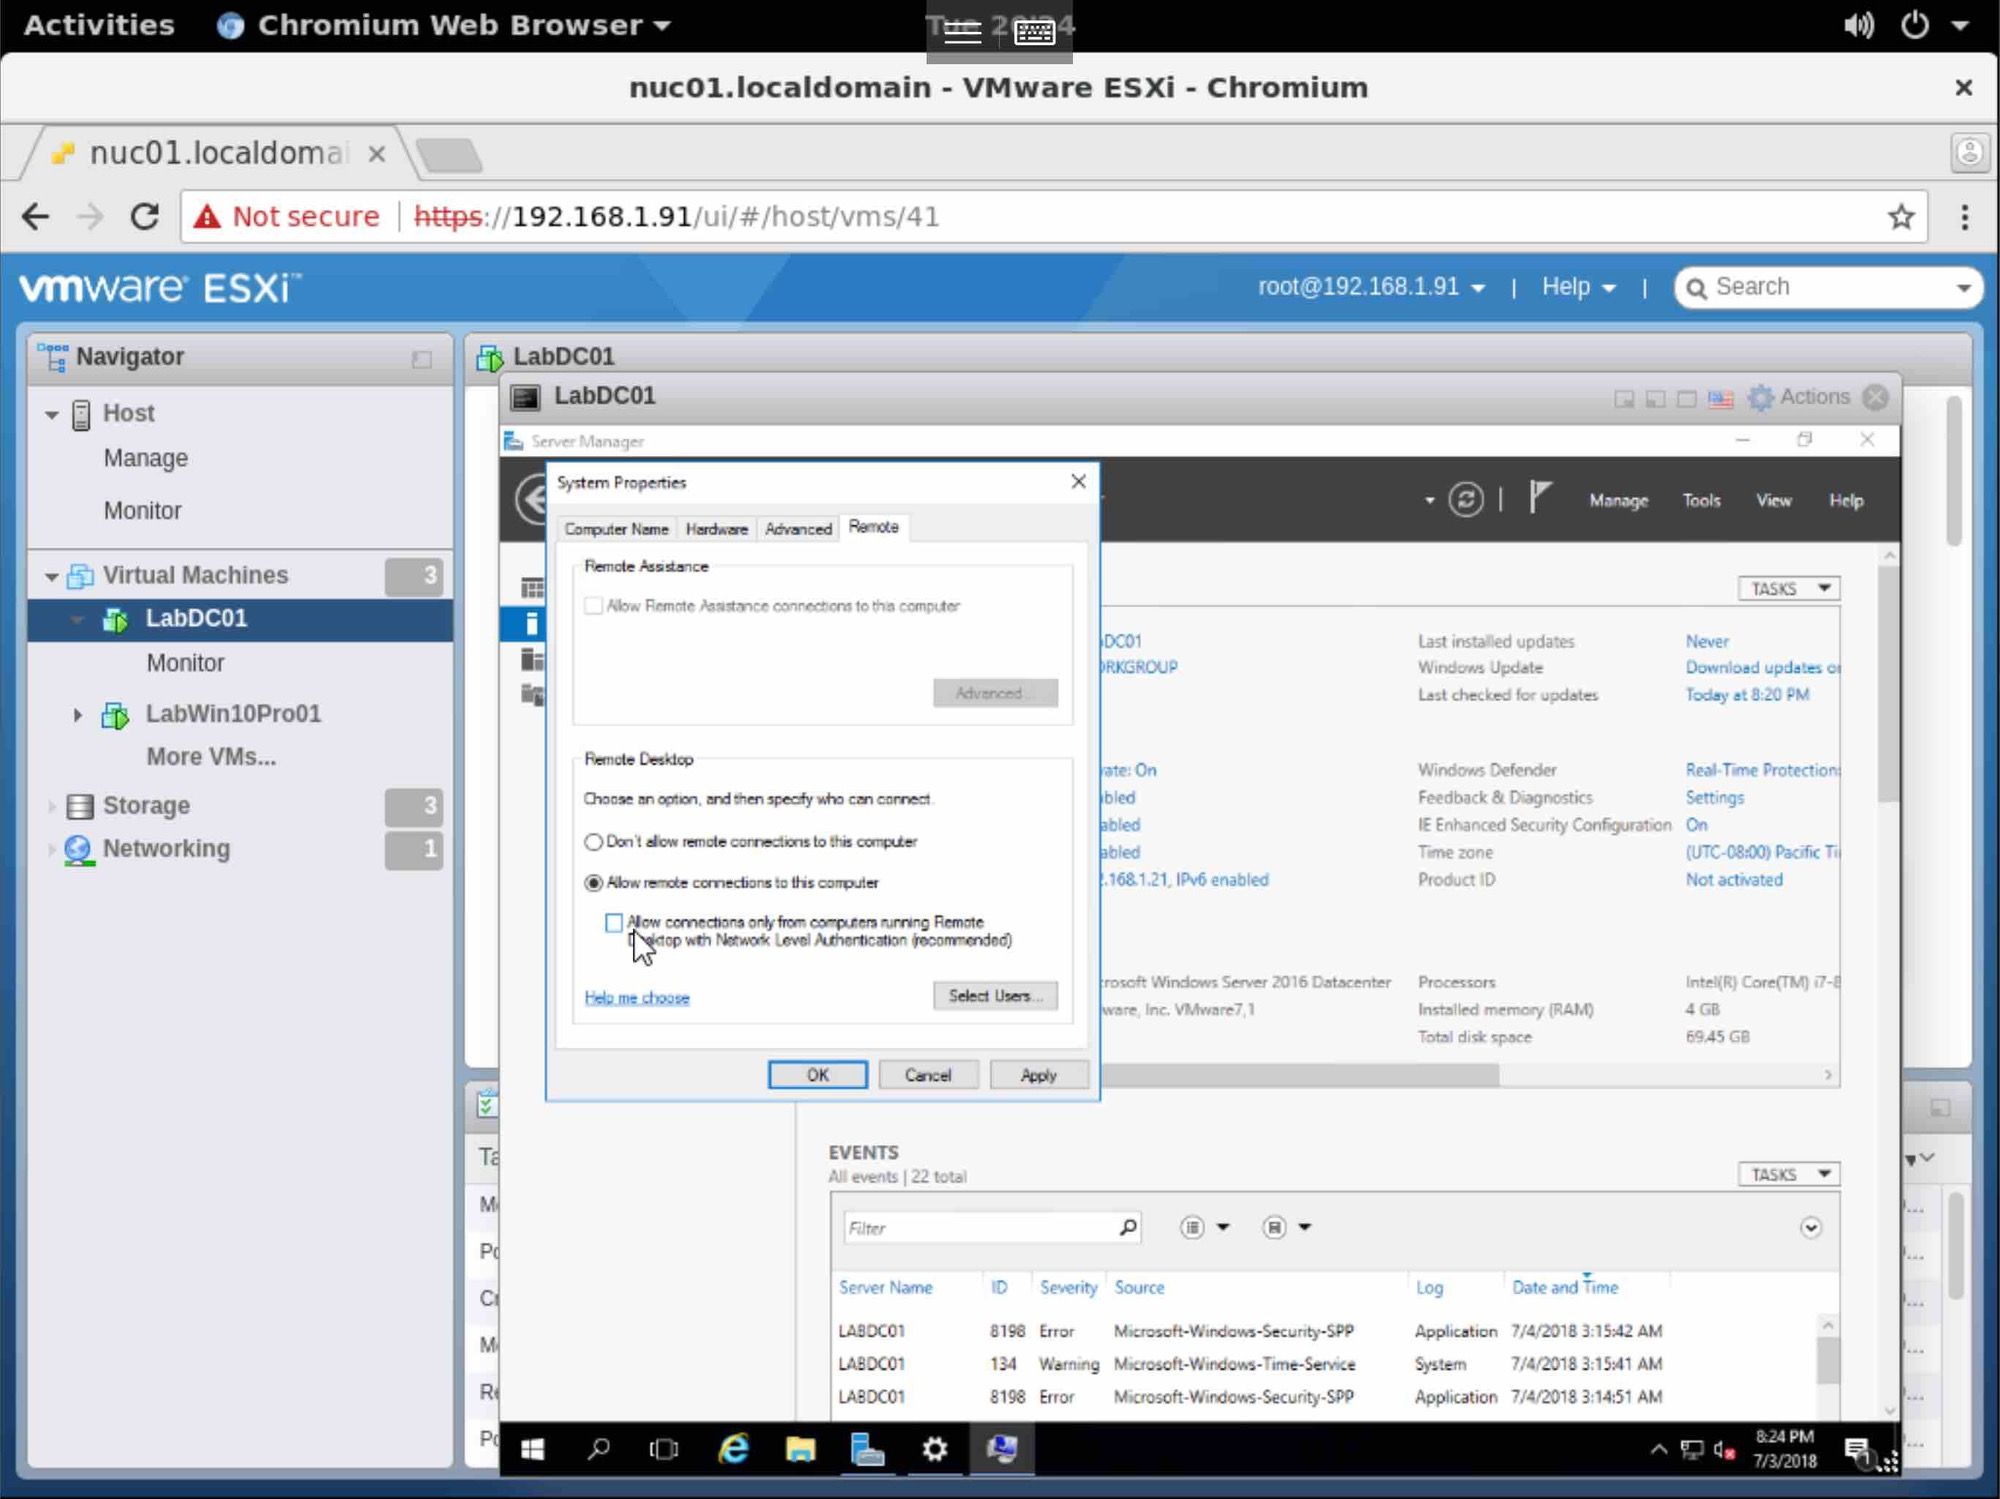
In my lab environment I’m enabling RDP, and selecting to allow non network authenticated clients. This is not a secure setting and is only used here to ease setup of the lab, until the core is up.
Create the second Domain Controller VM, install, assign Hostname, assign IP, enable RDP, and patch until current.

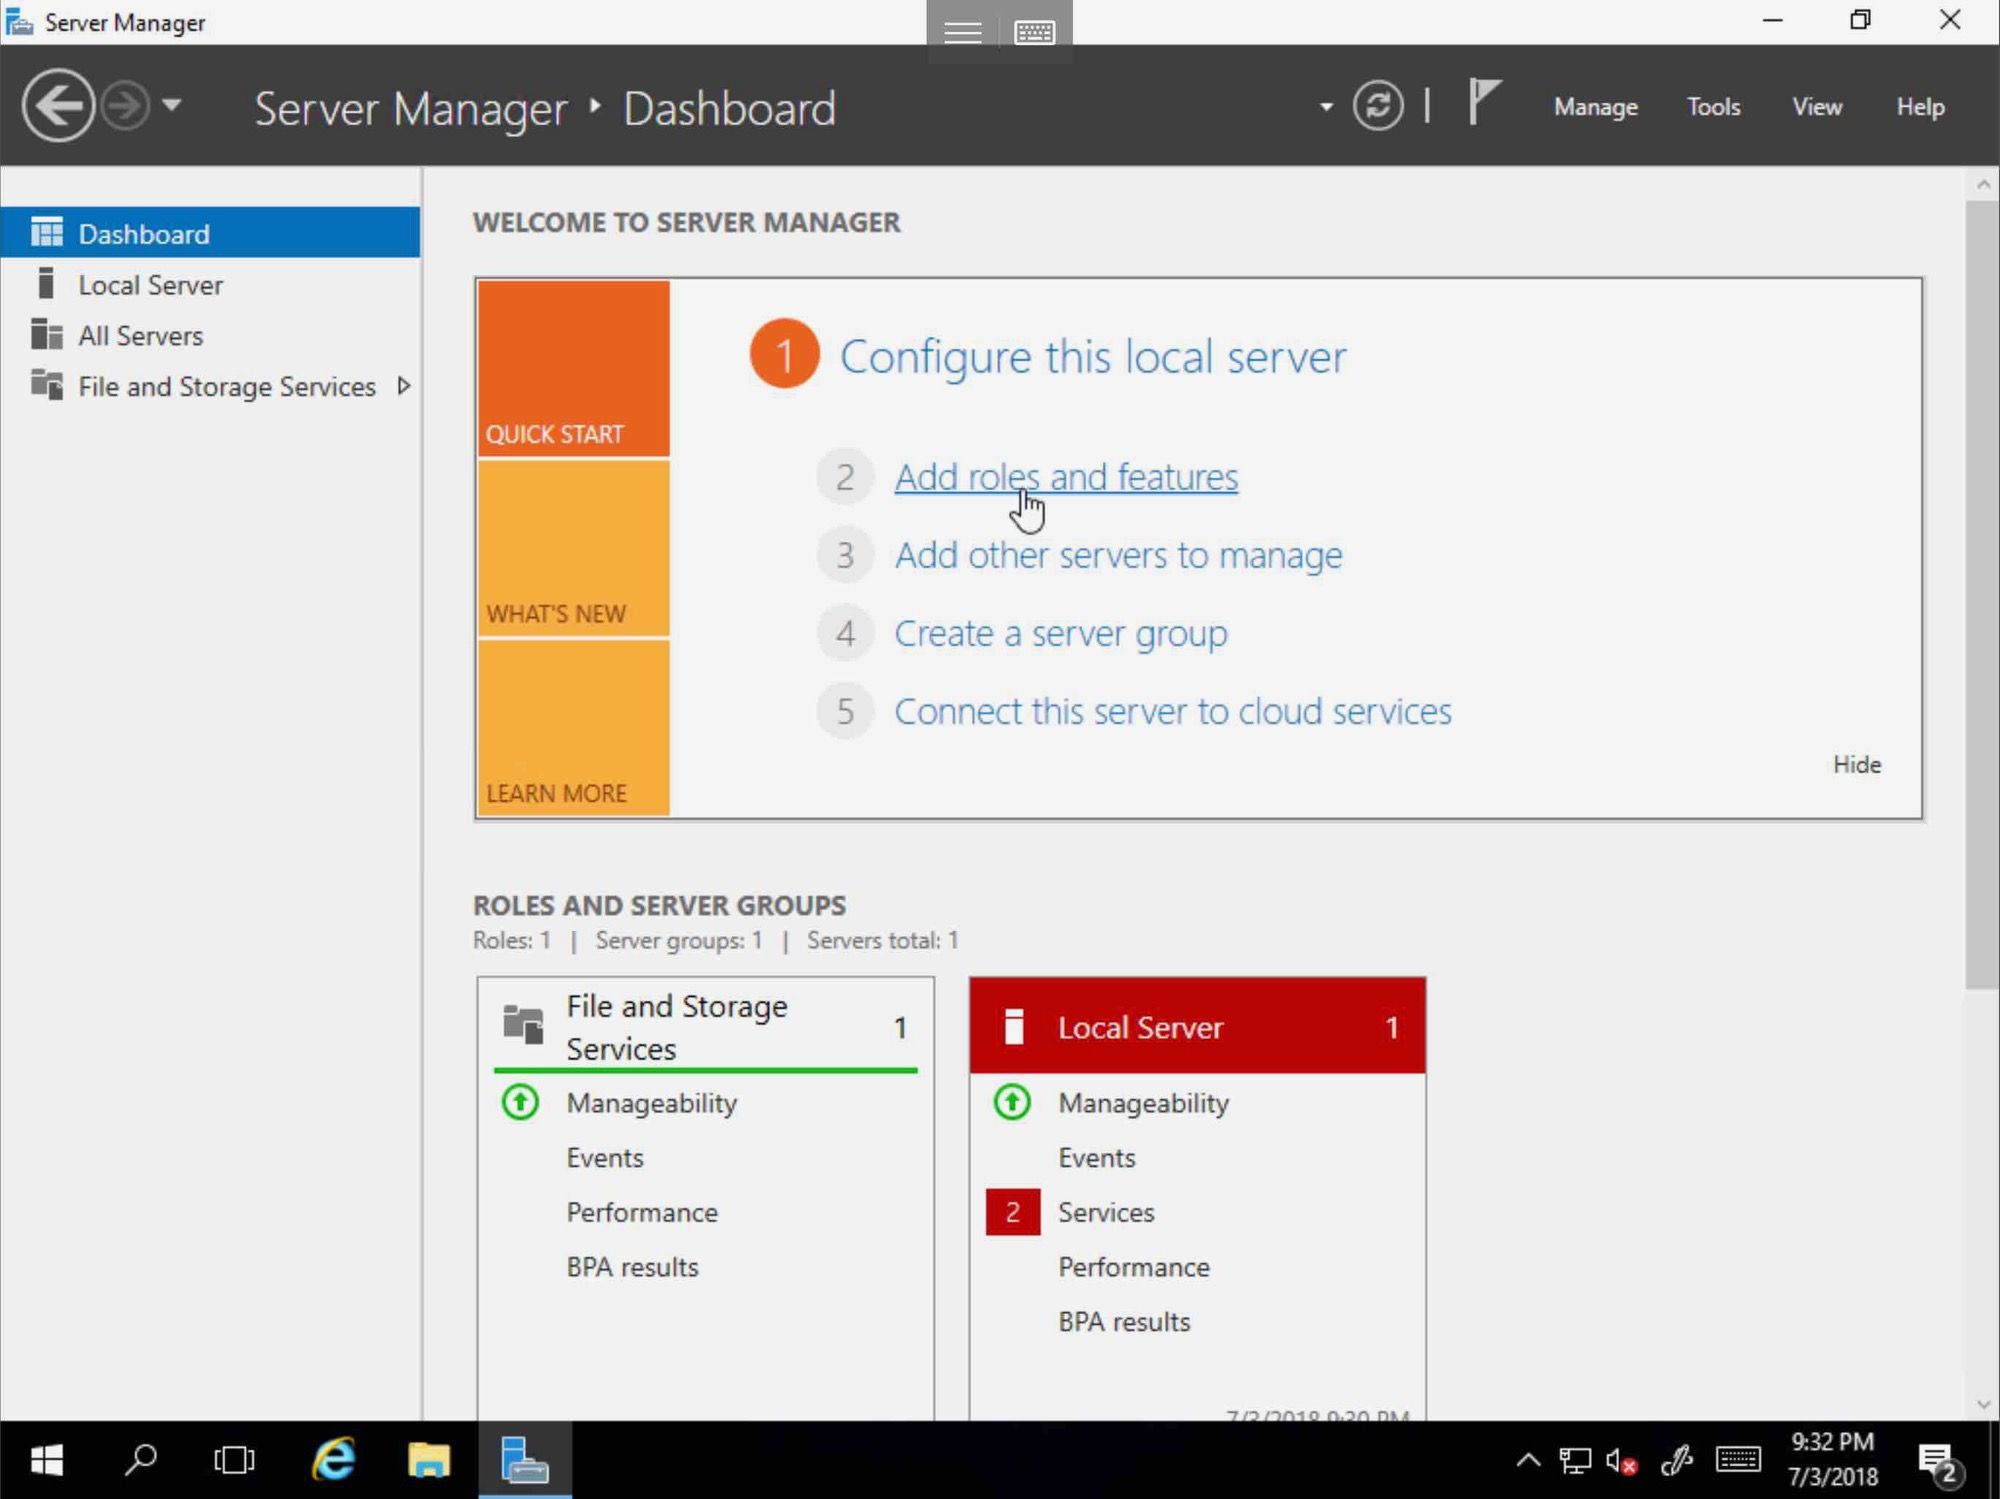
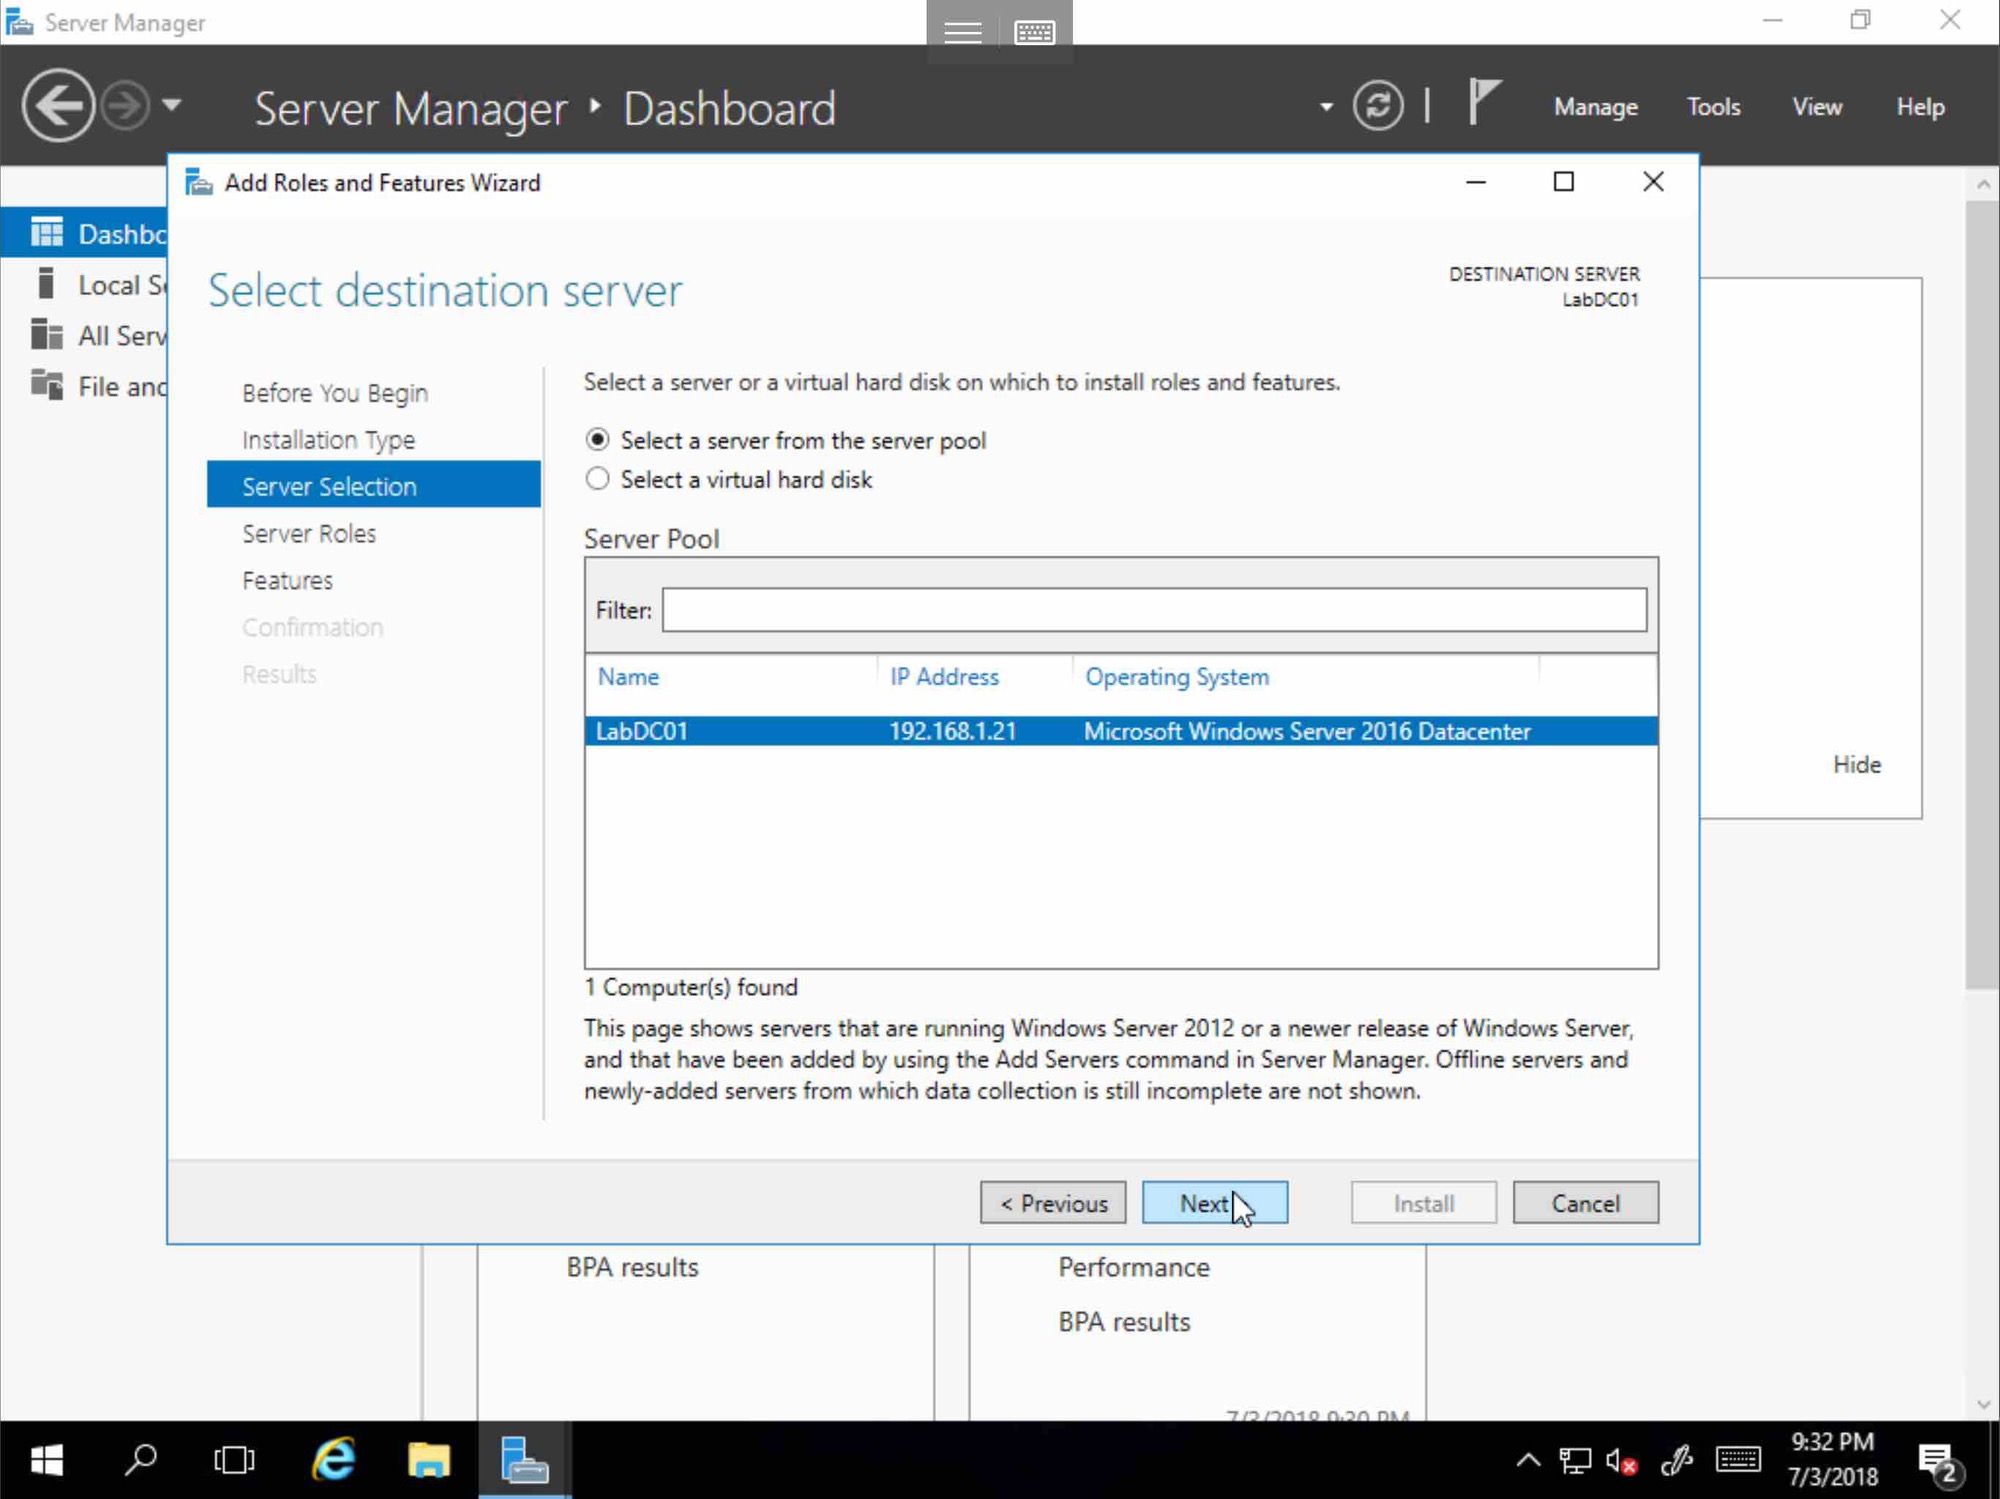
To install the DC and DNS roles, and Group Policy Feature, navigate to the Server Manager Dashboard, and select Add Roles and Features.
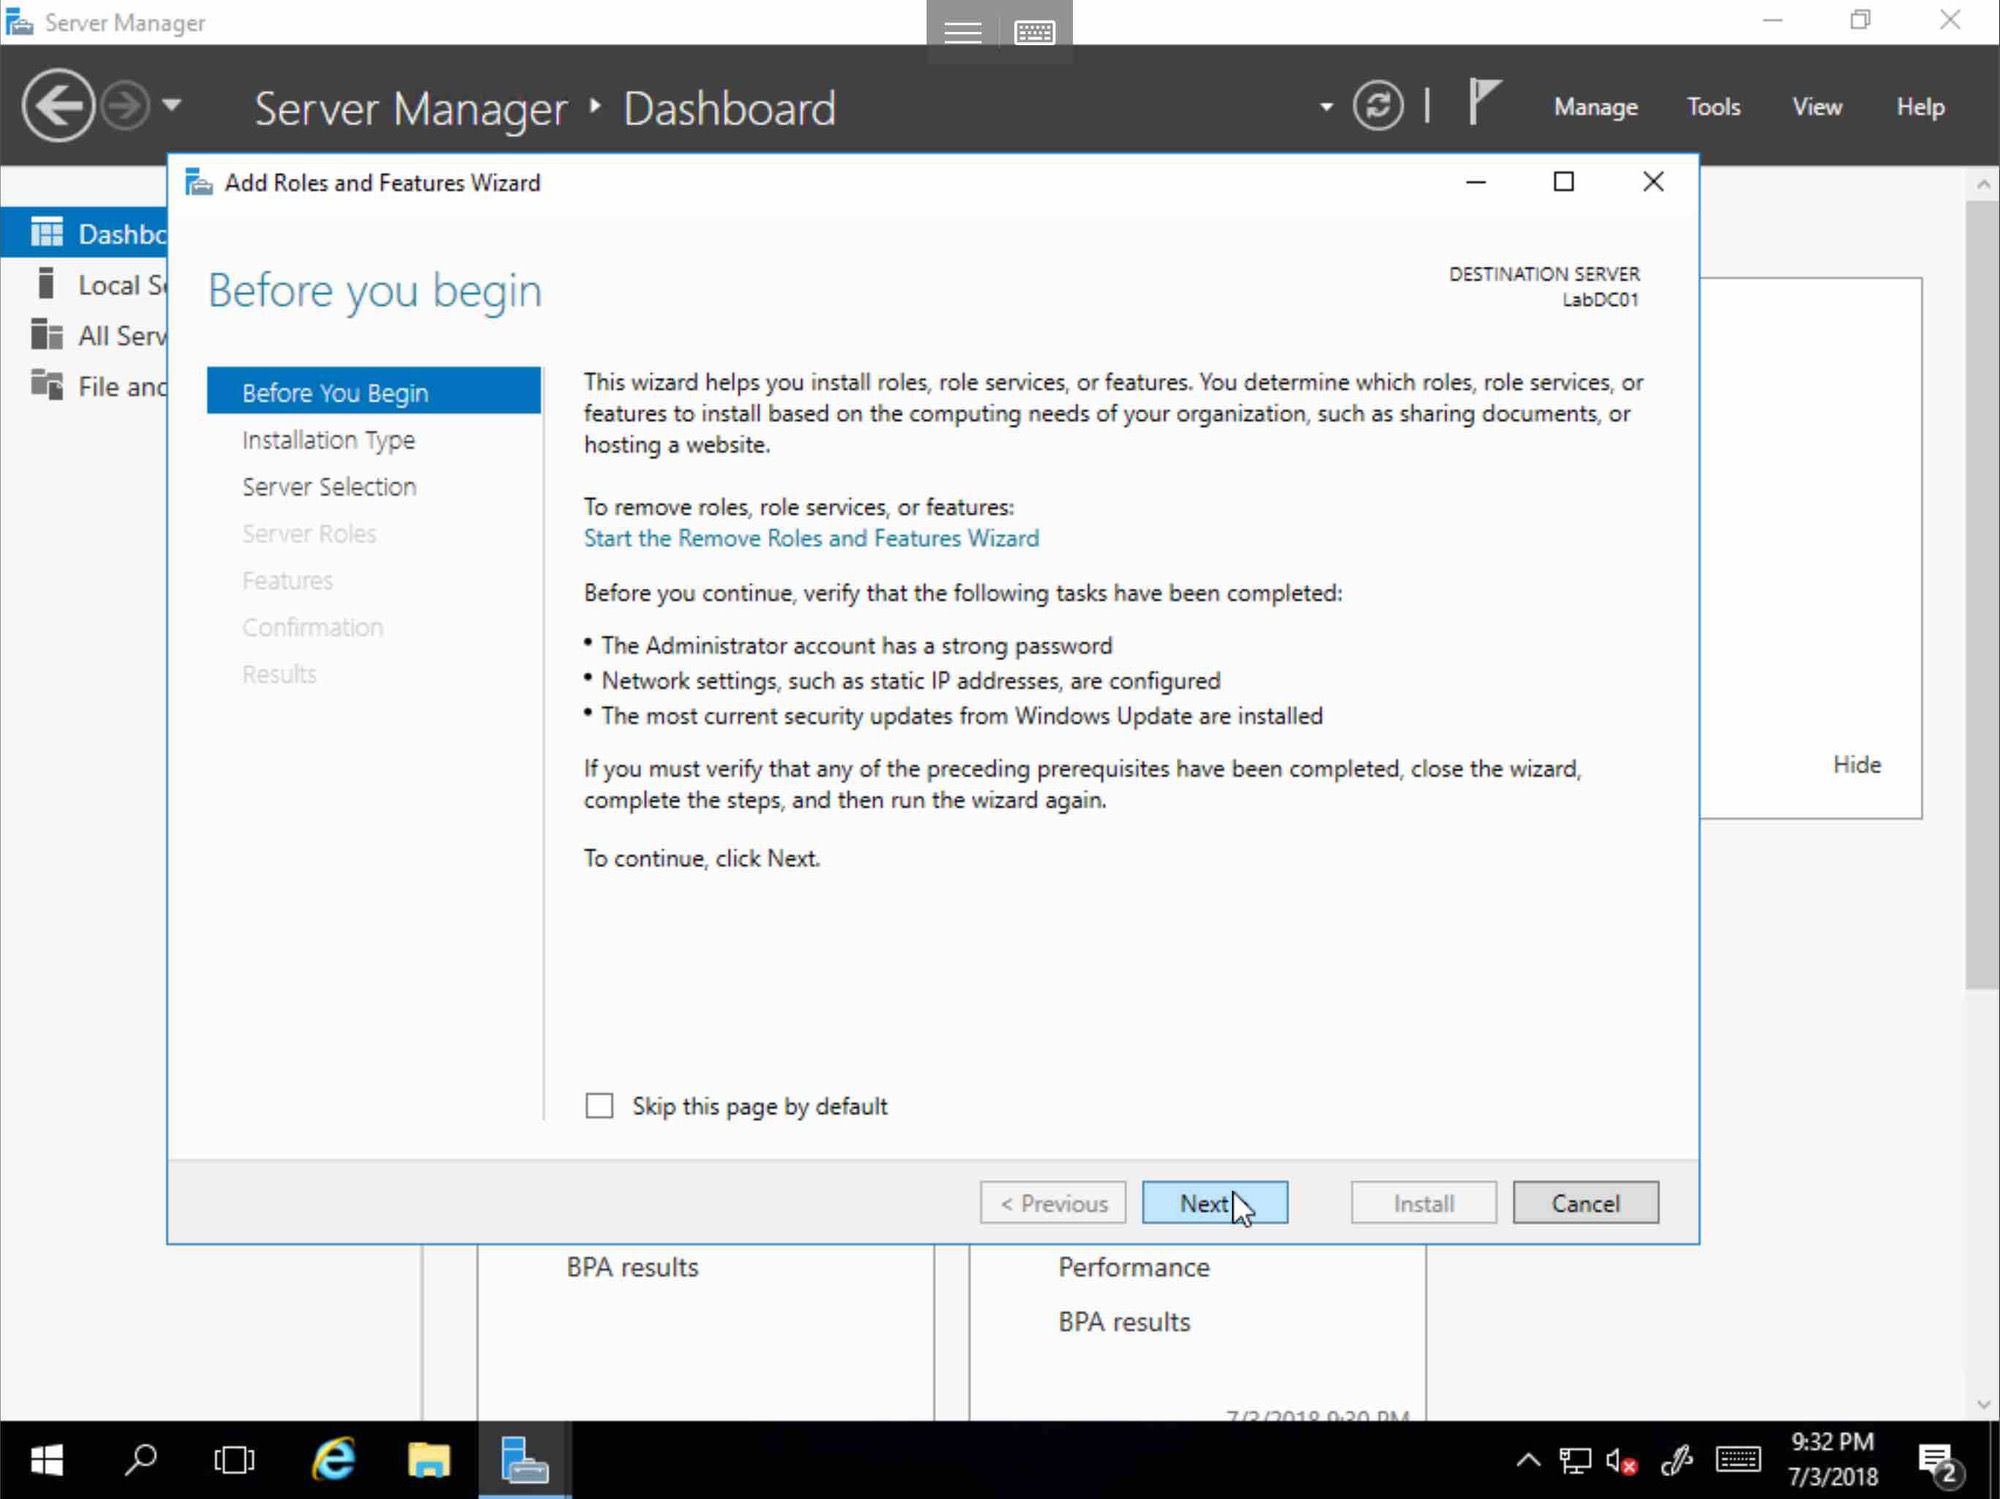
Click Next
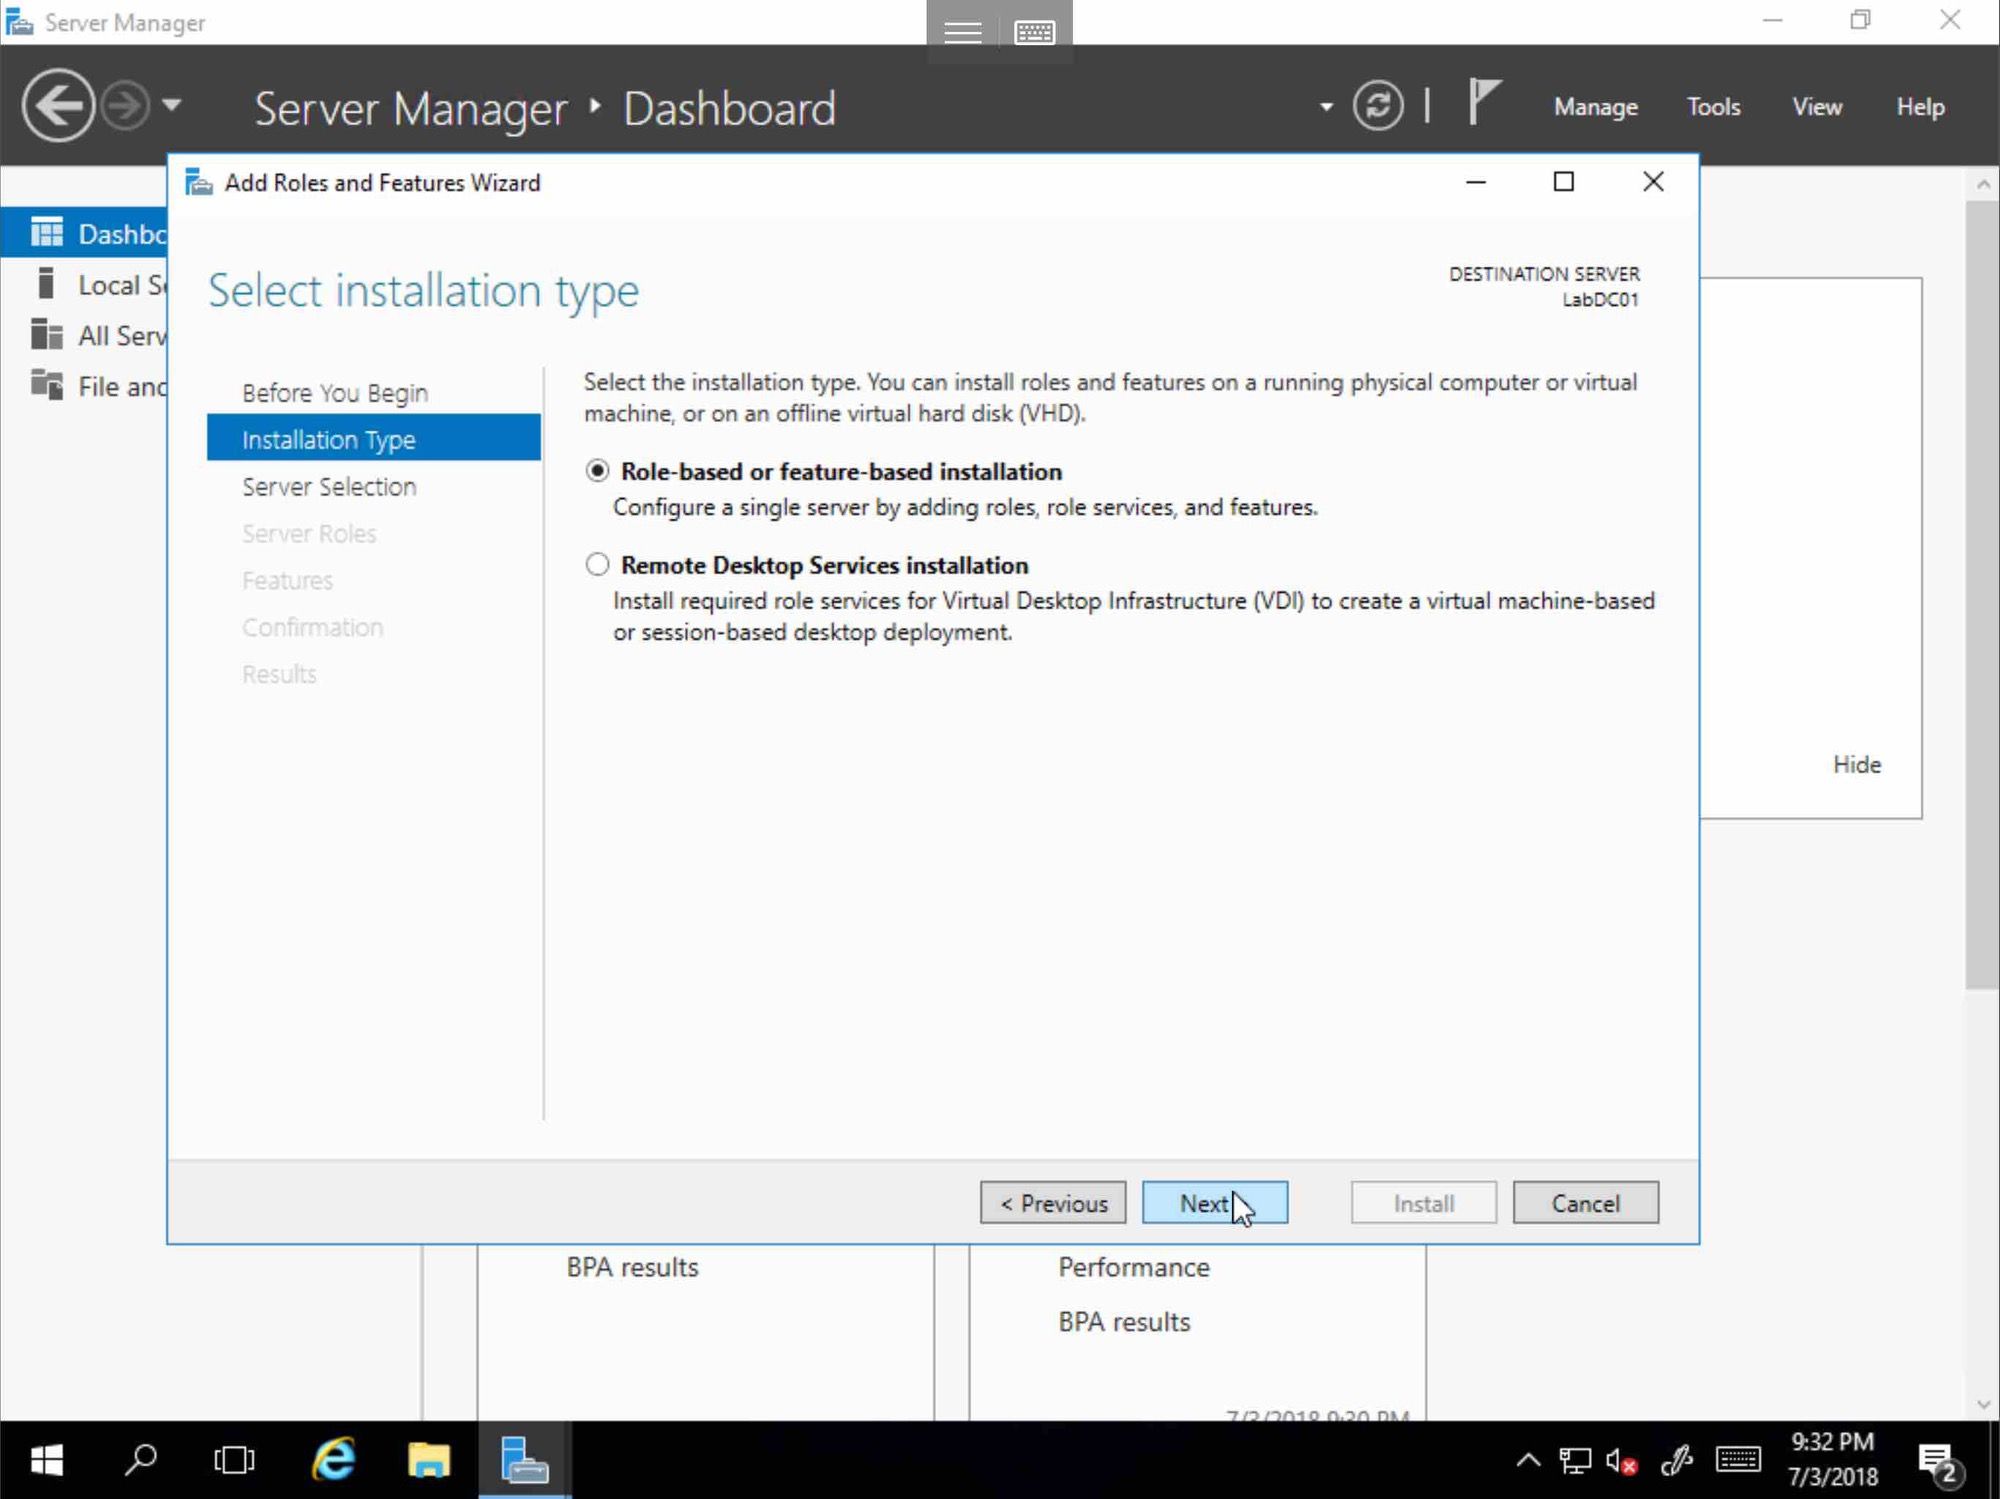
Click Next
Click Next
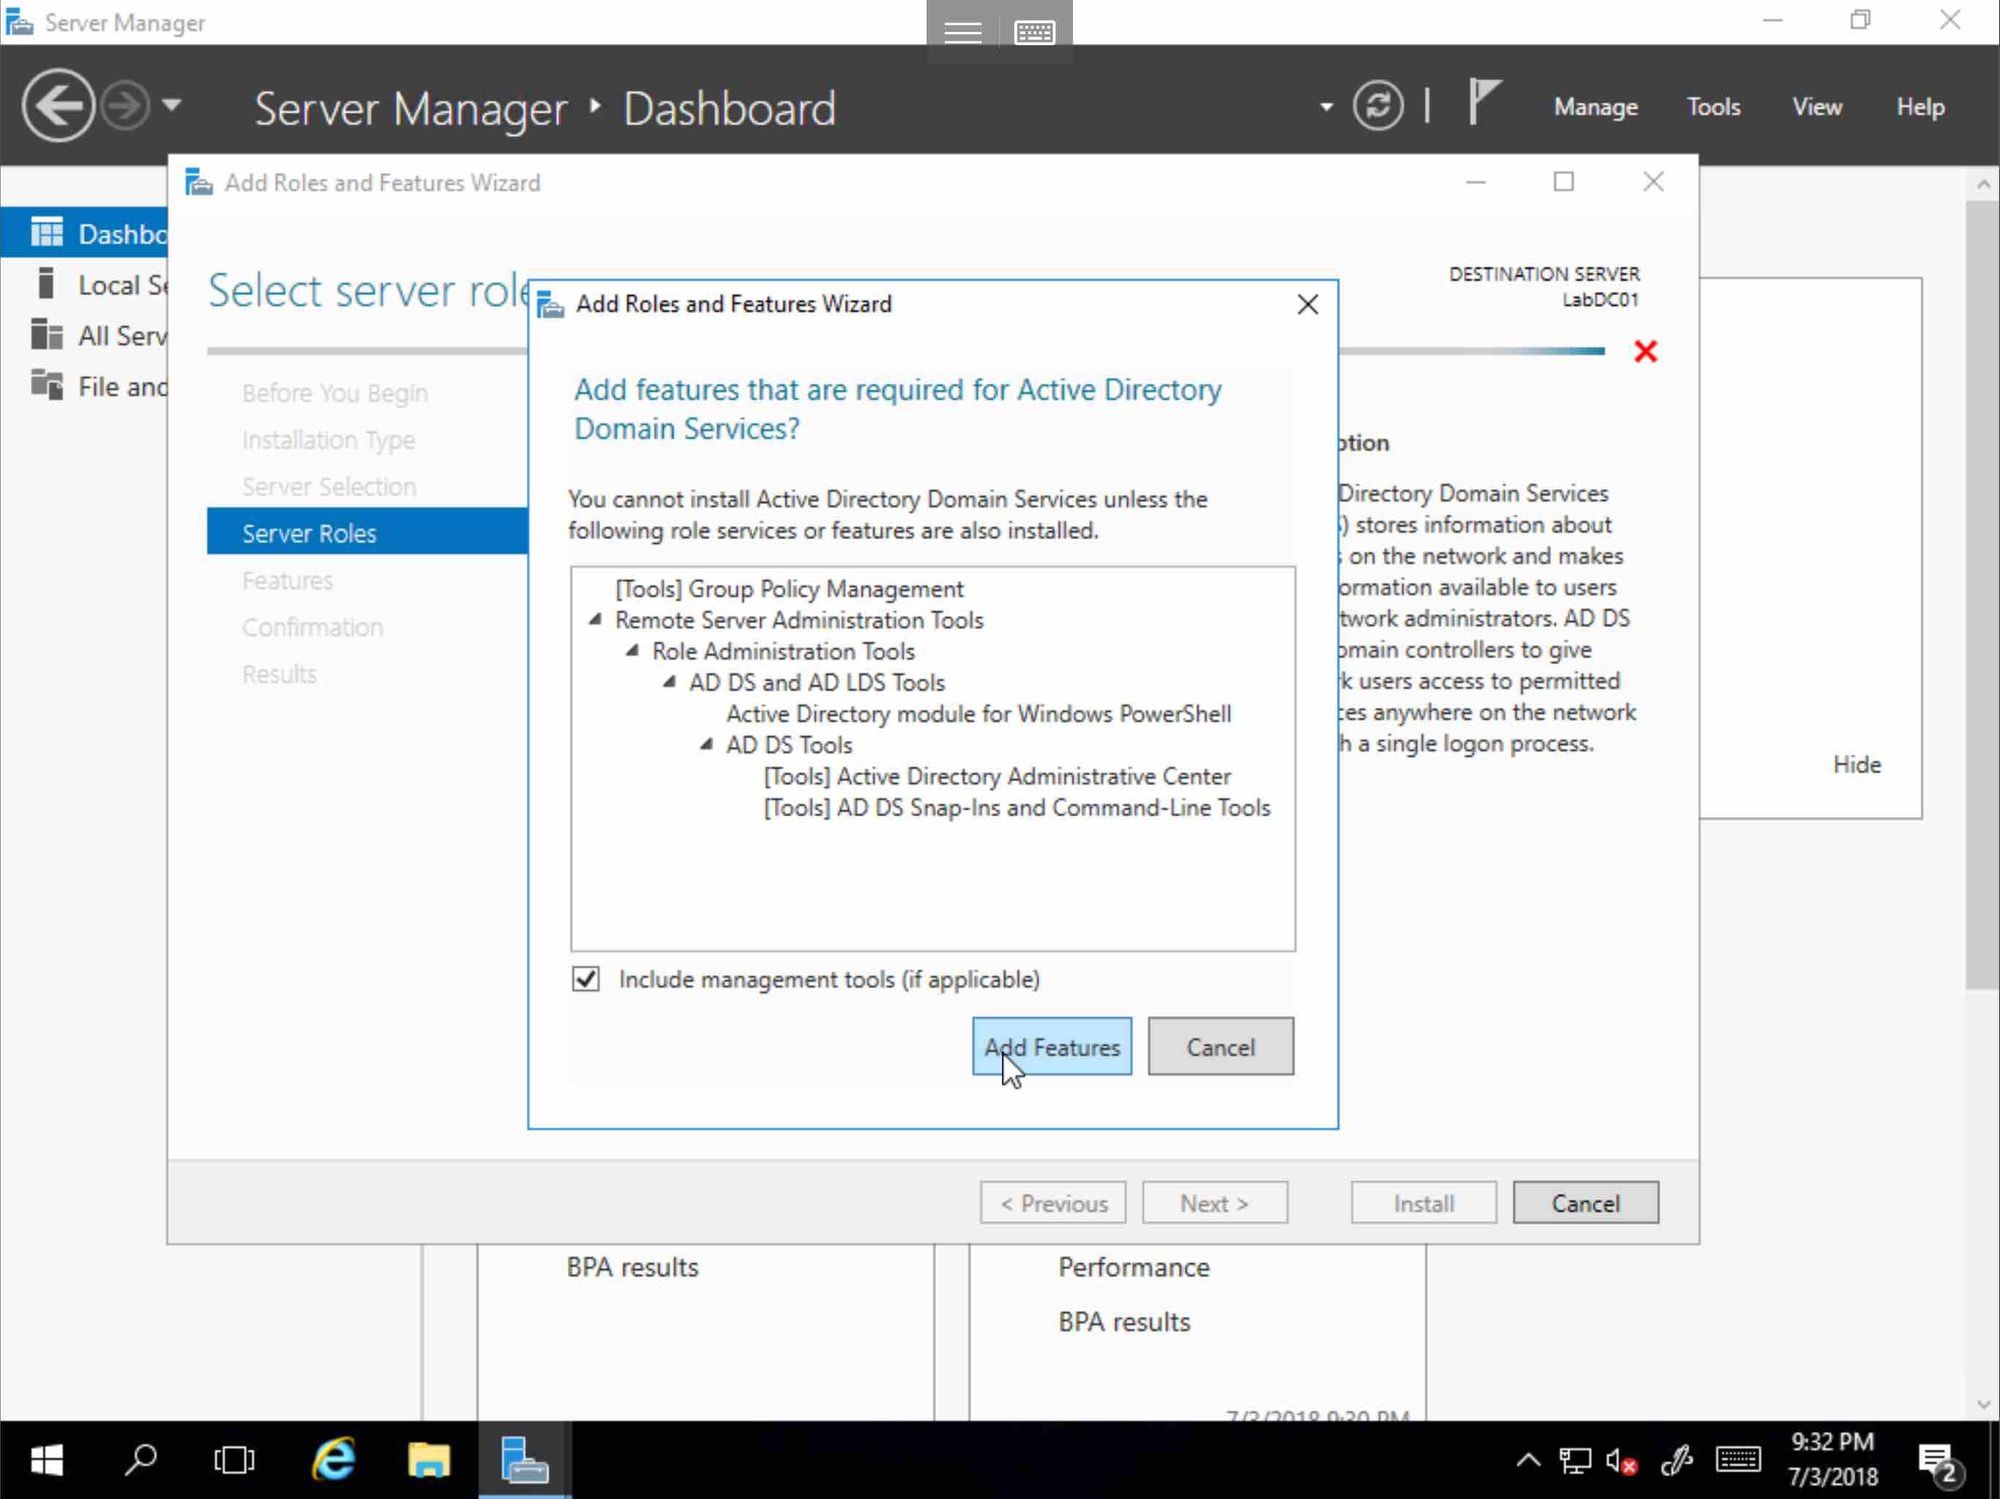
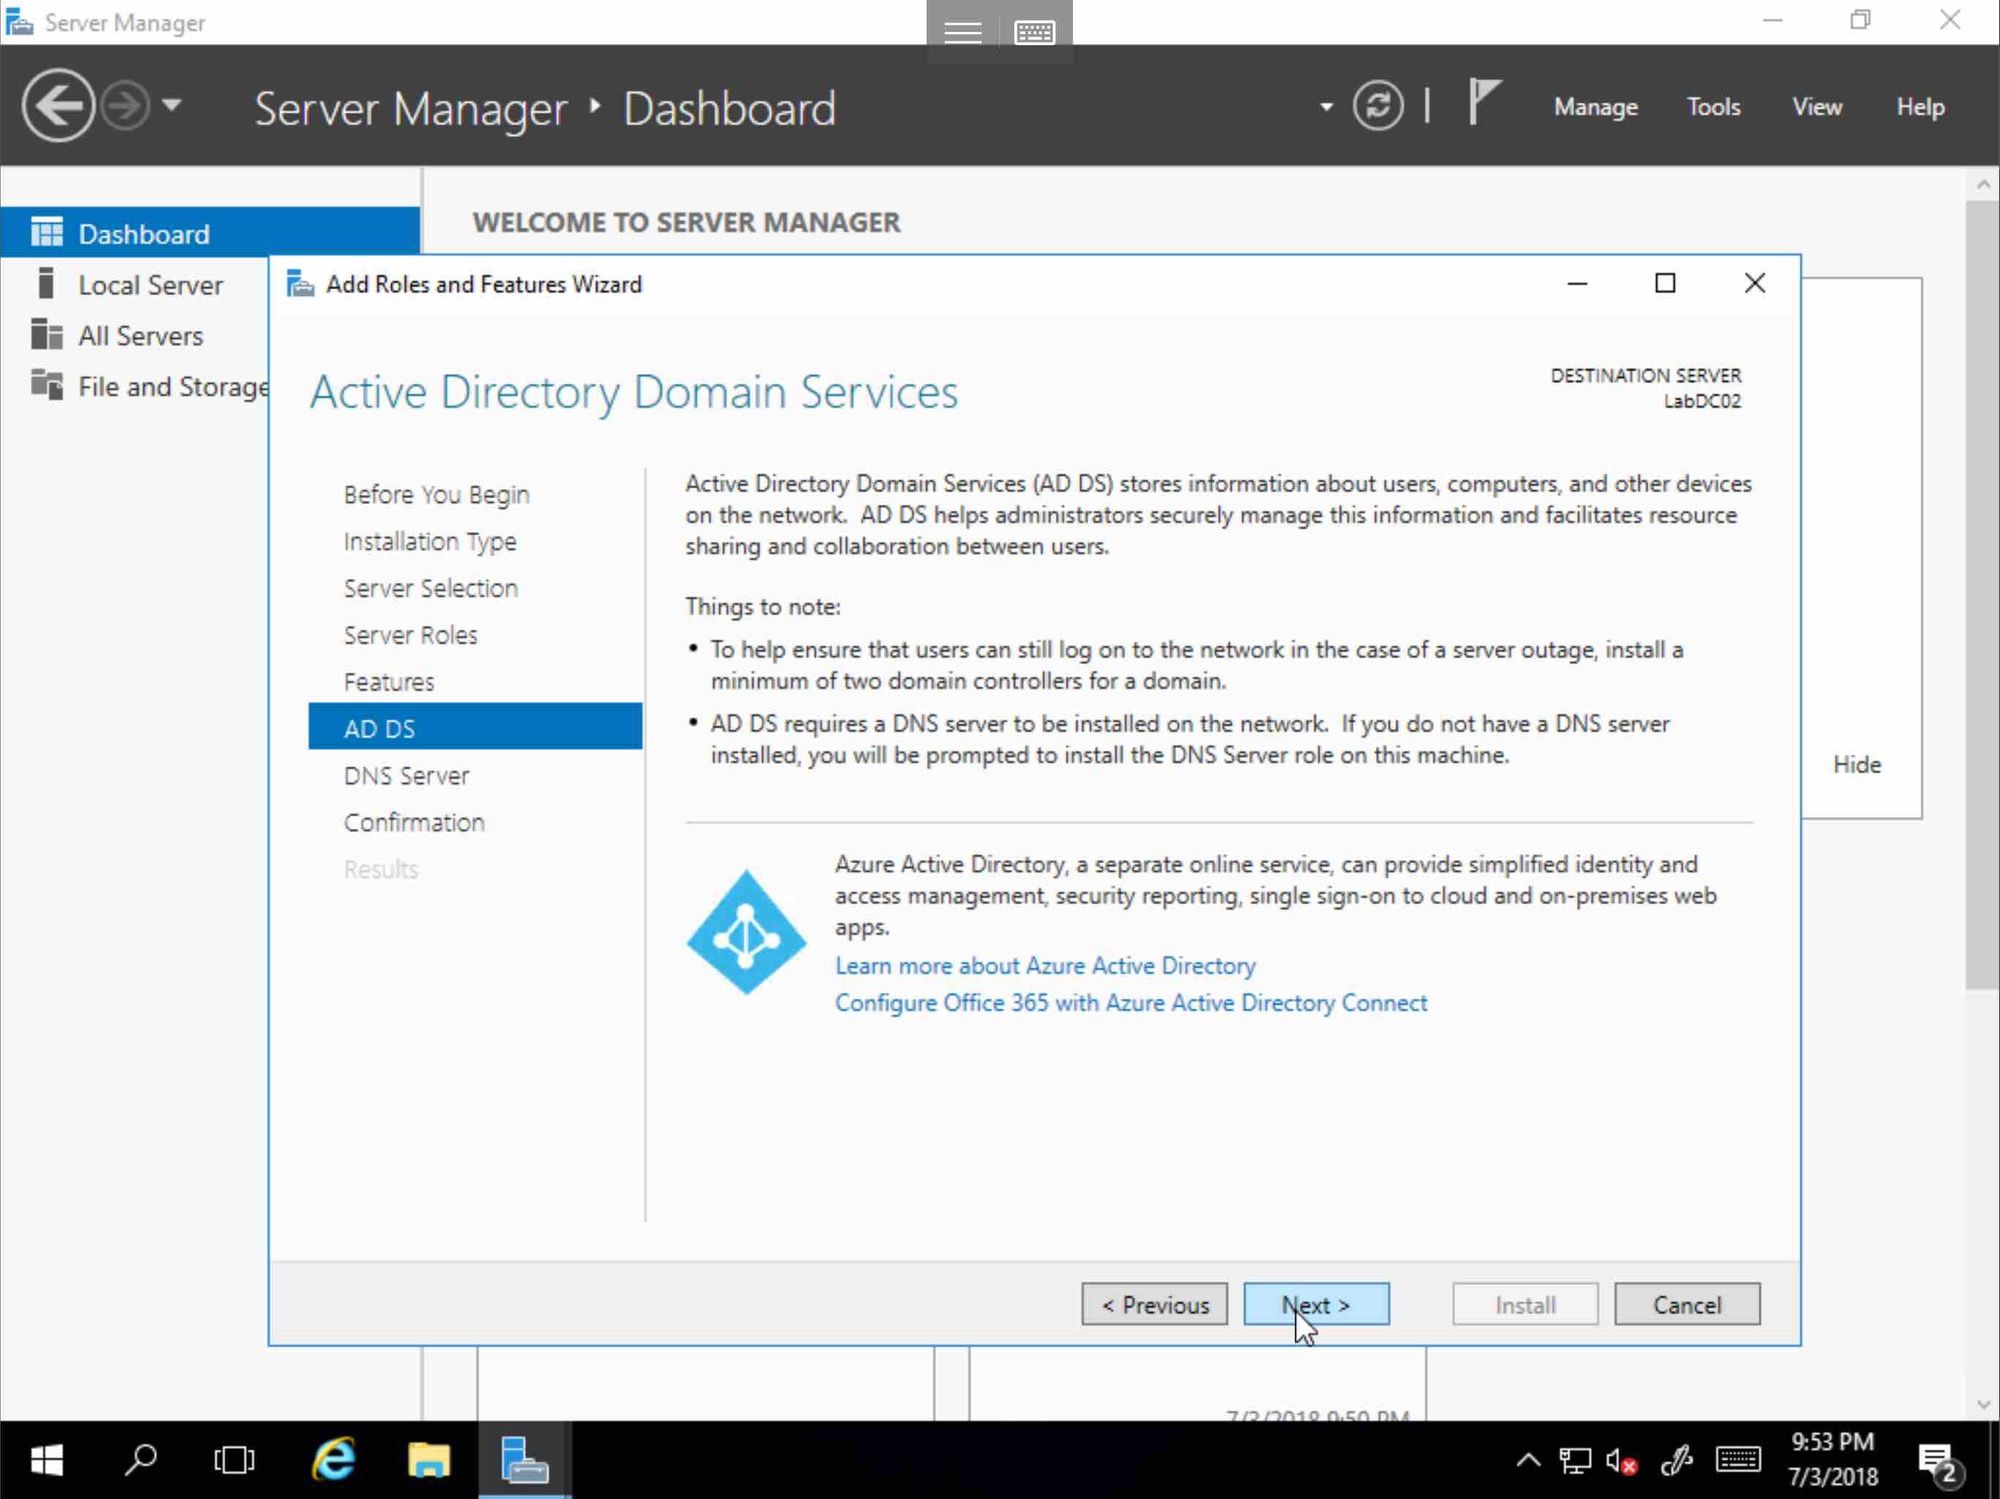
Select Active Directory Domain Services
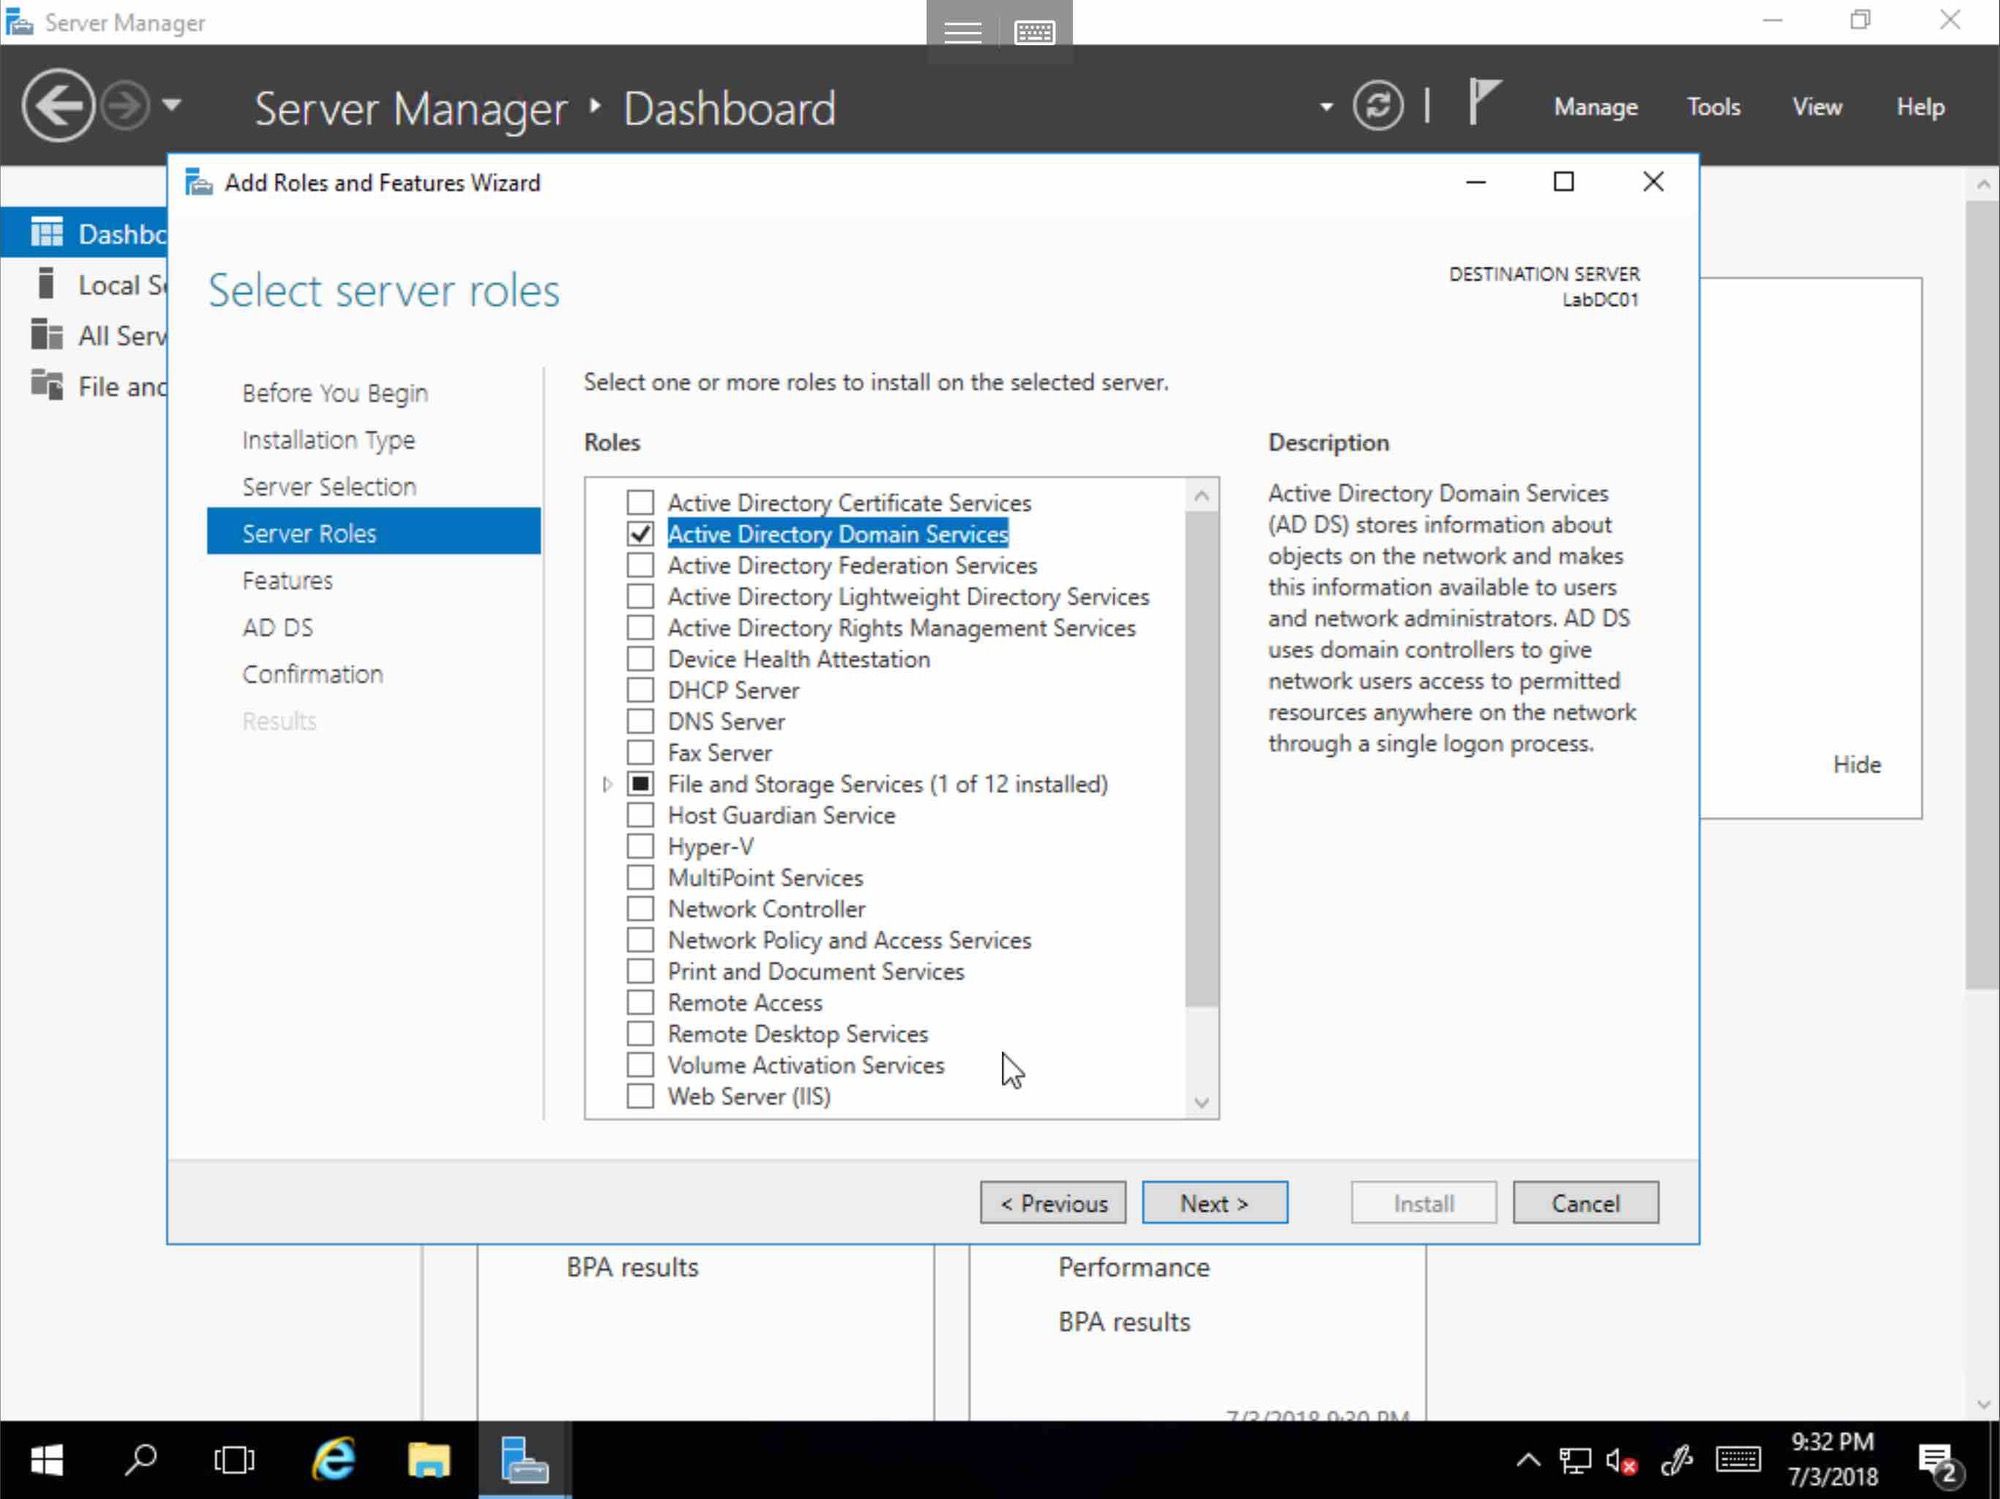
Click Add Features
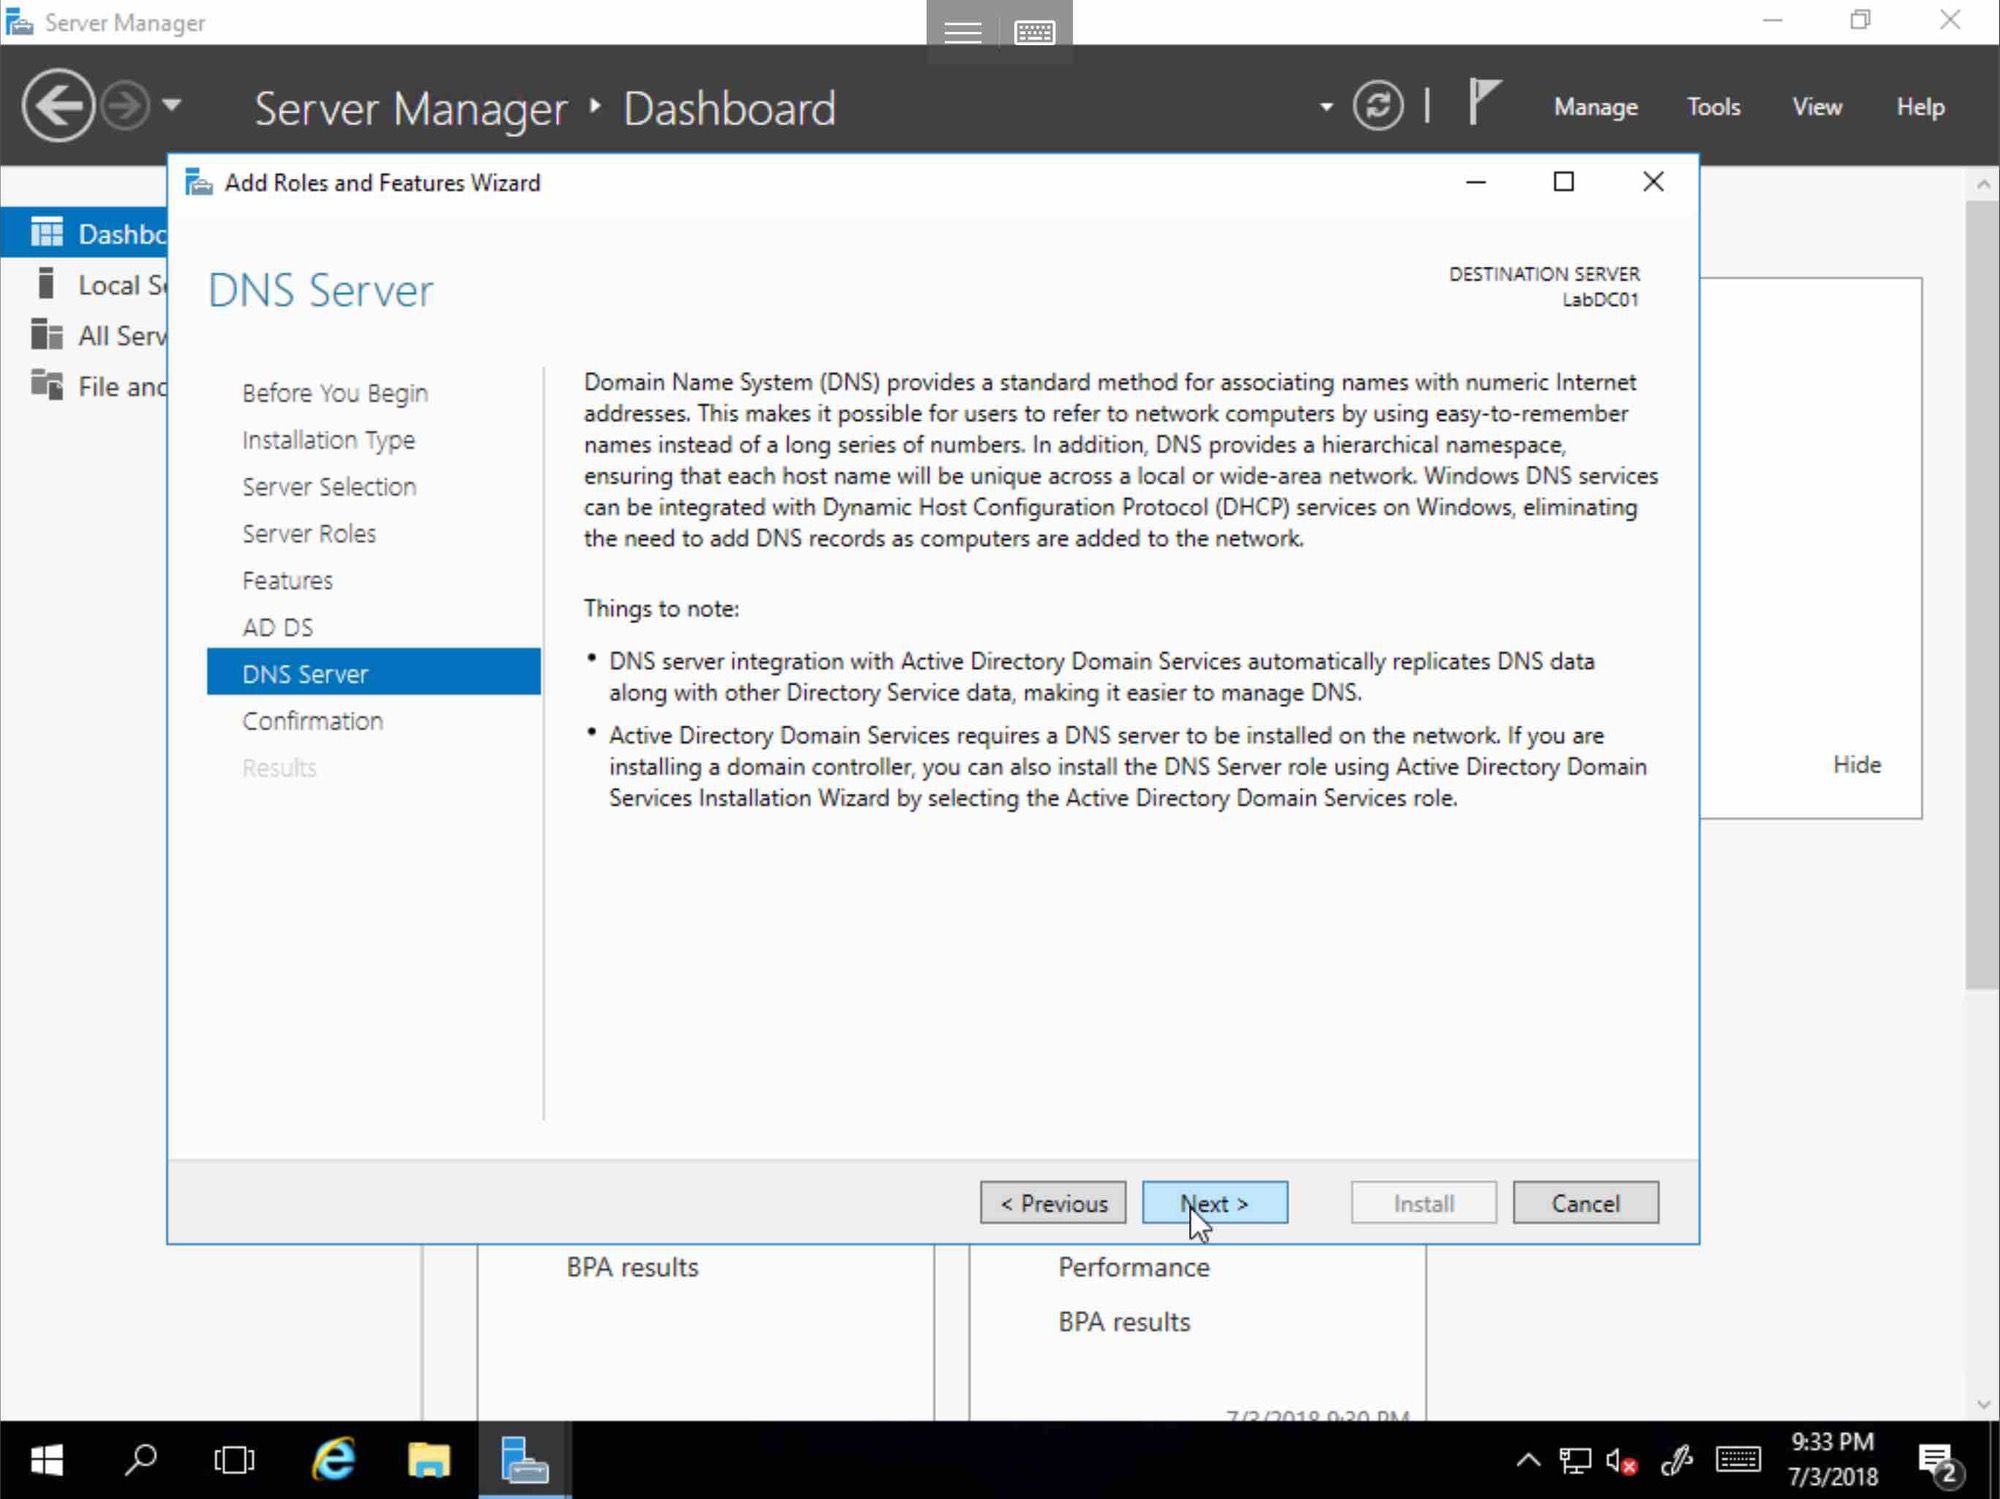
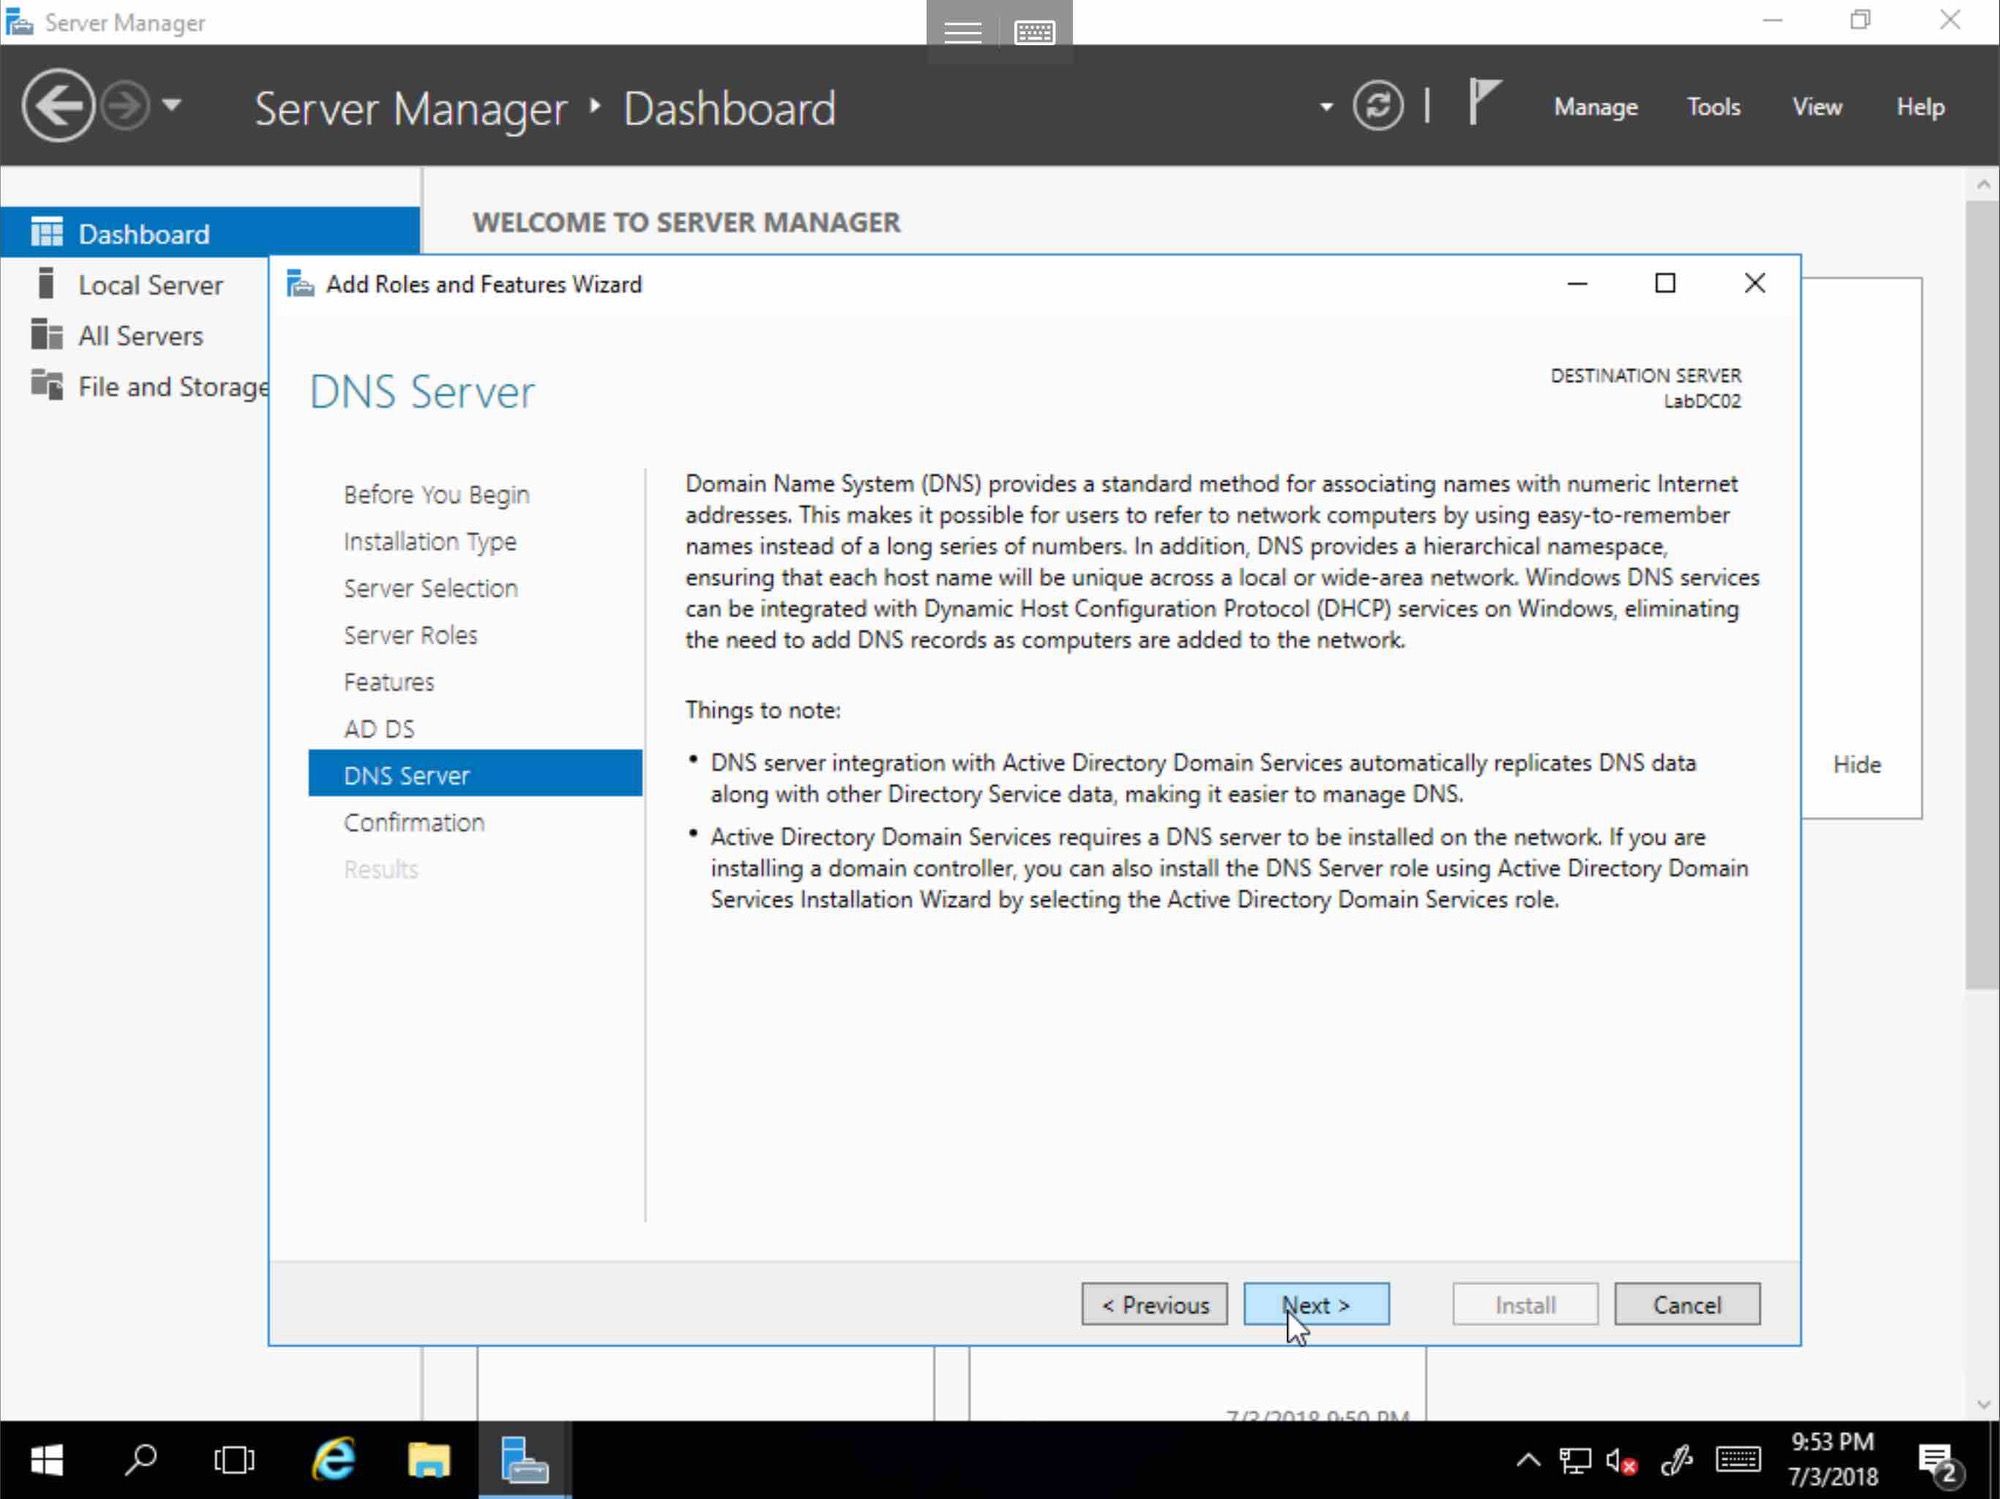
Select DNS Server, and click Next

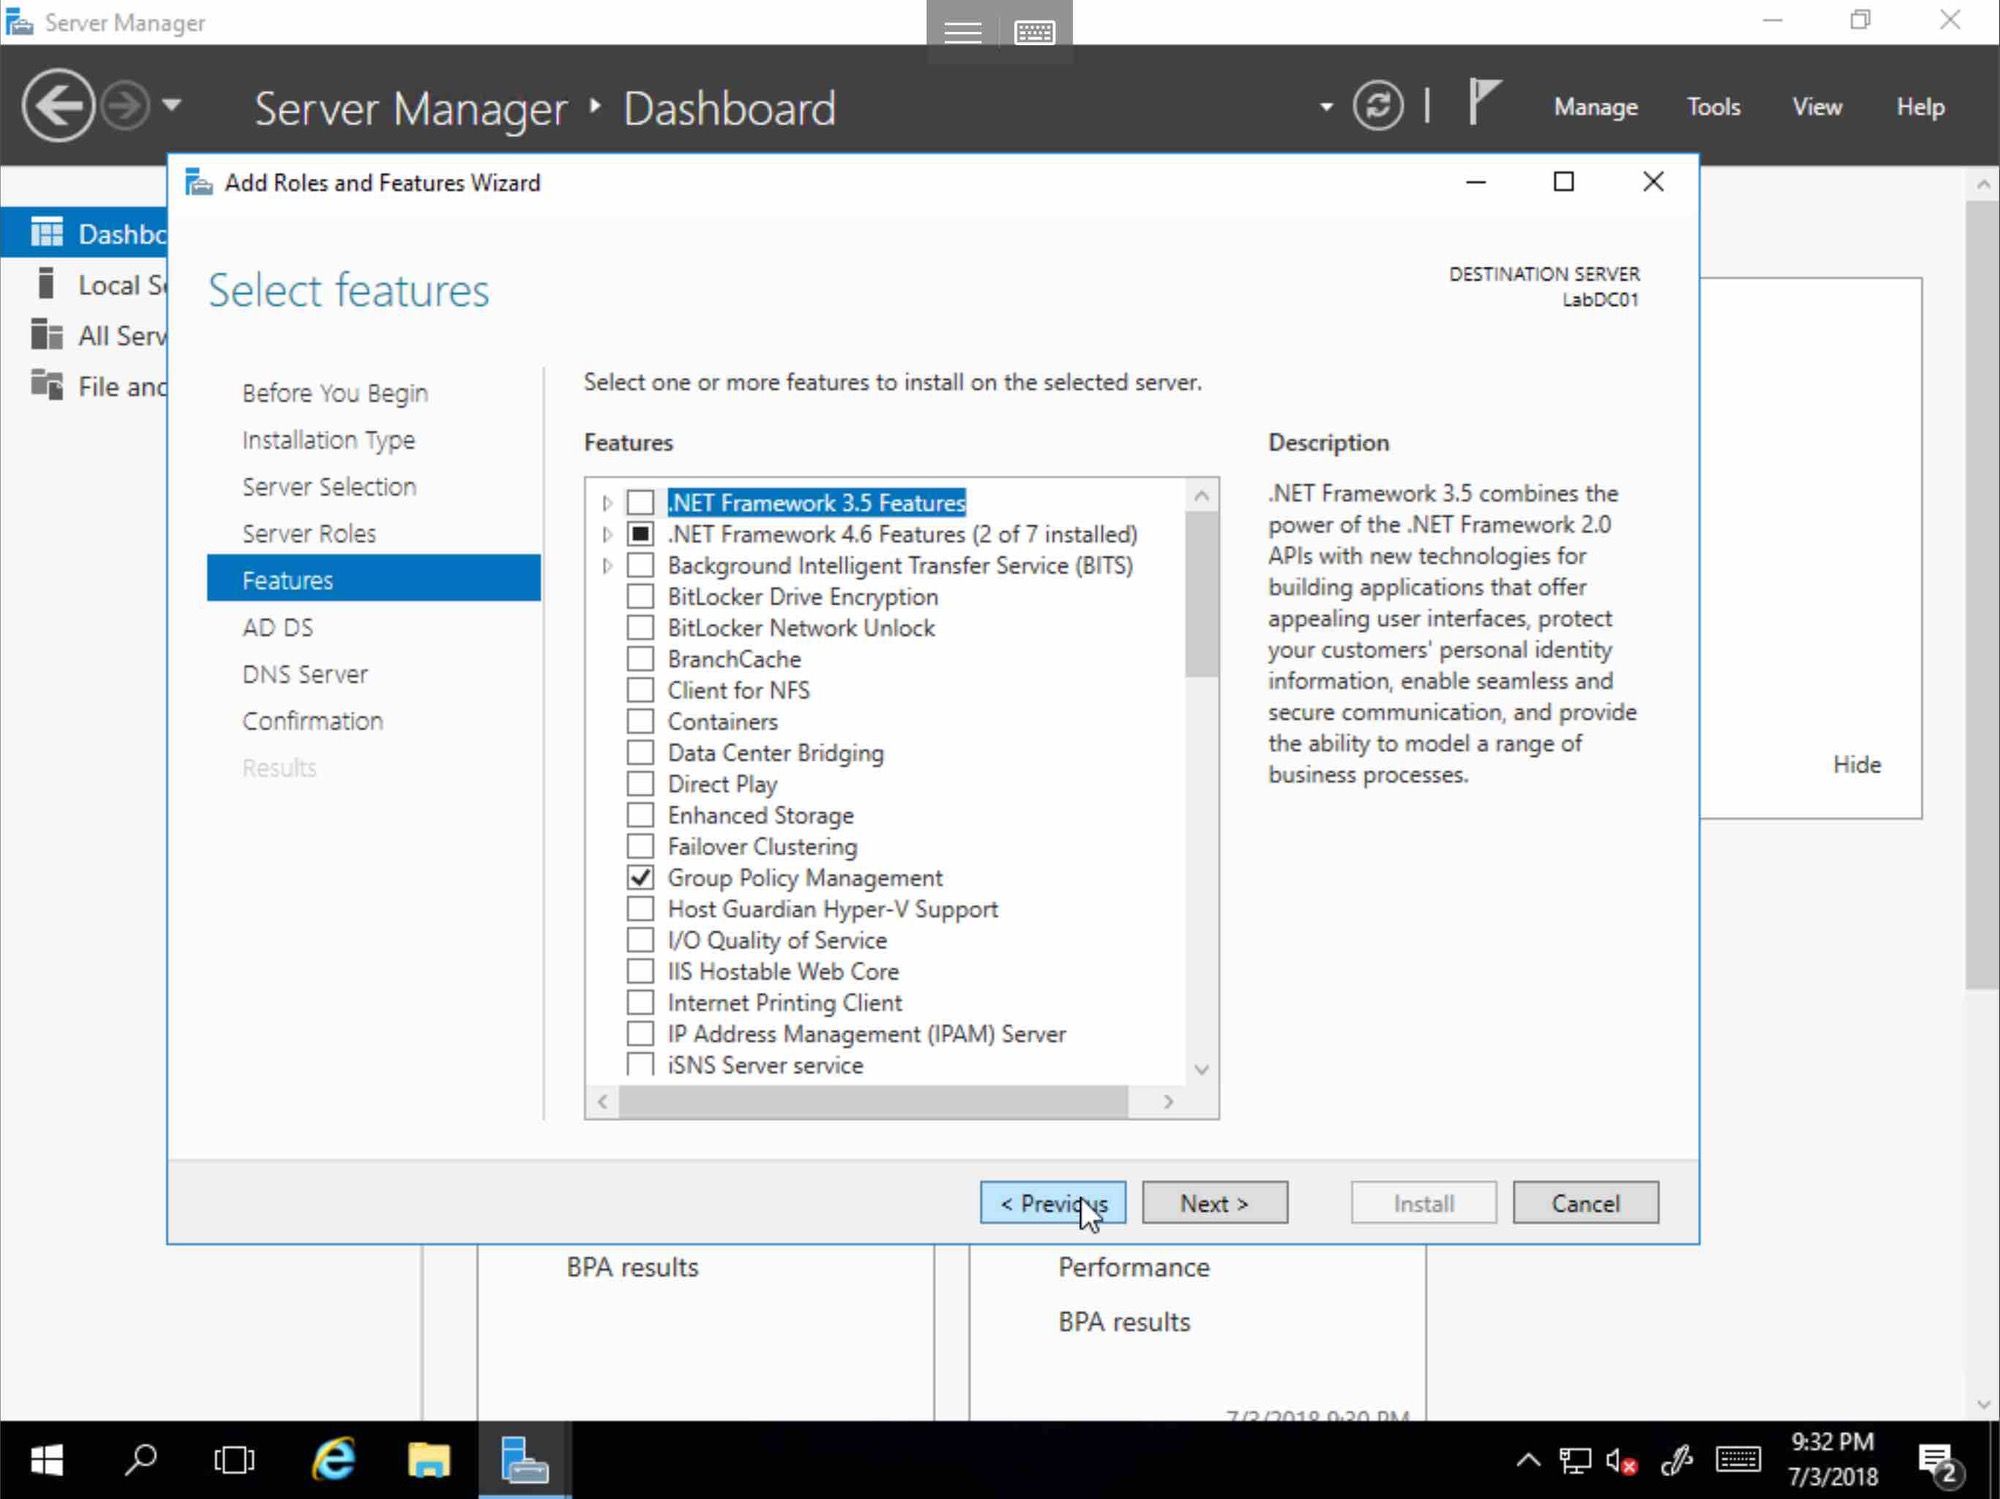
Select Group Policy Management, and Click Next
Next
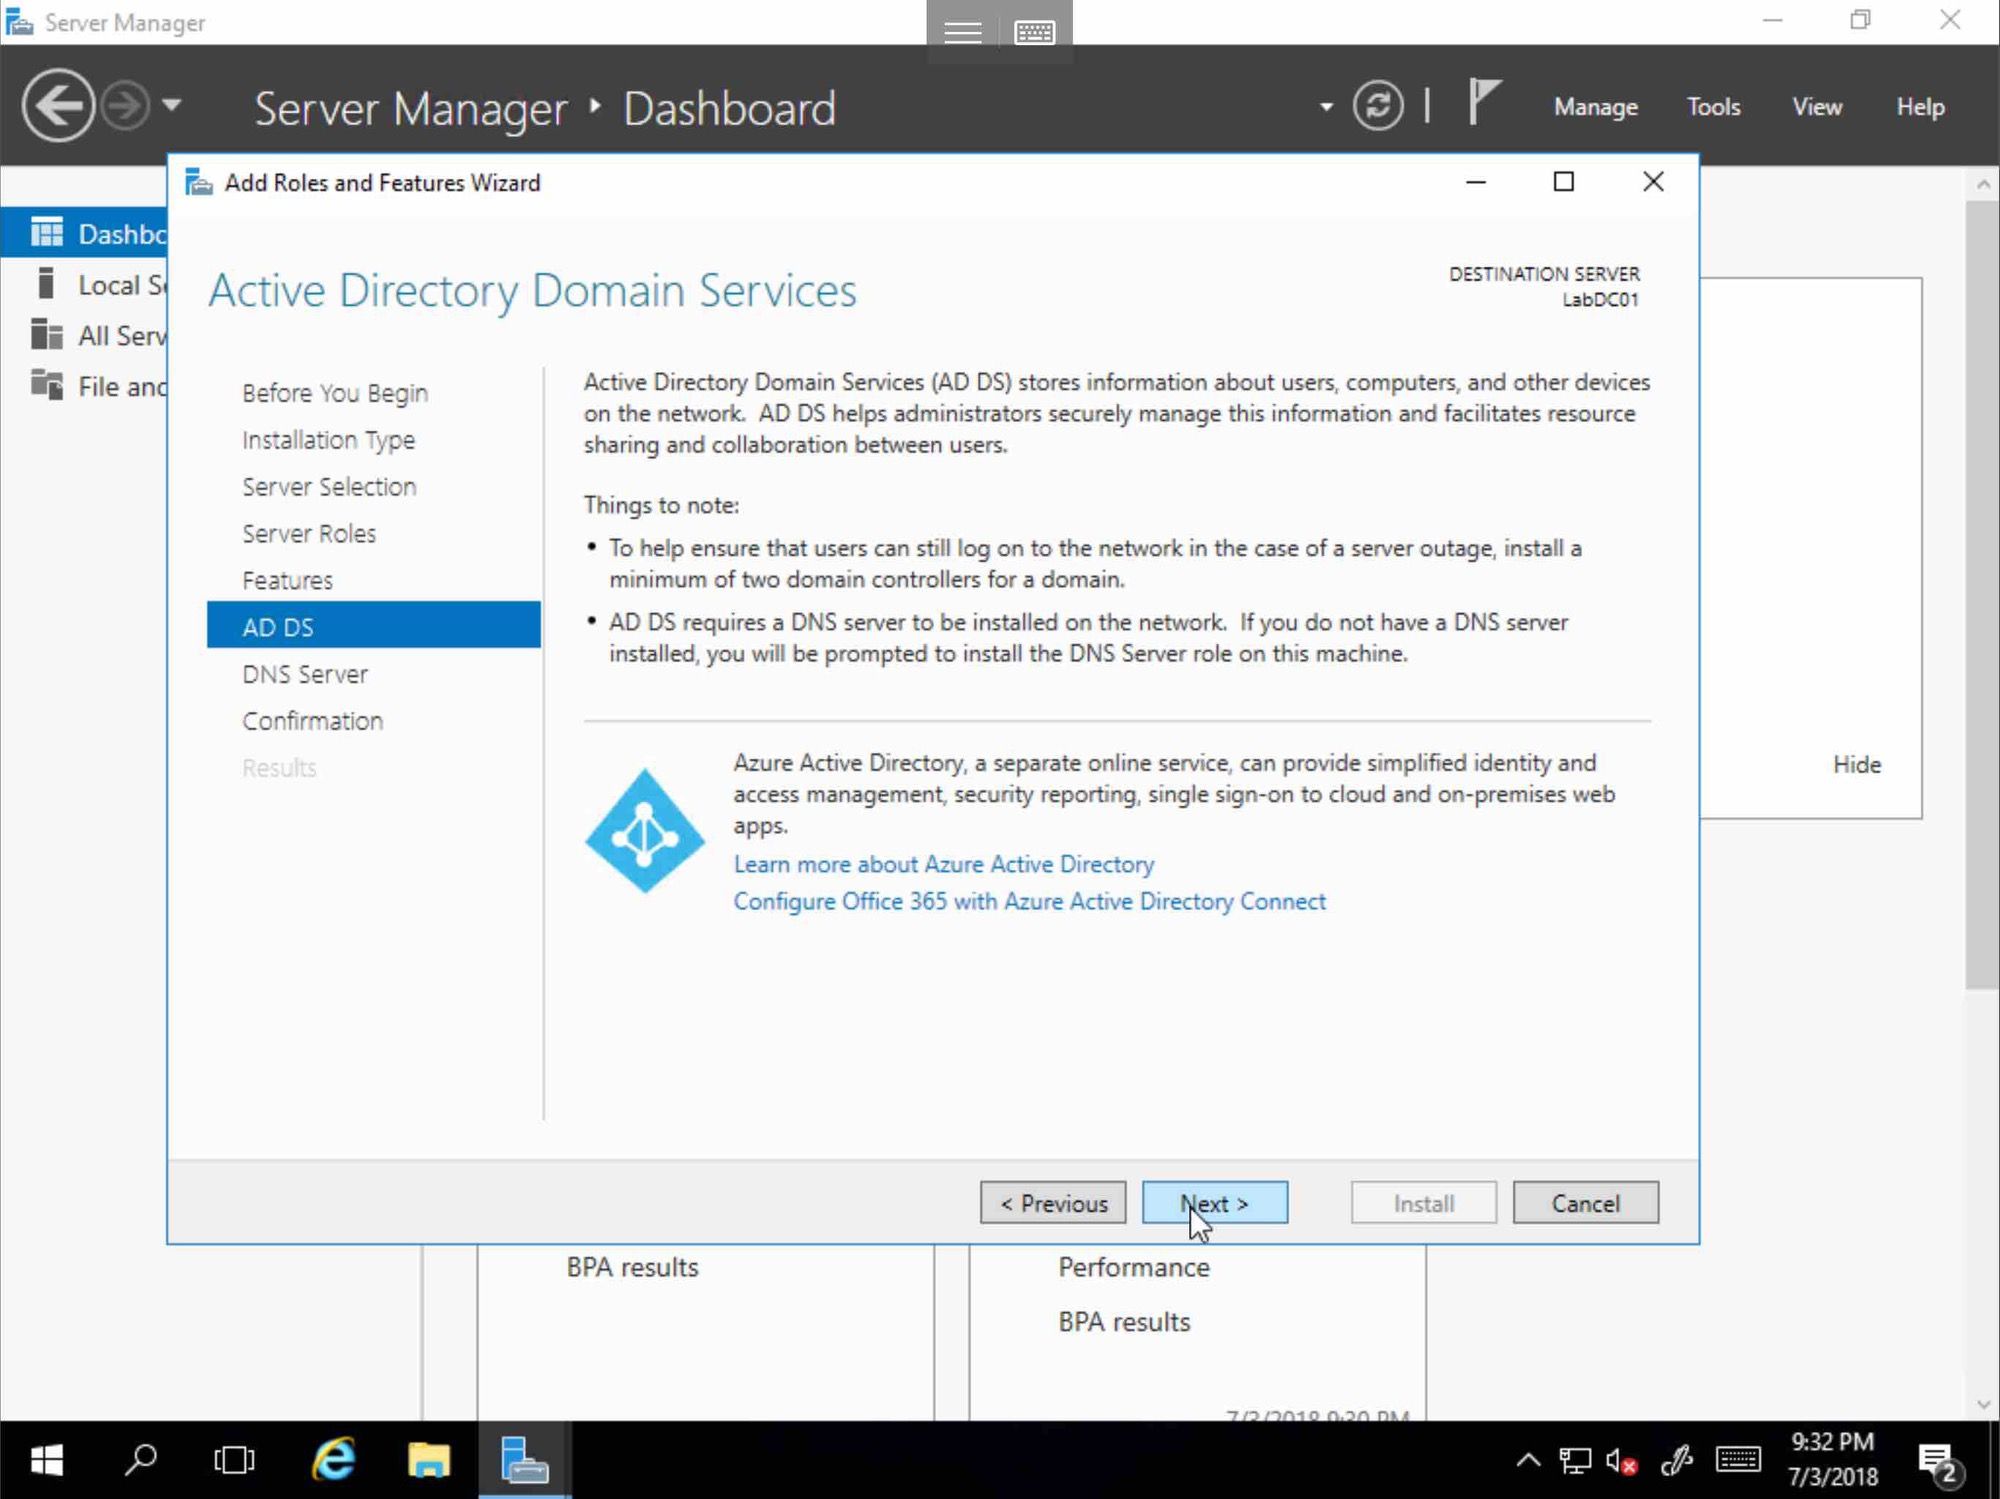
Next
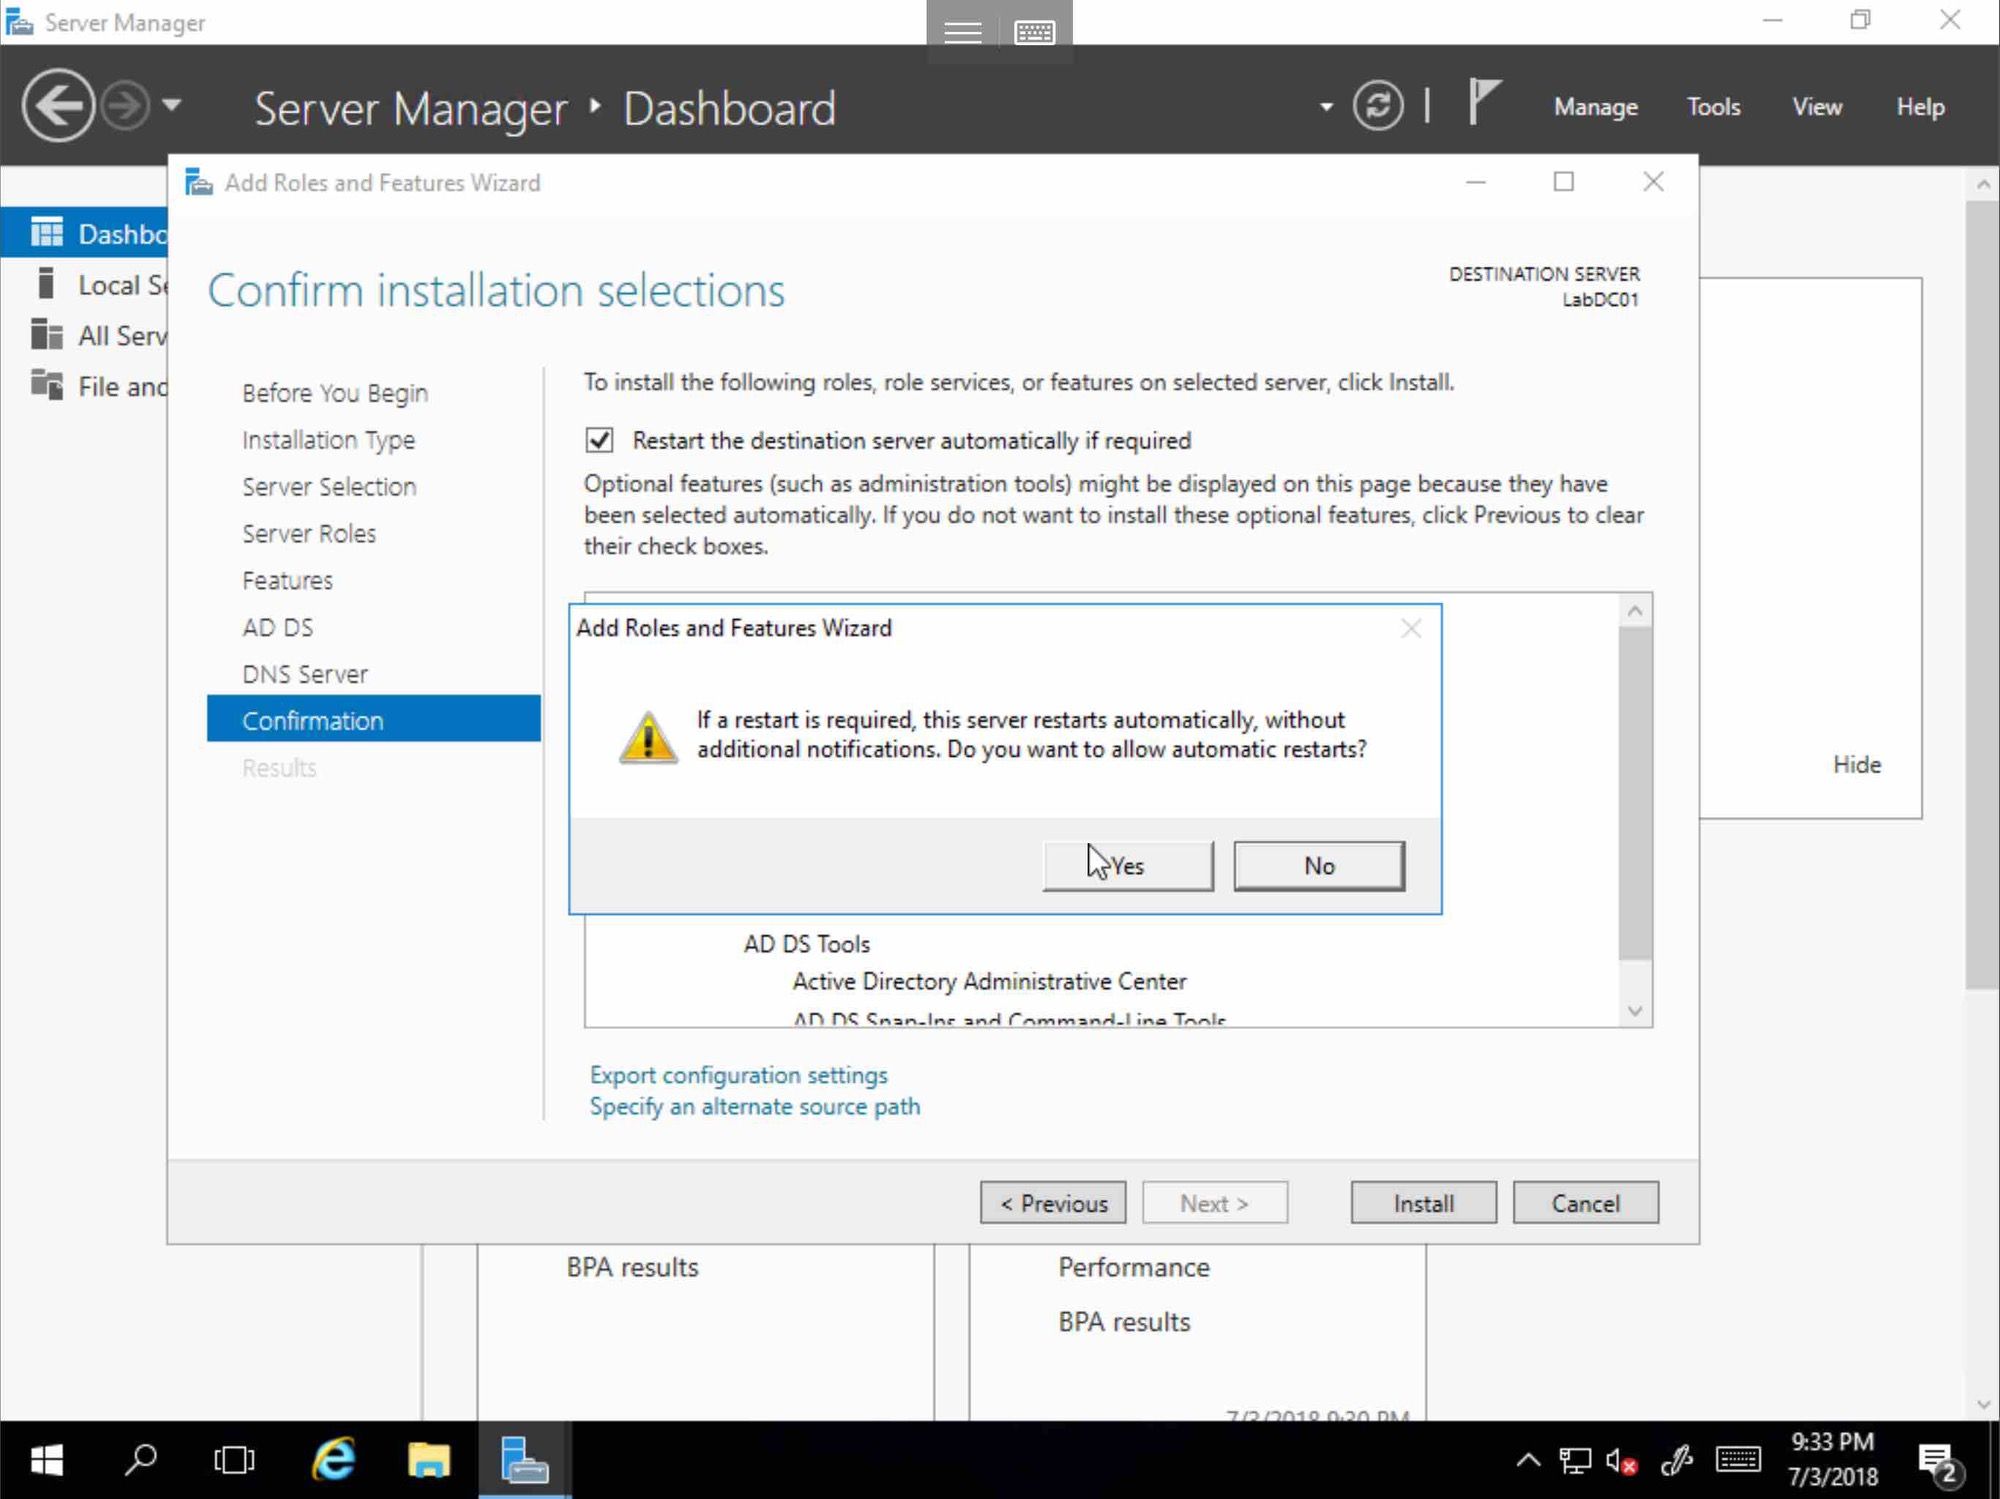
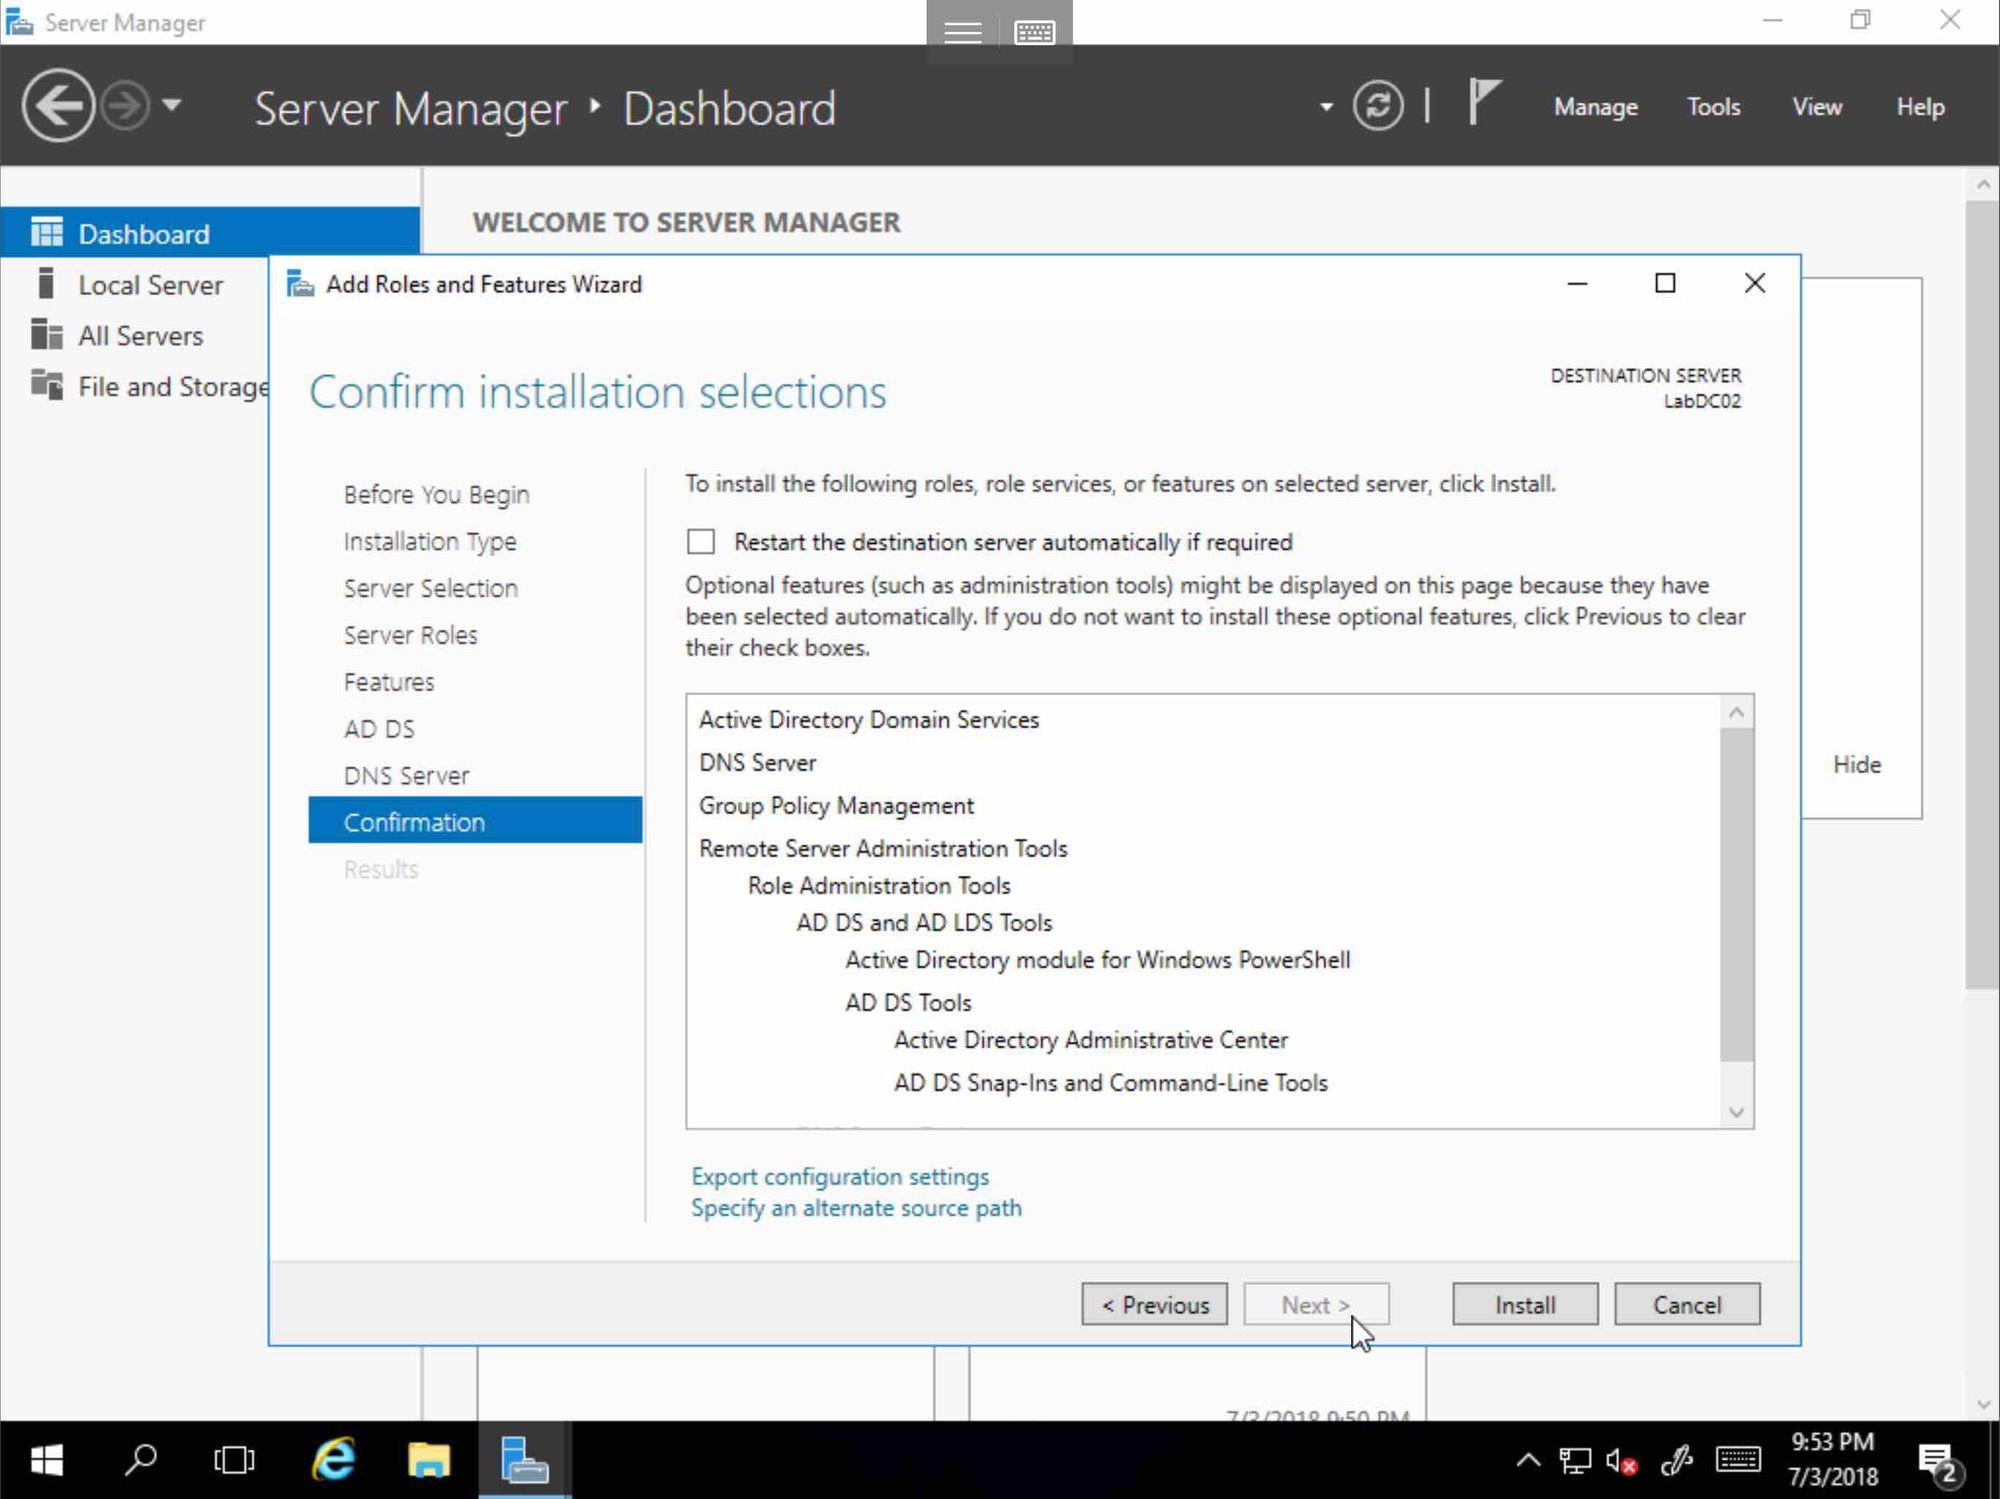
Select Restart server if required by clicking Yes
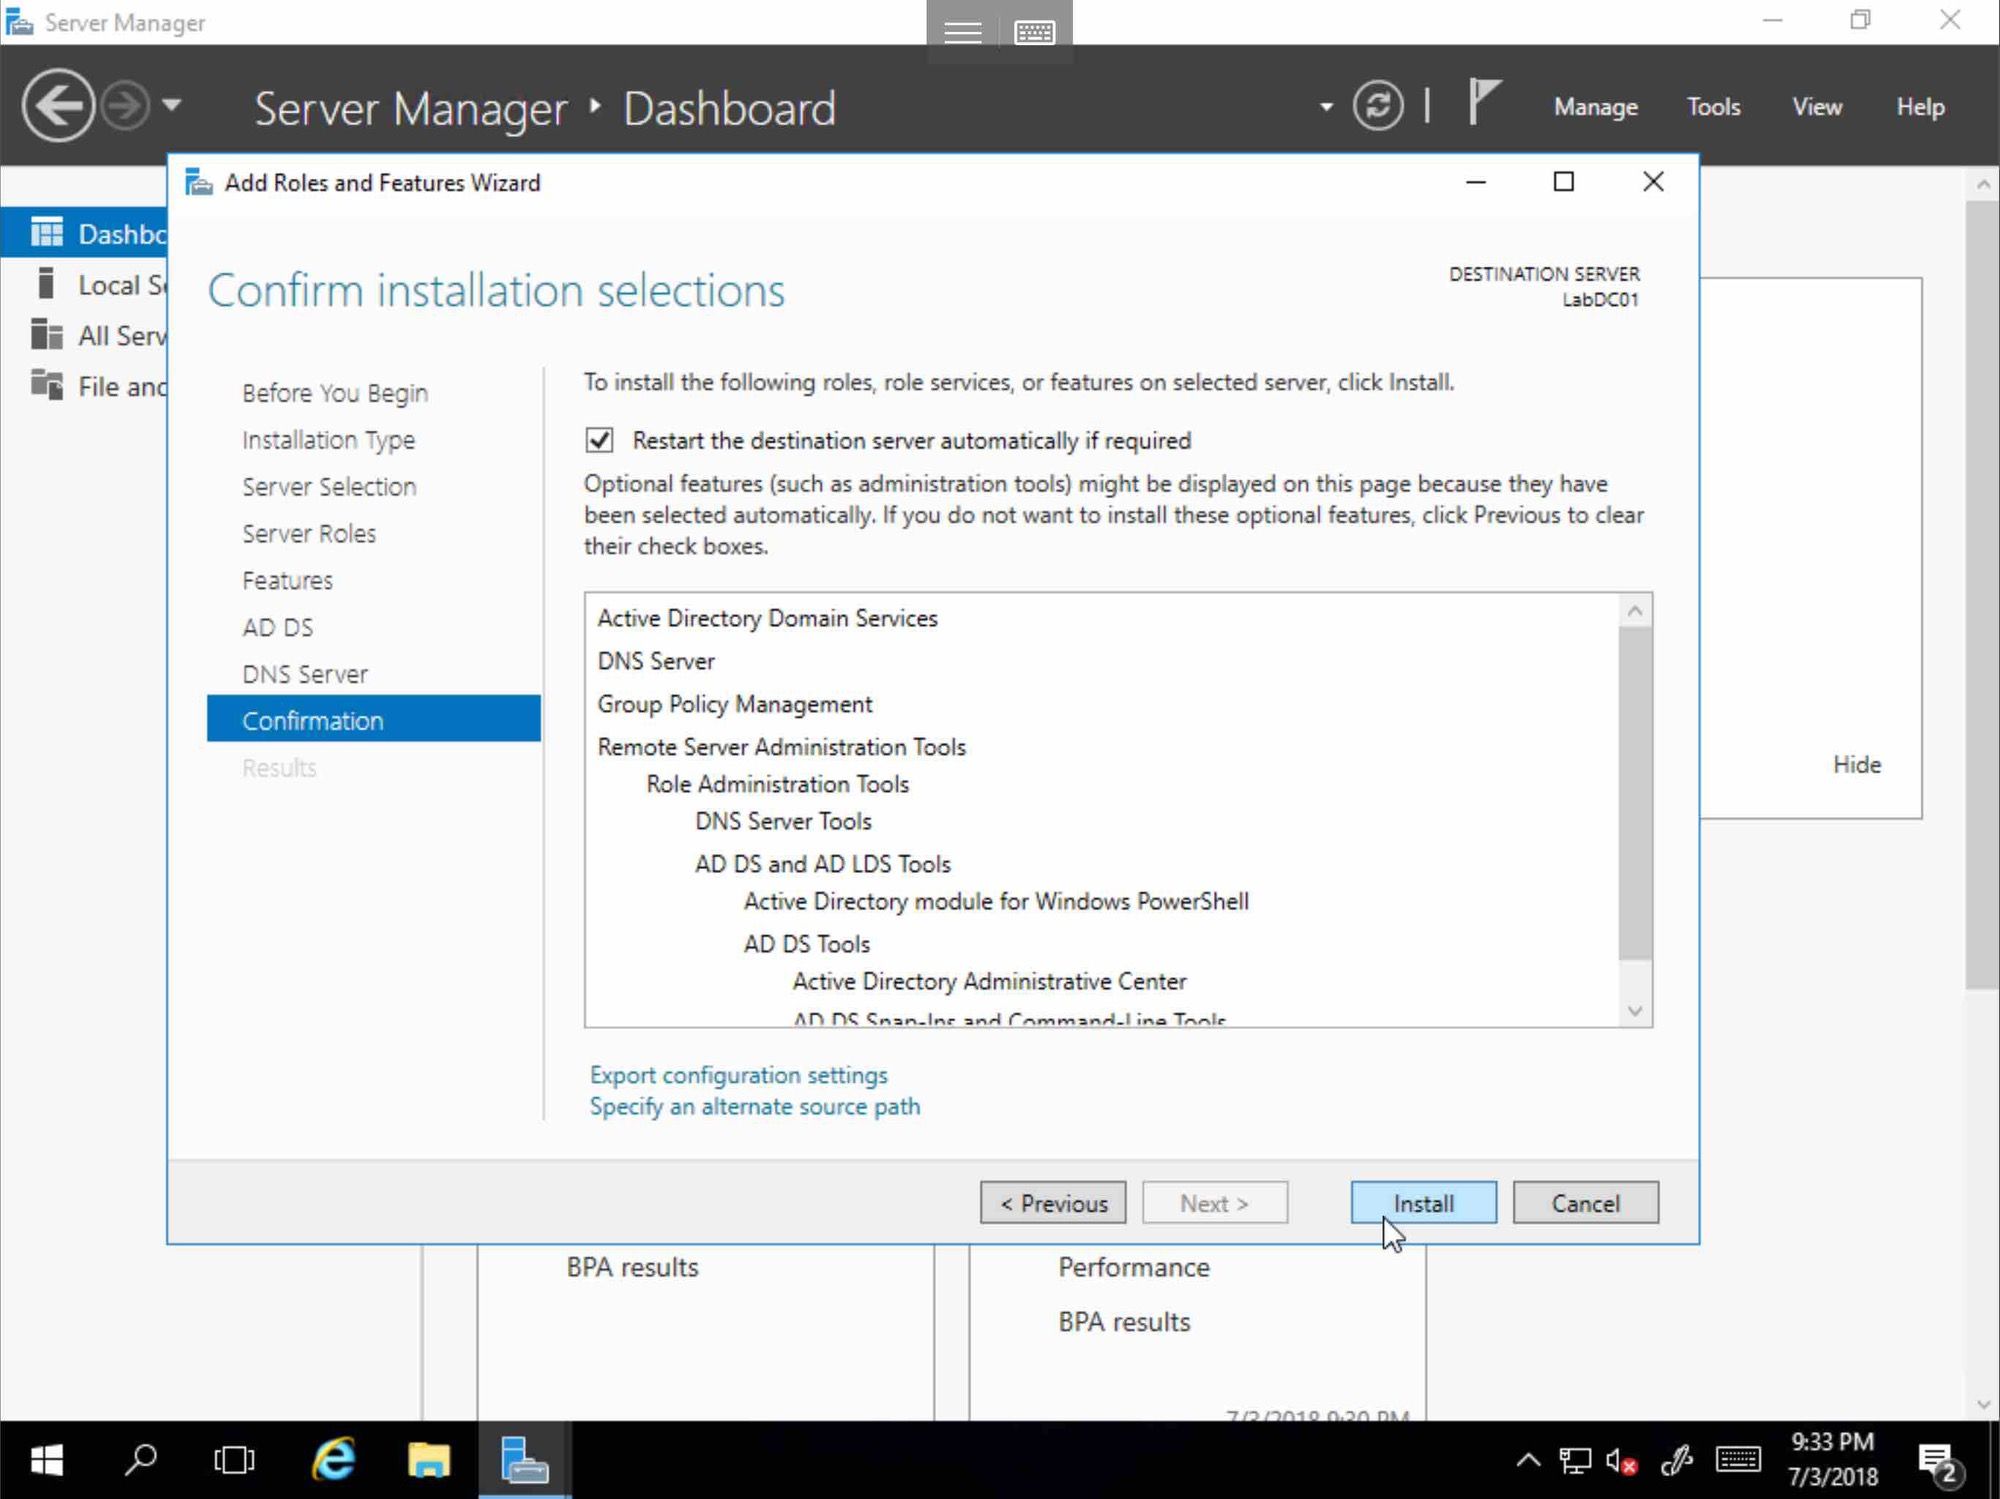
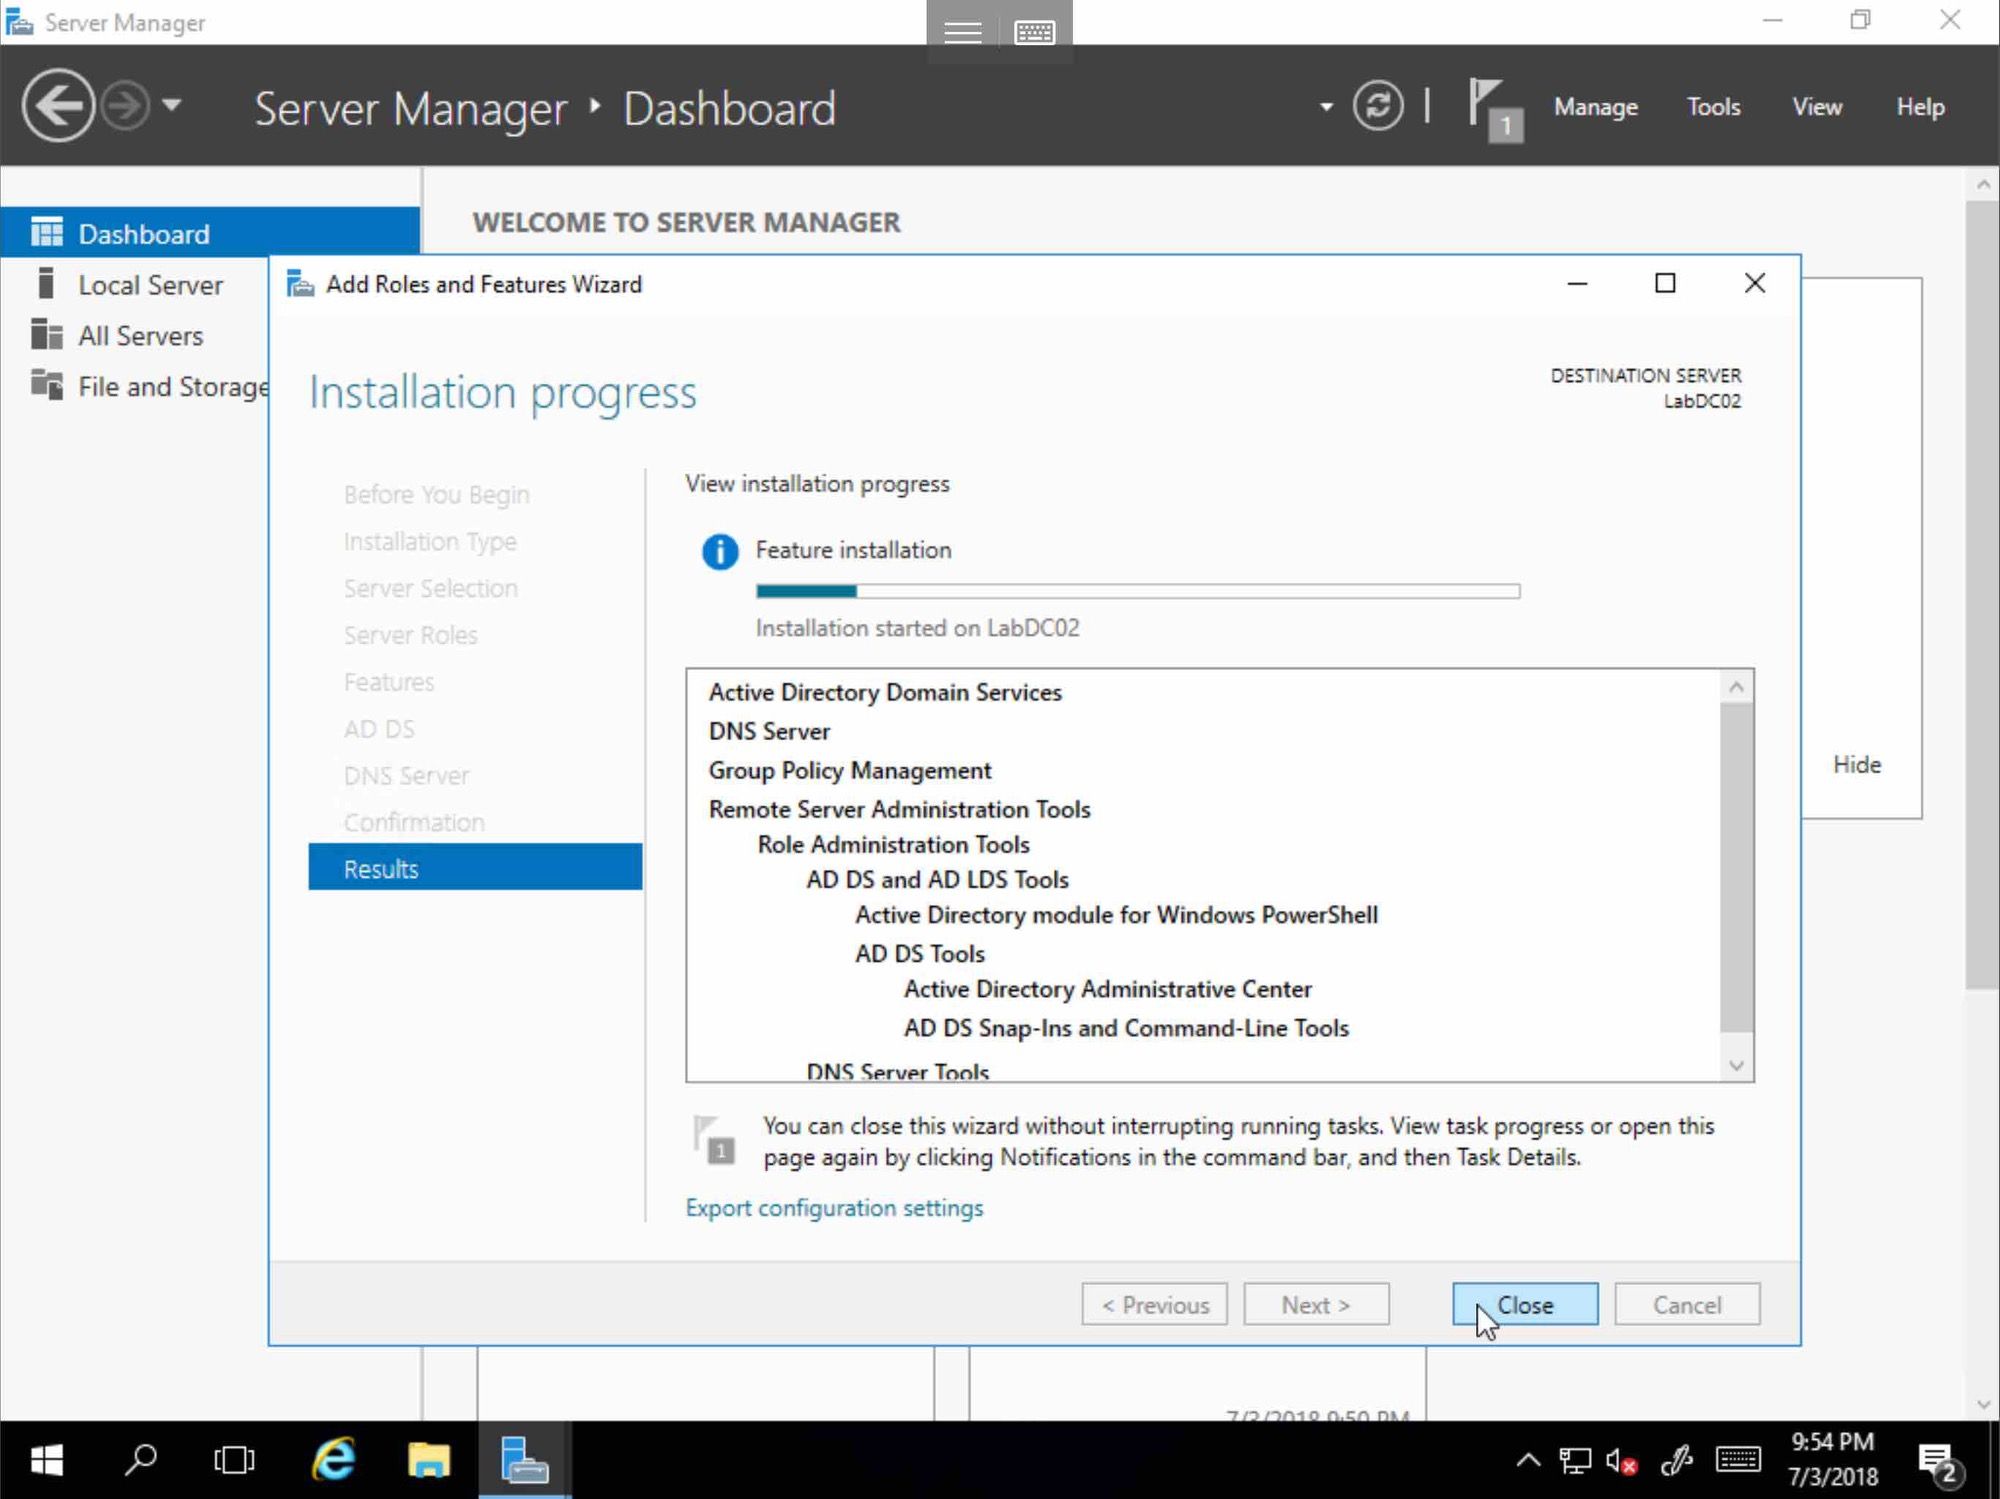
Click Install
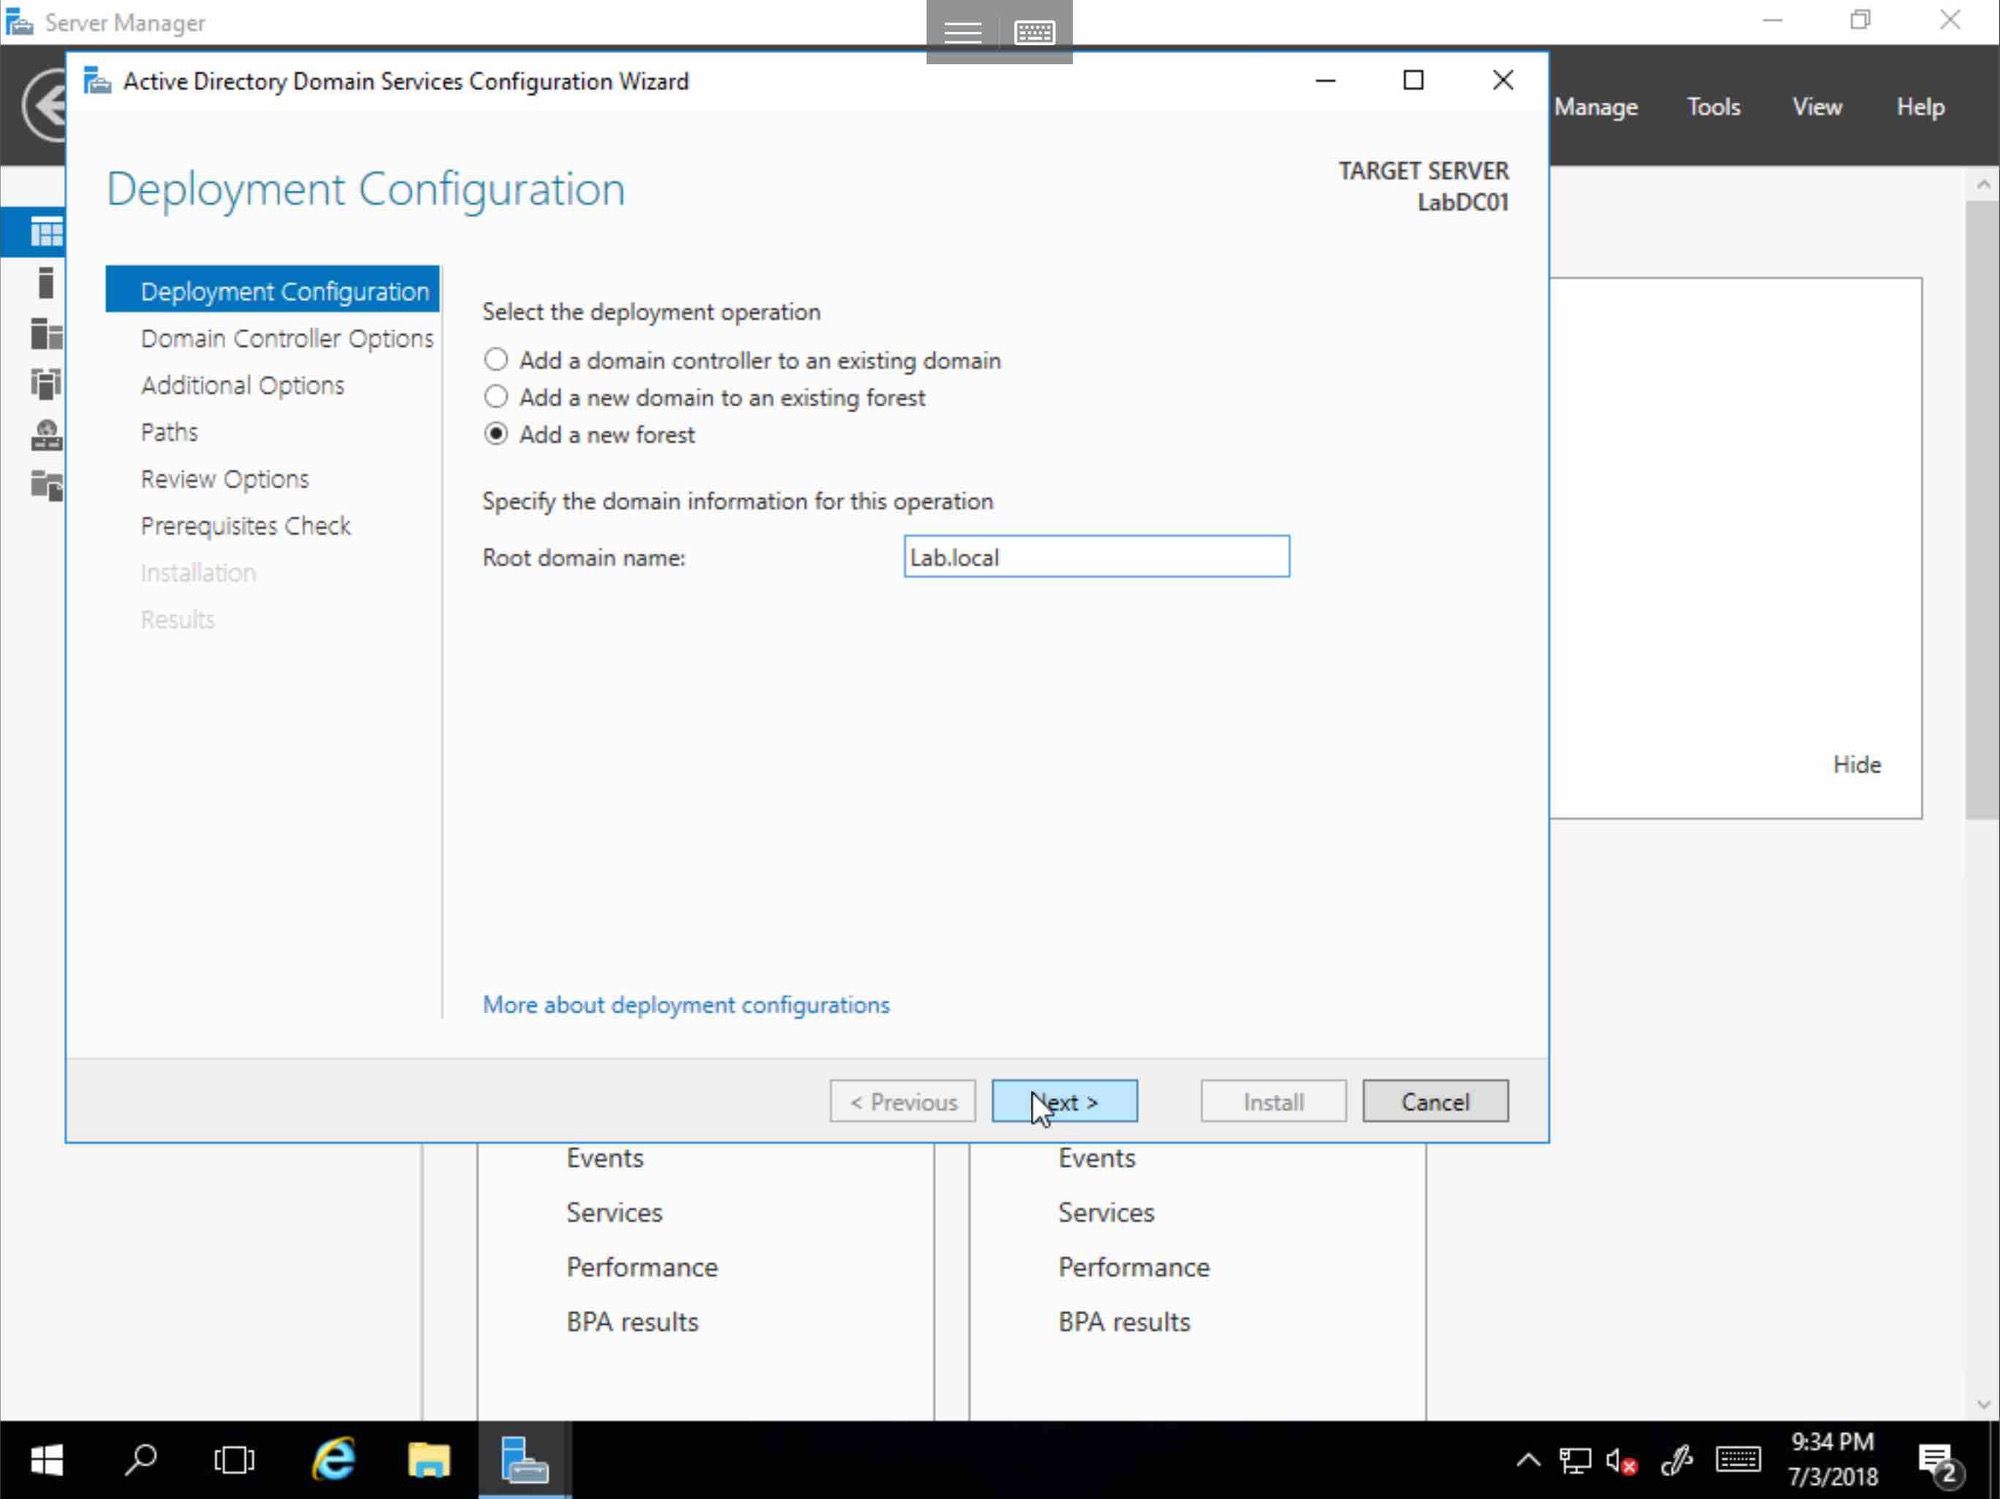
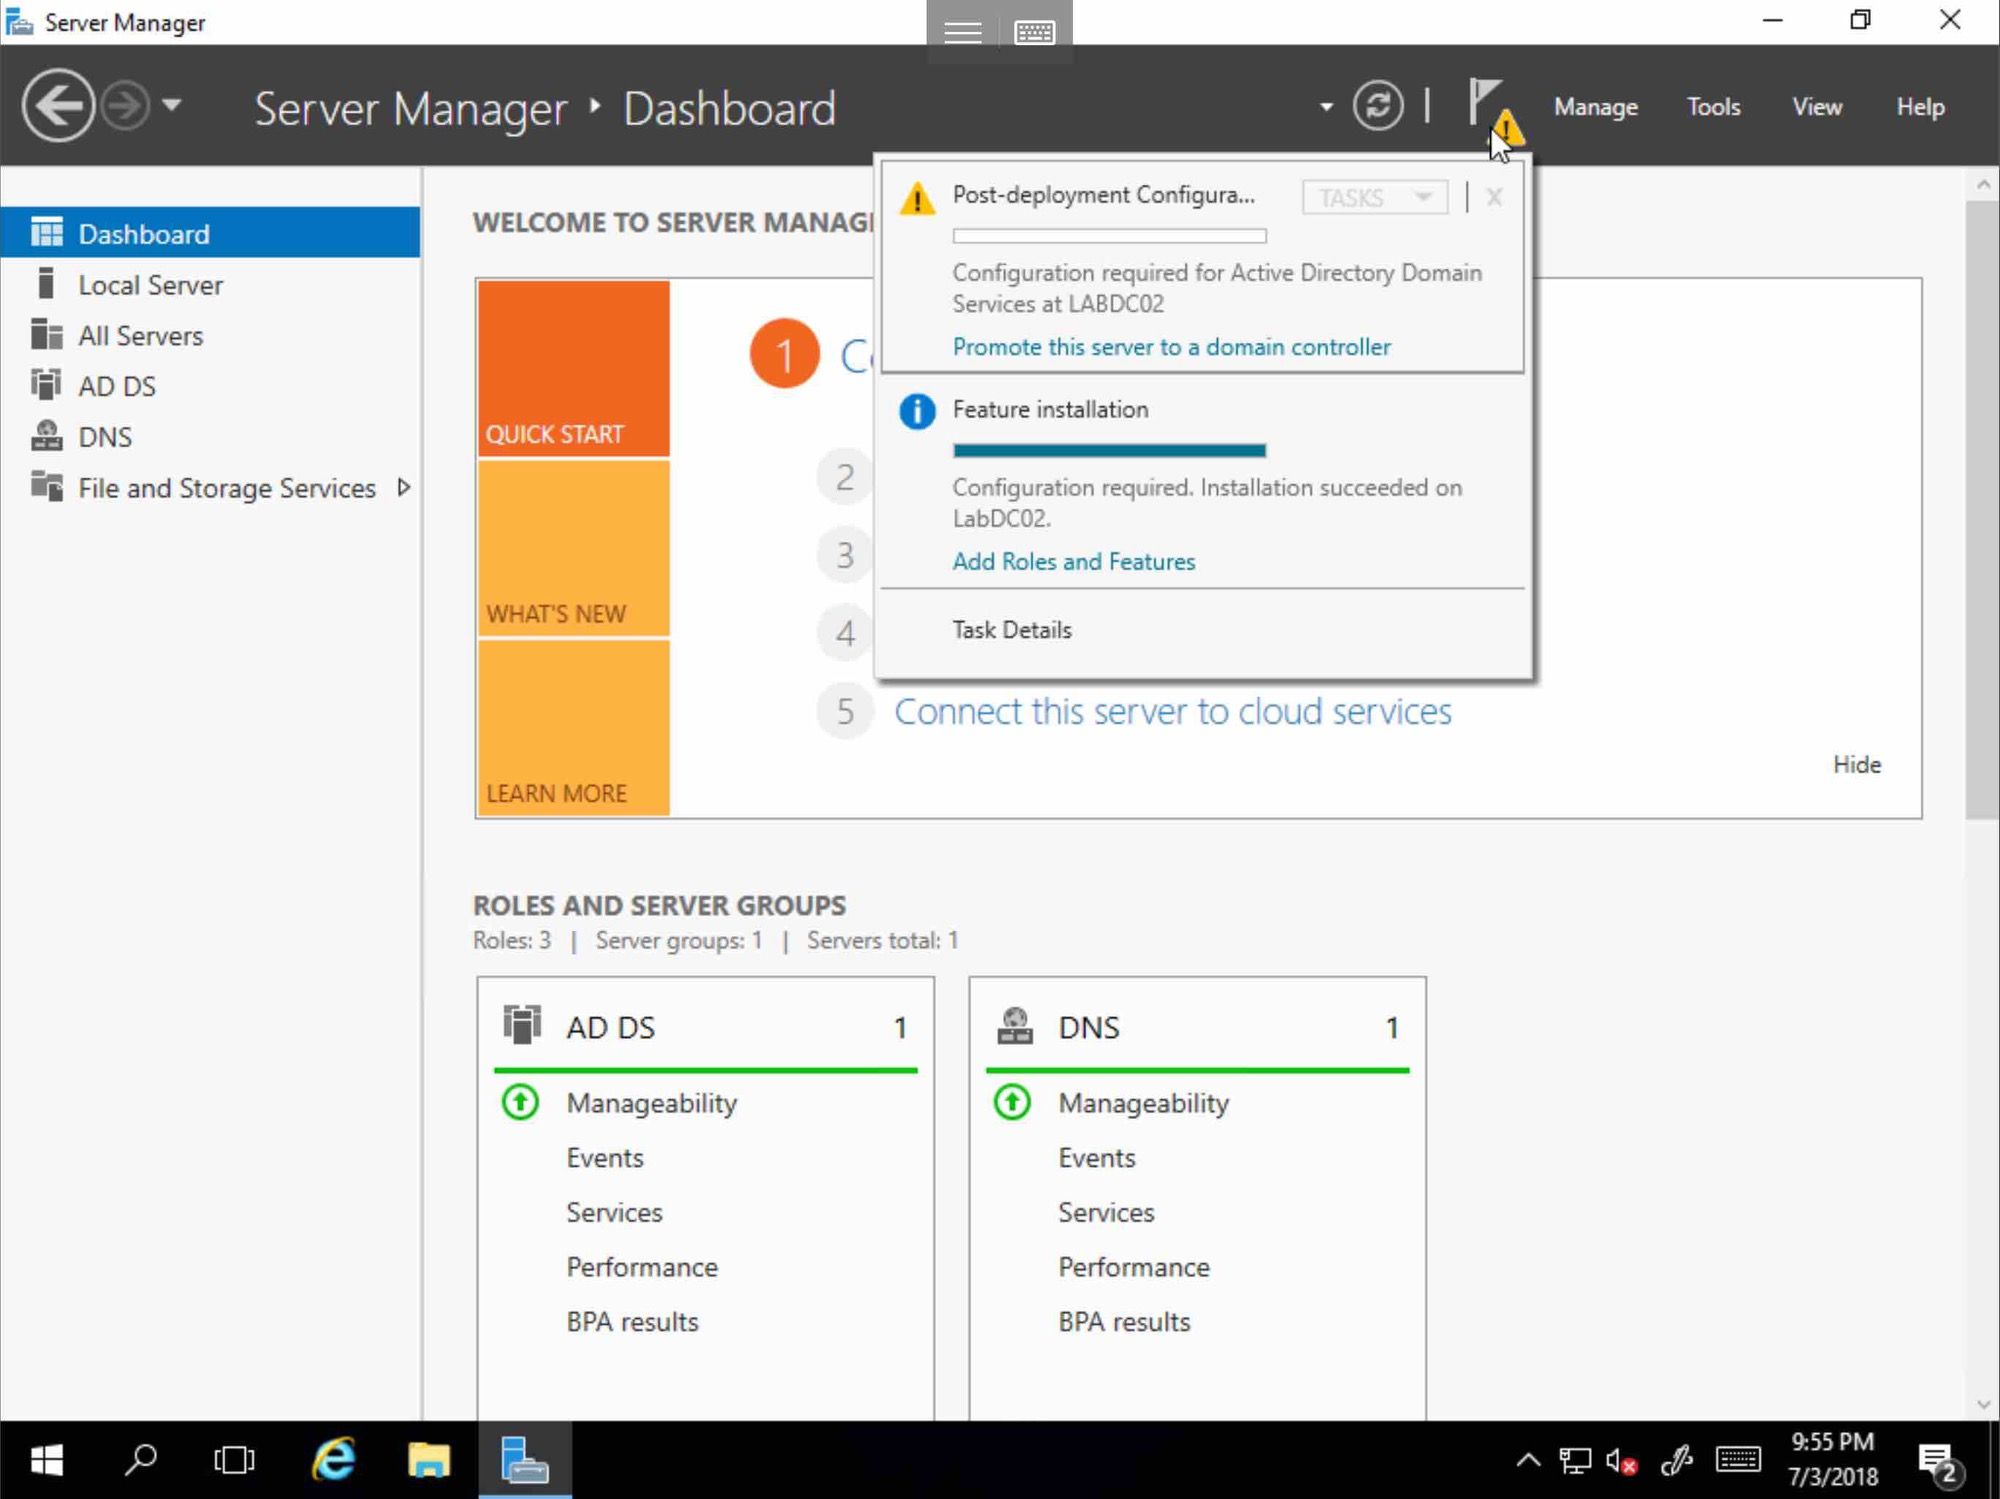
Once complete, Click on Tasks, click Post Installation Configuration, and promote this server to a domain controller

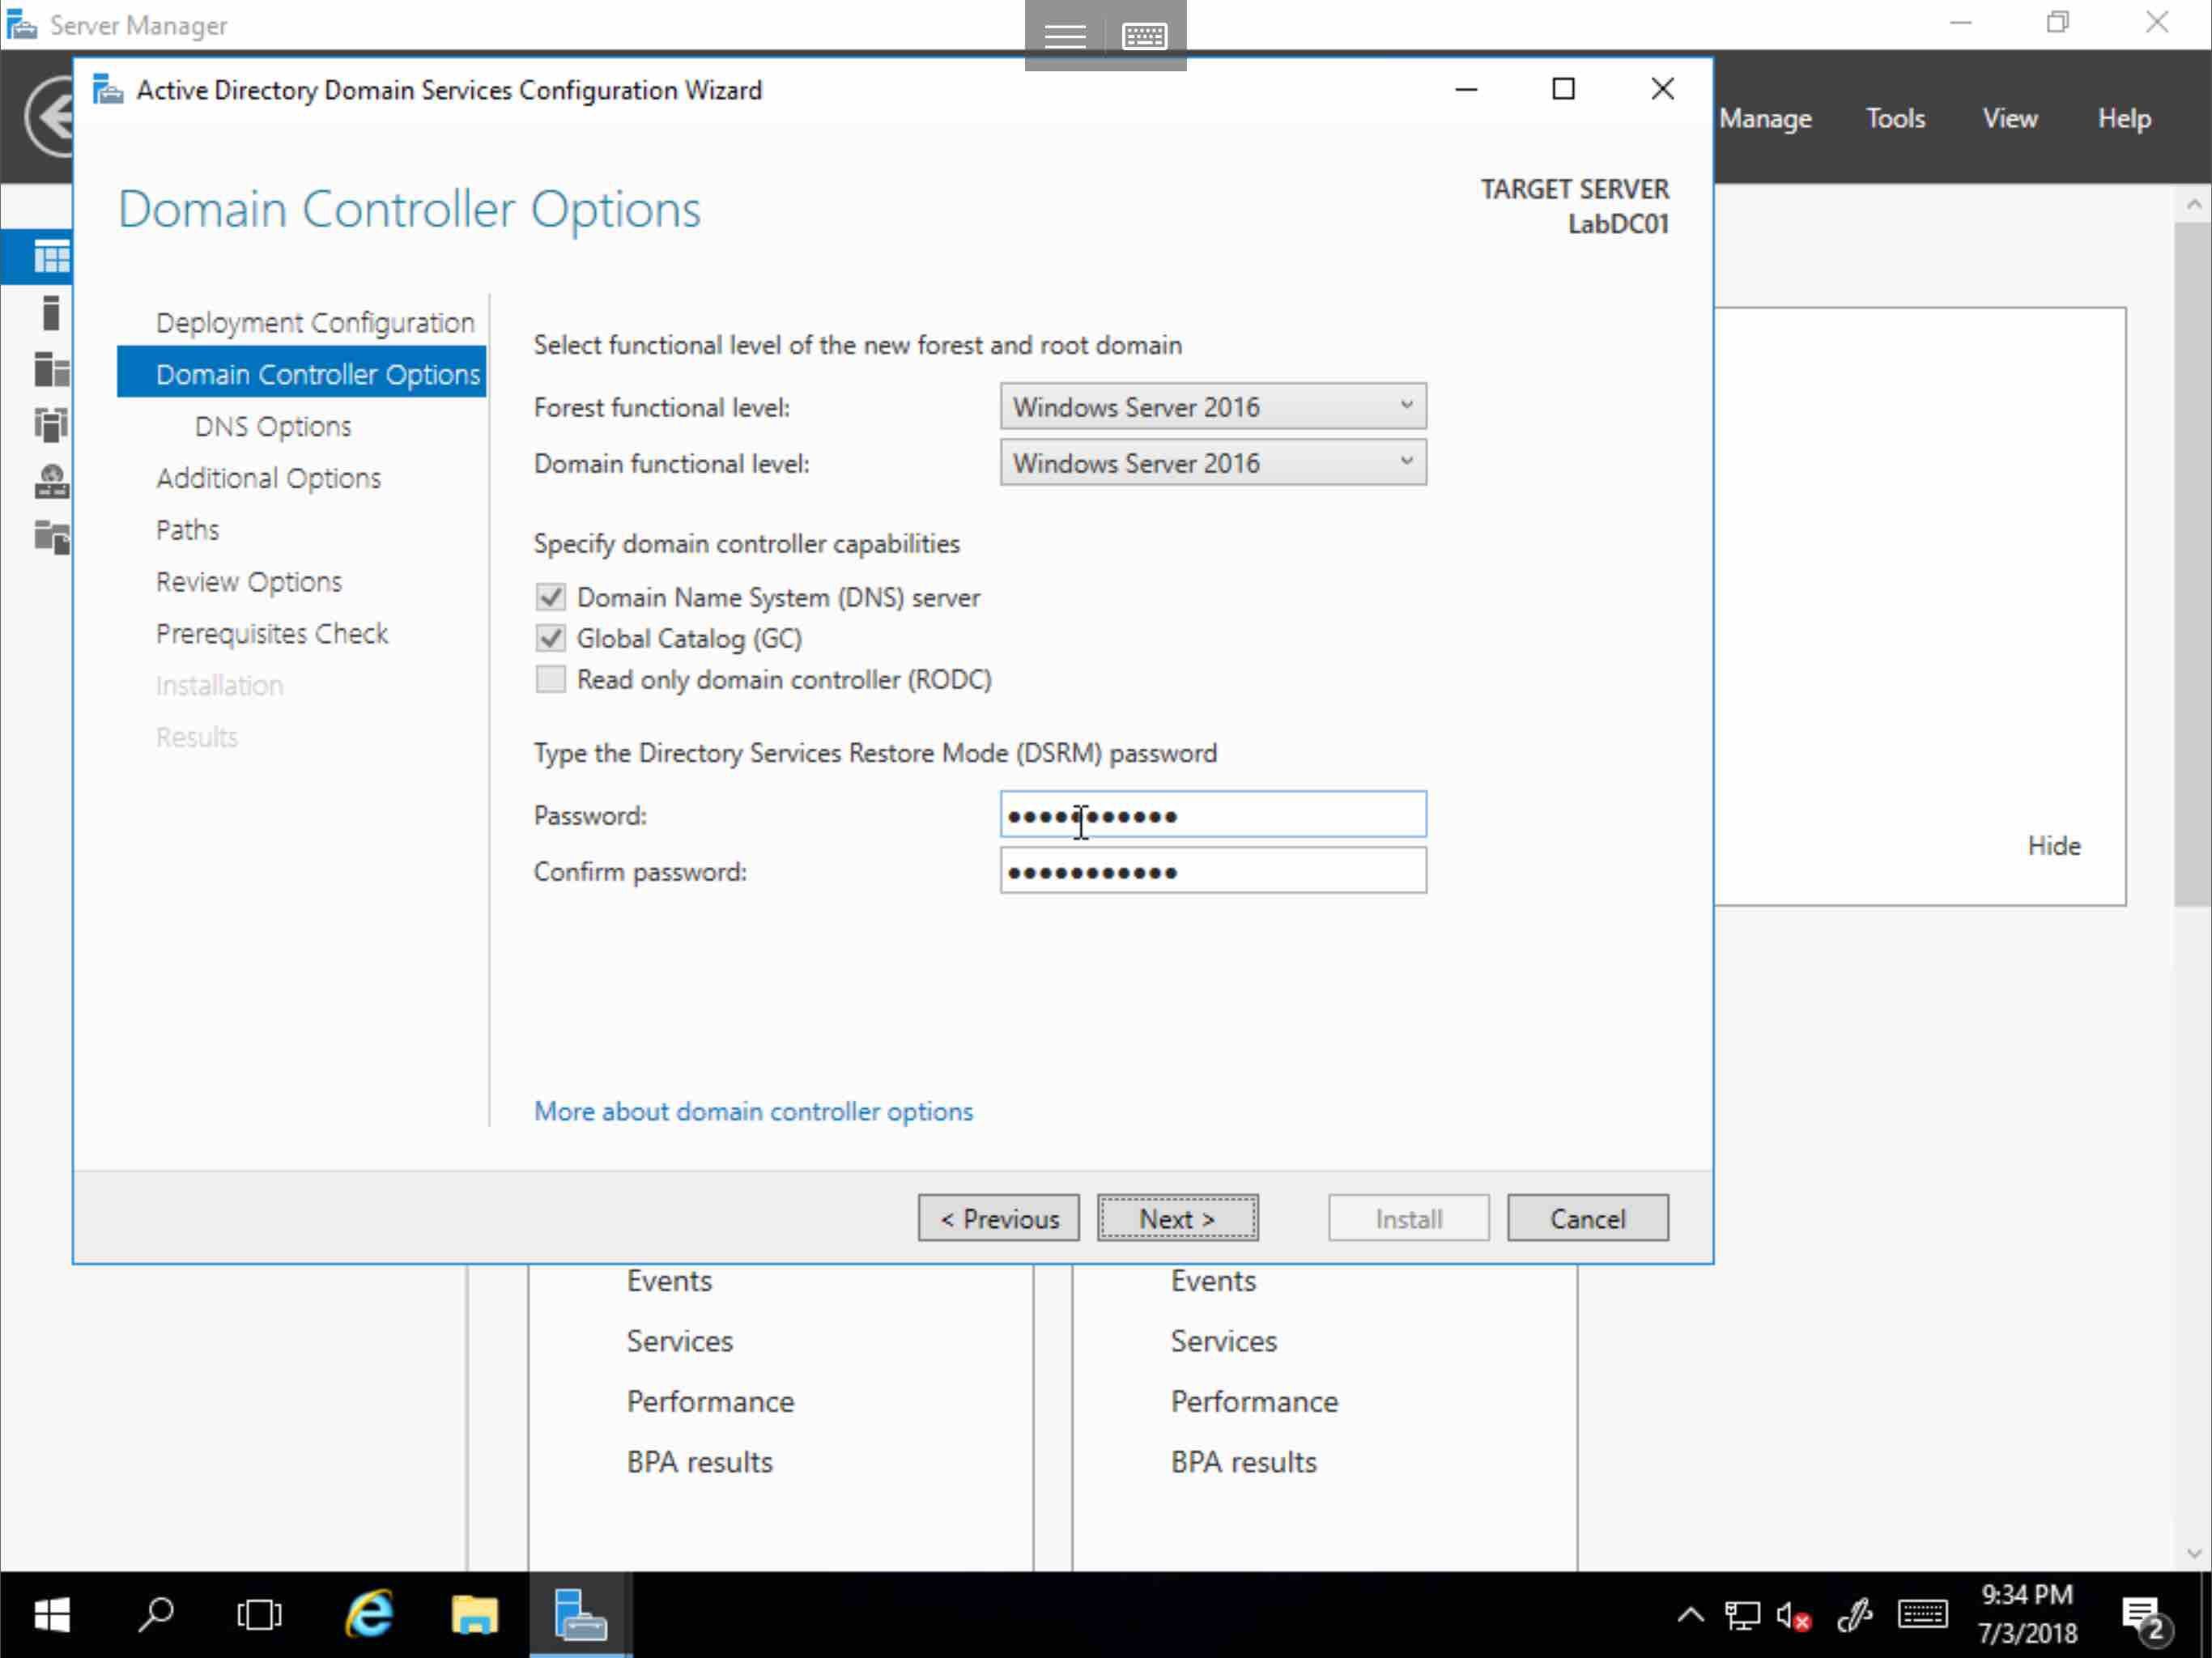
Select Add New Forest, assign a Root Domain Name, and click Next
Leave the defaults, and assign a Directory Services Restore Mode Password Click Next
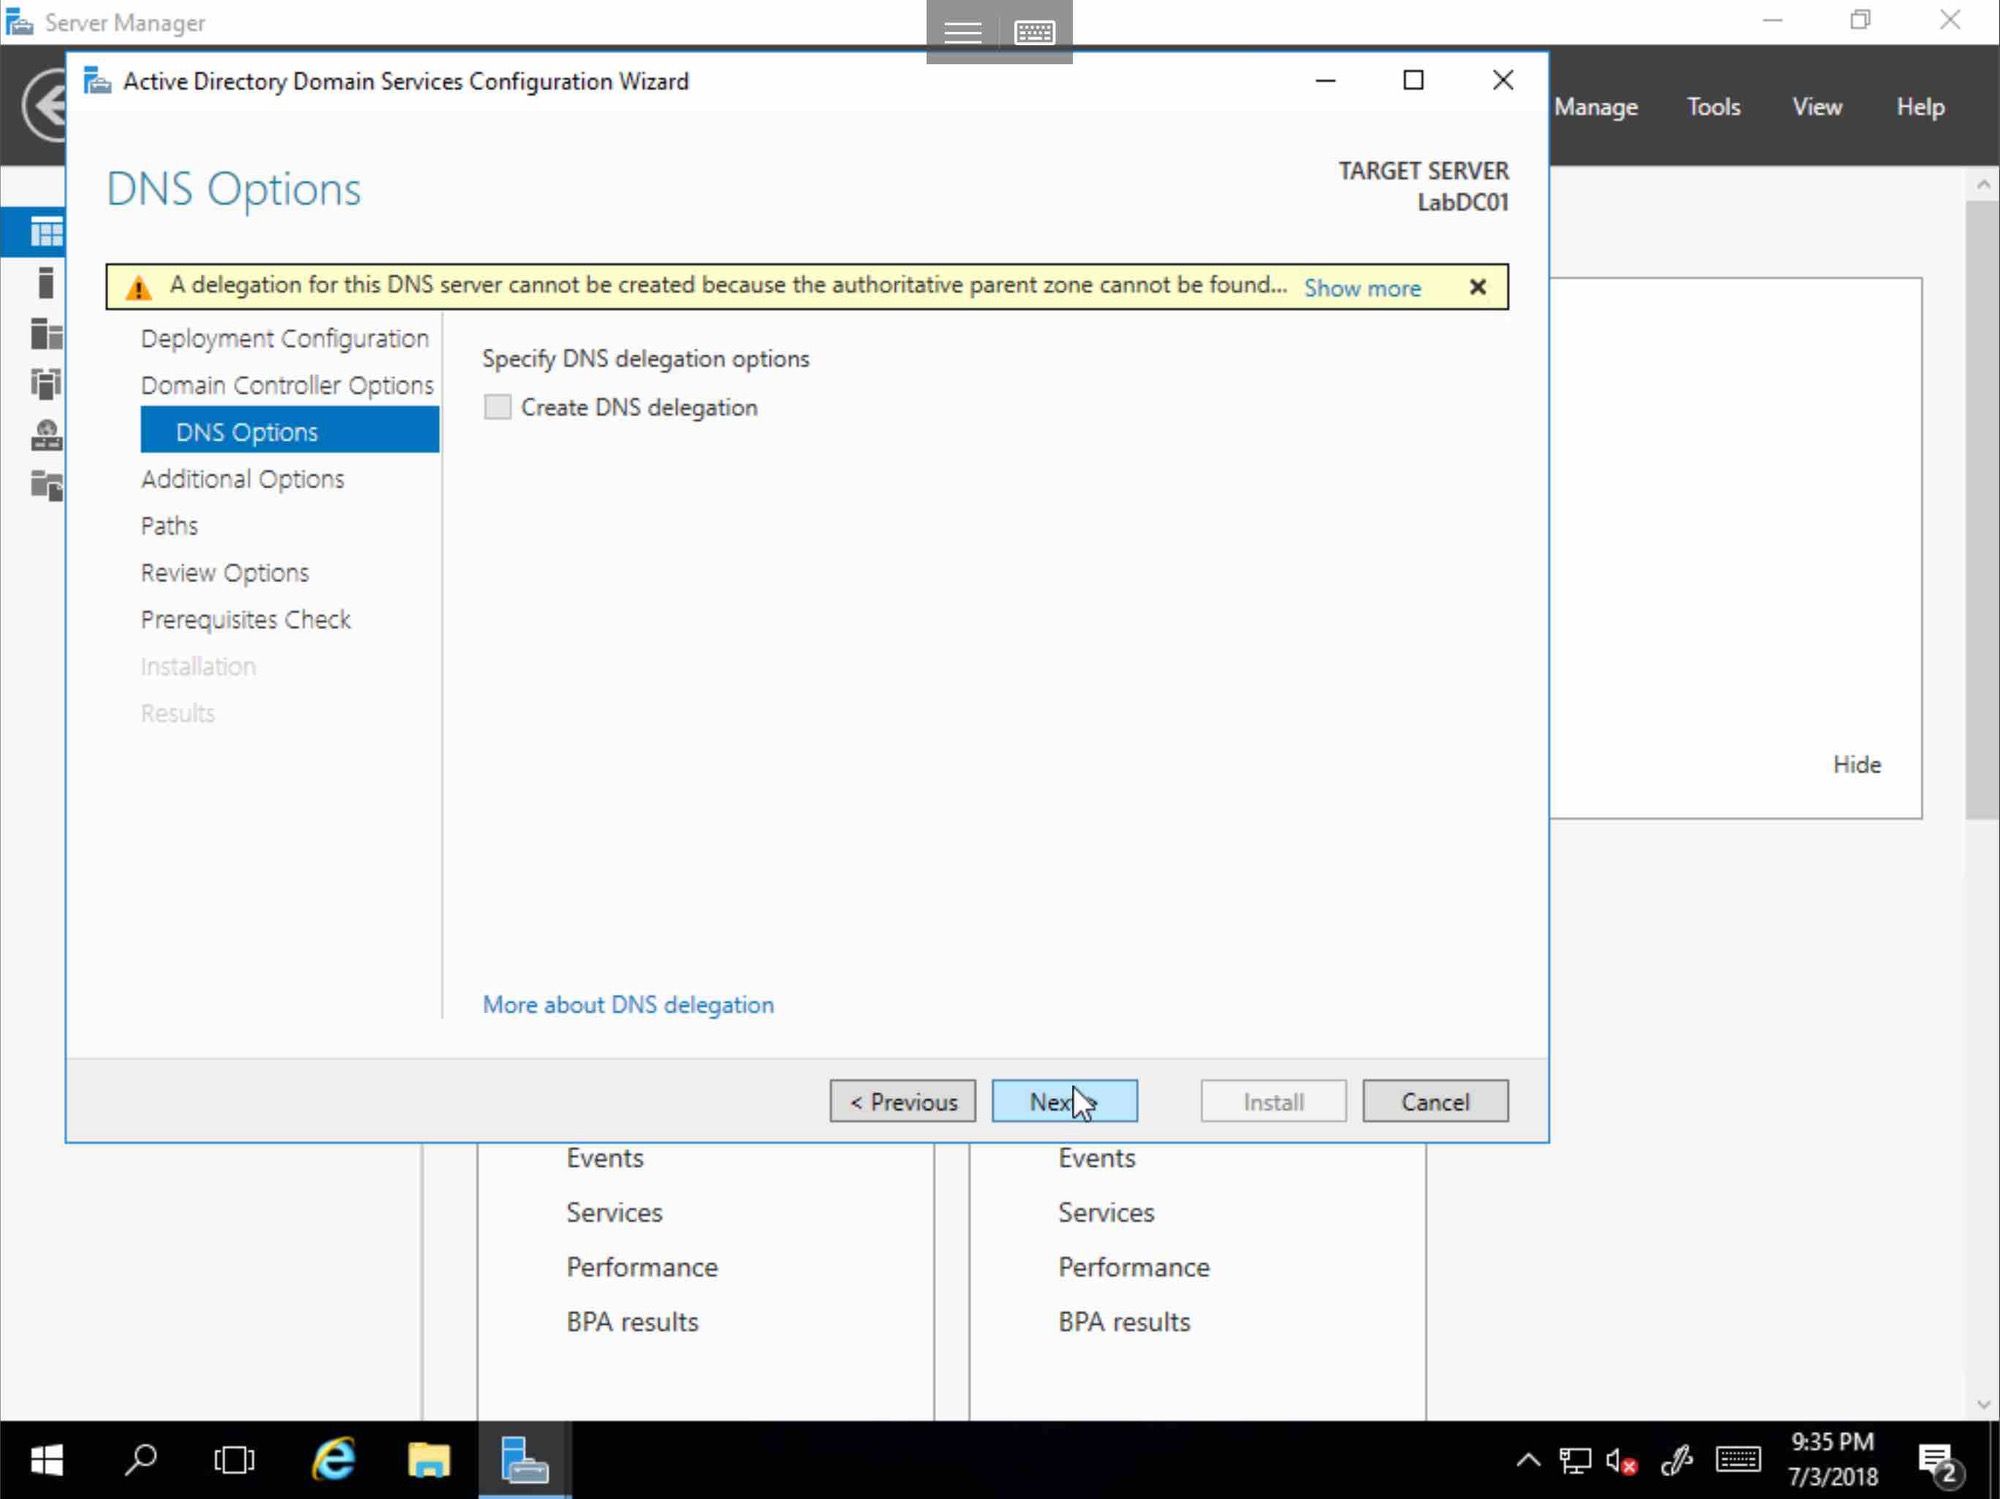
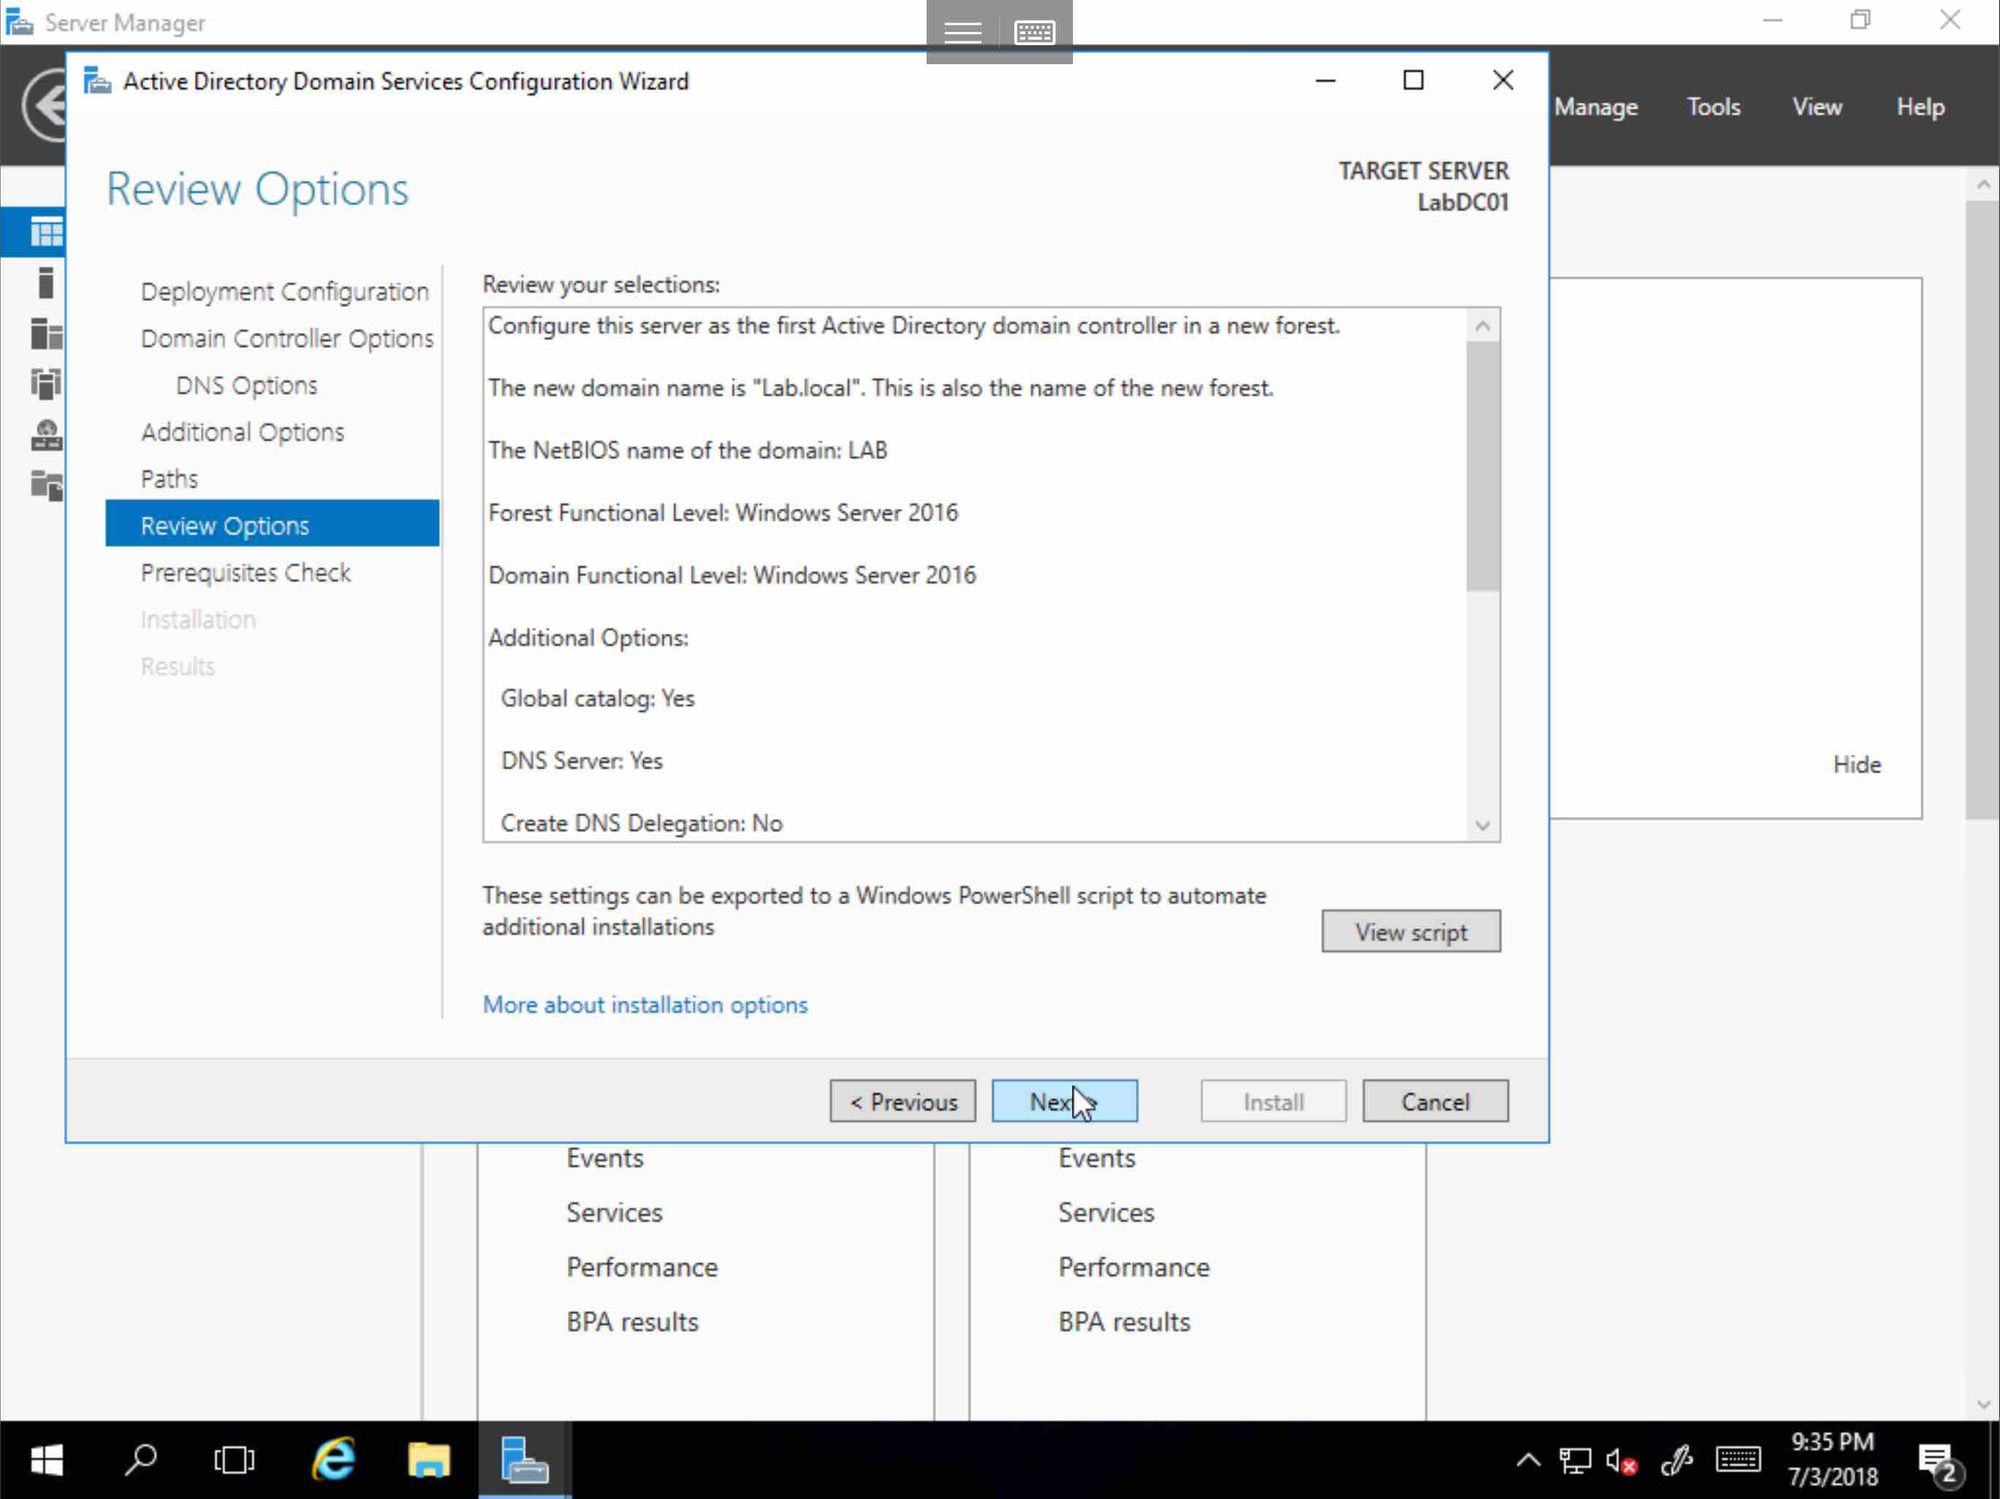
Click Next
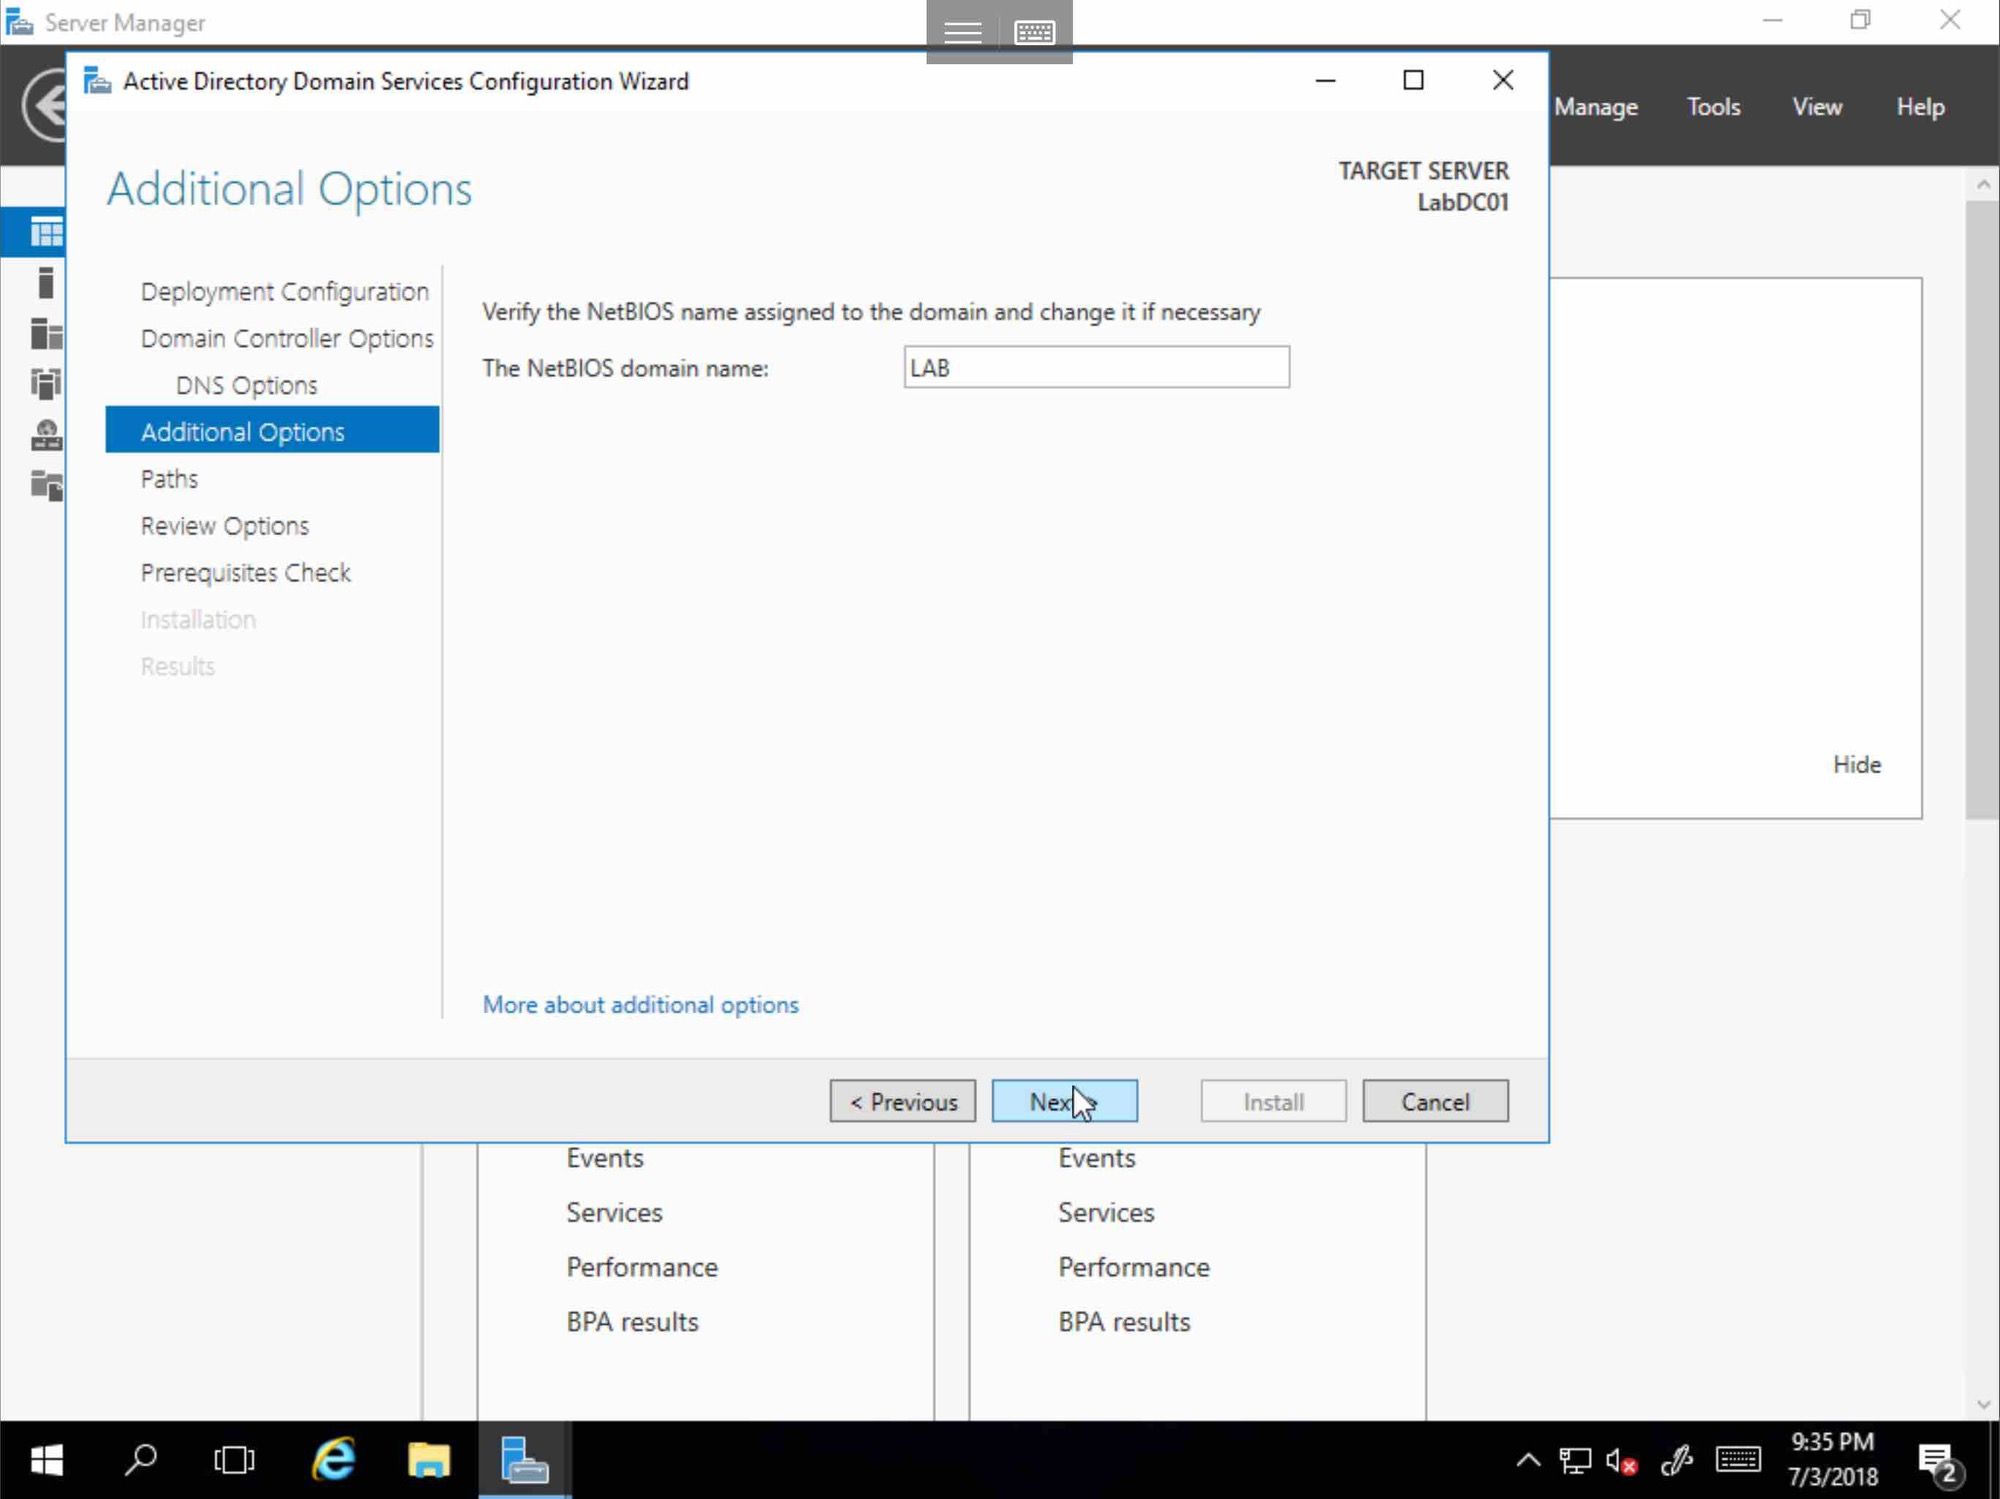
Click Next
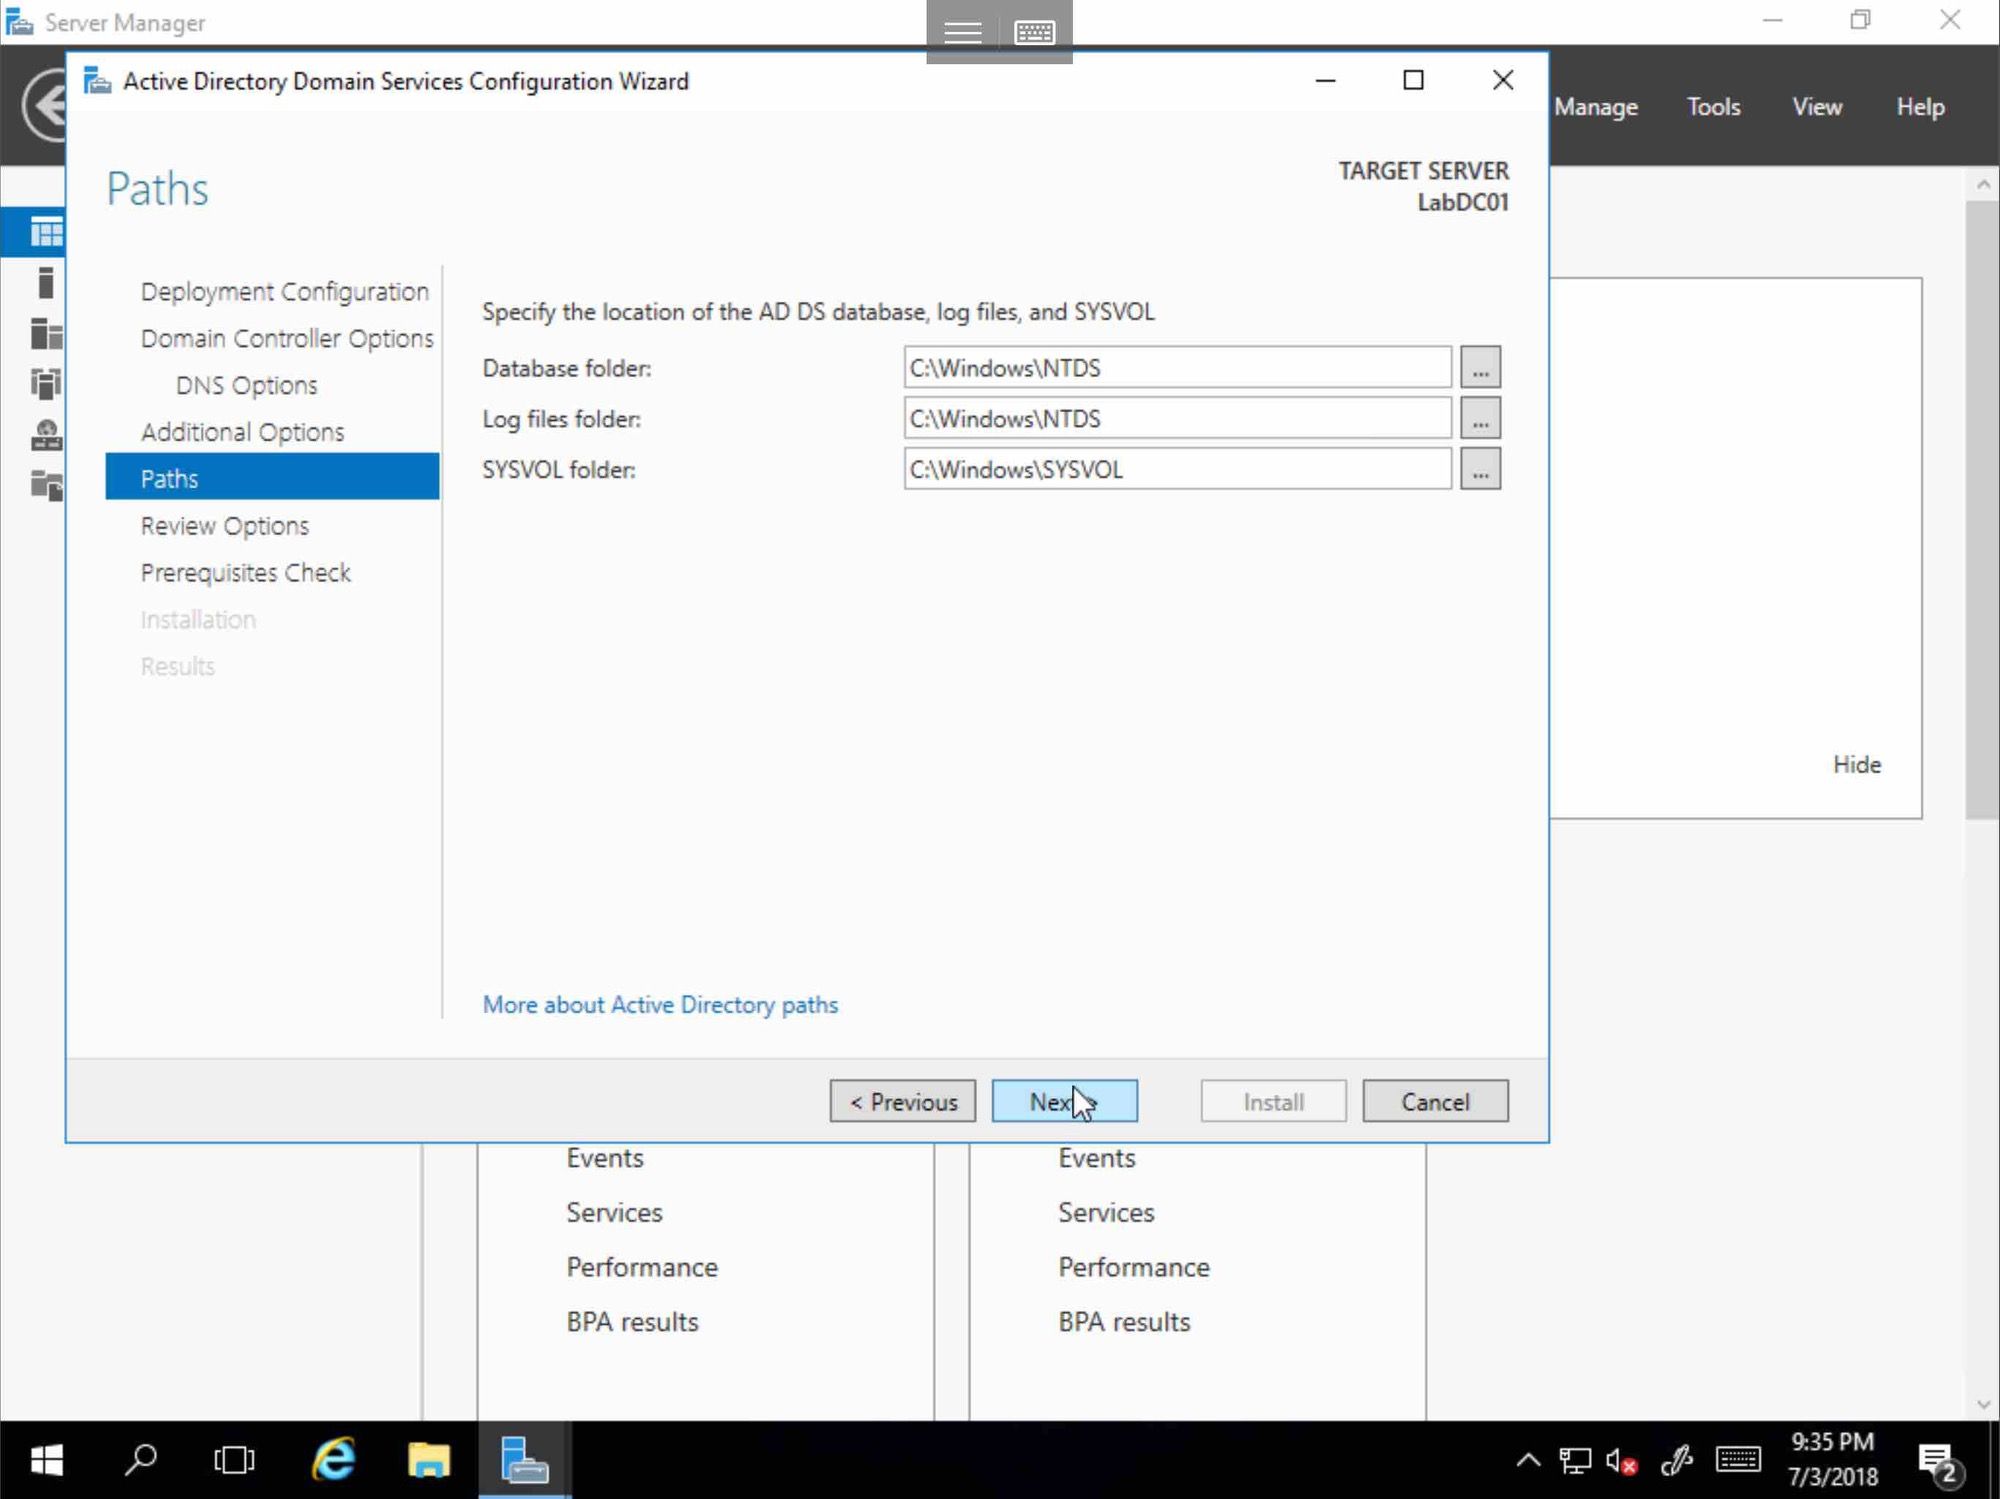
Click Next
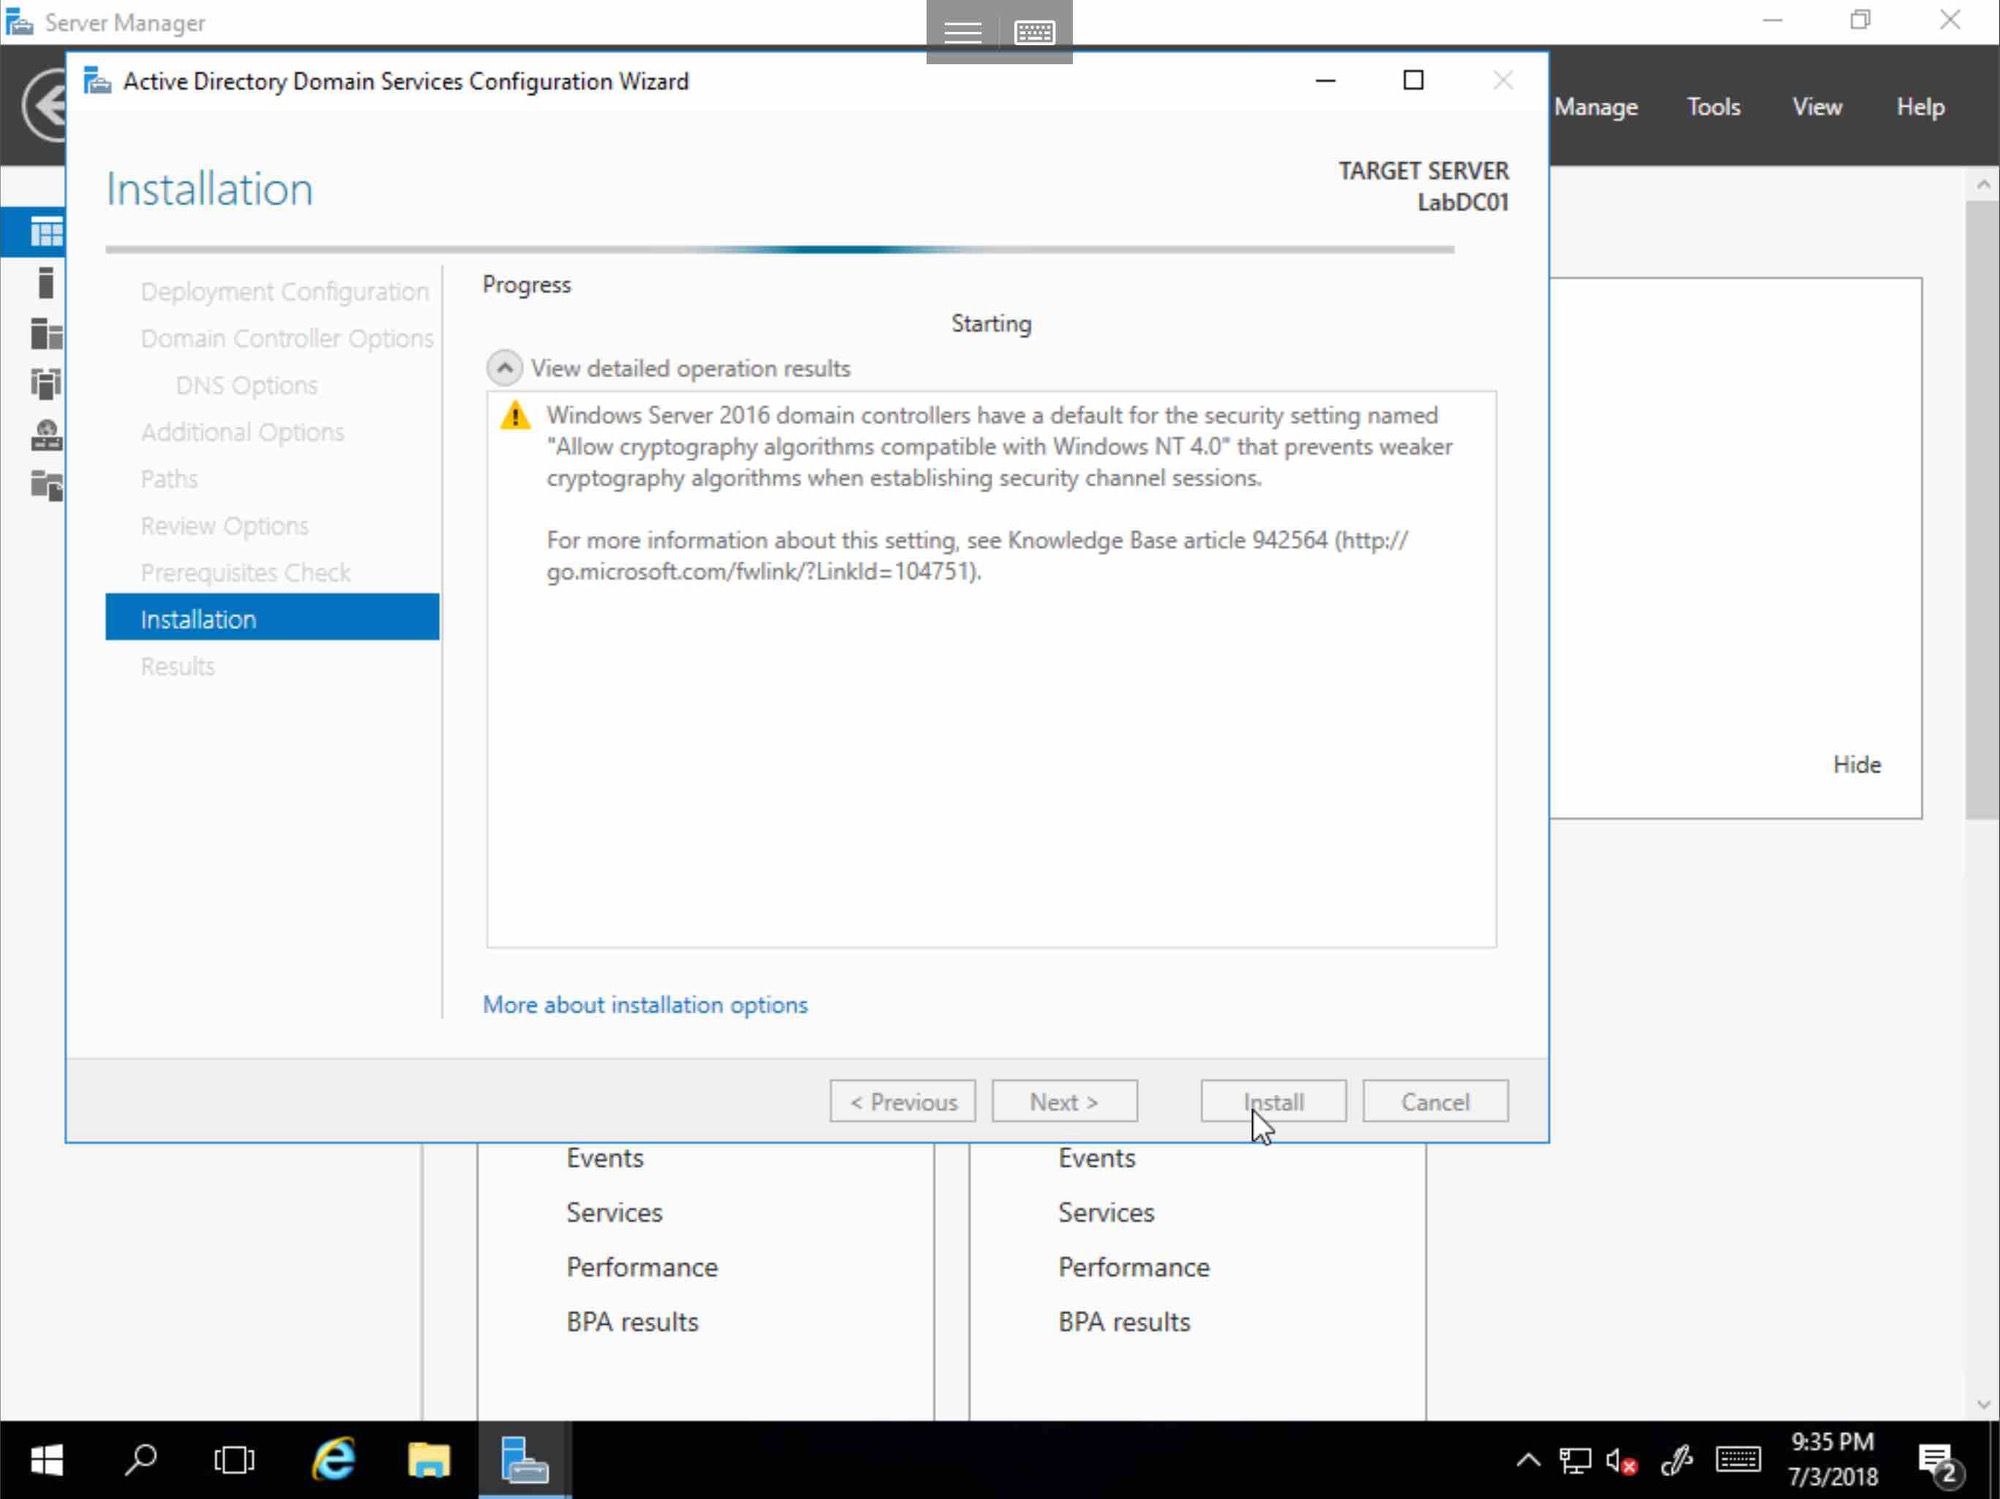
Click Install
When the install is finished the server will reboot.

Click Next

Click Next
Click Next
Click Install
Click Promote this Server
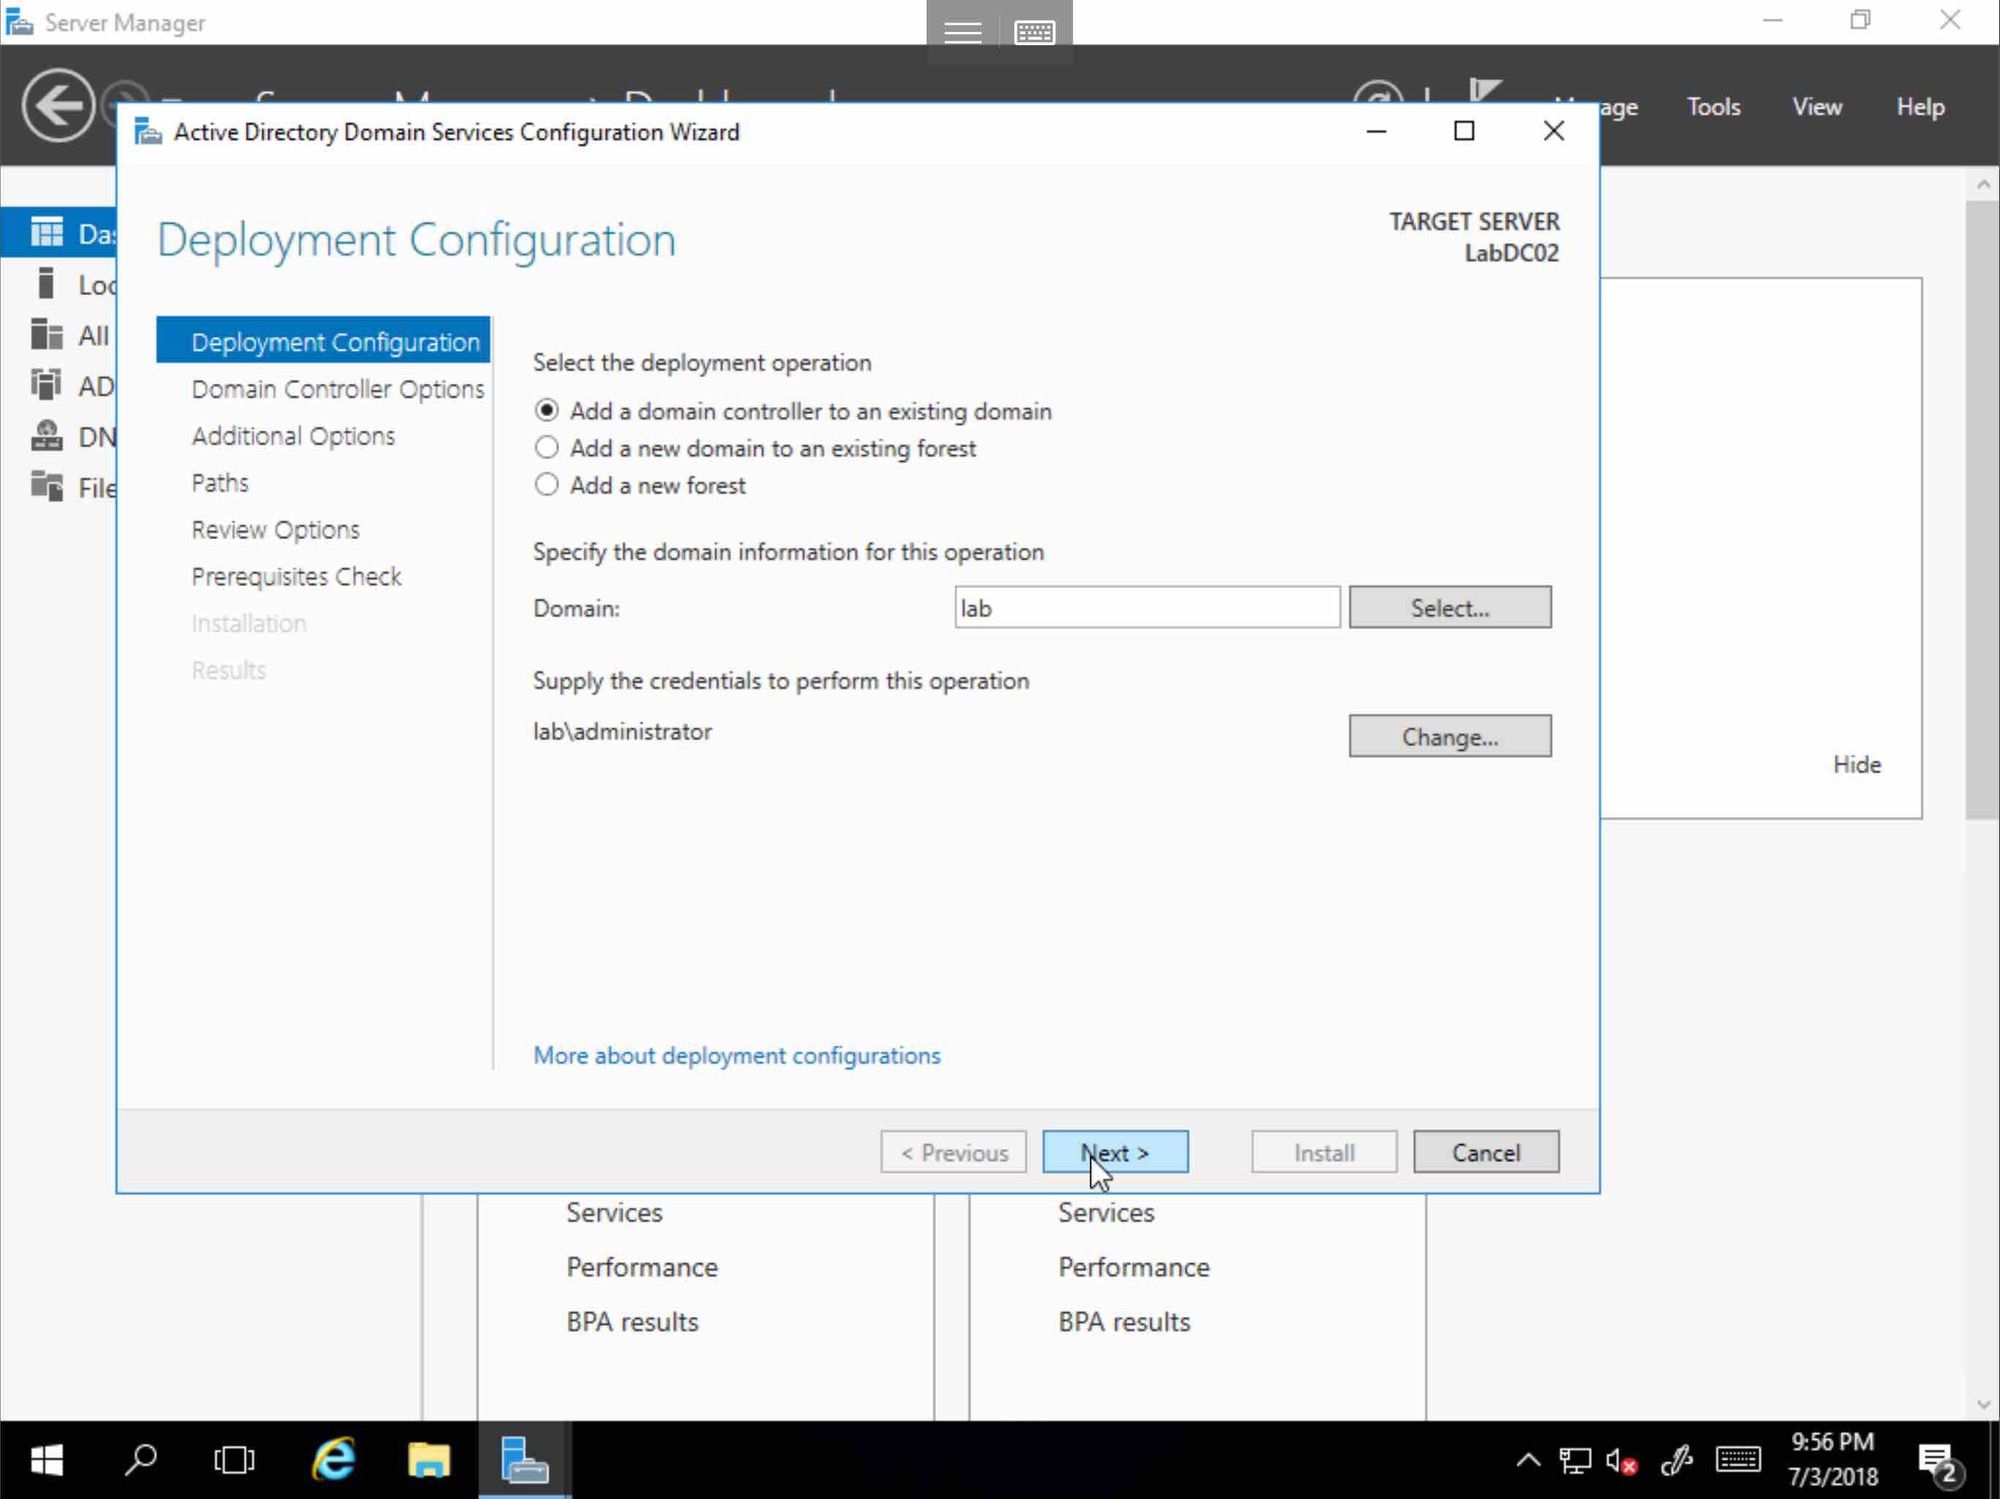
Select Add a Domain Controller to an existing domain, and Click Next

Supply Credentials to Domain
Assign, and confirm DSRM Passord. Click Next.
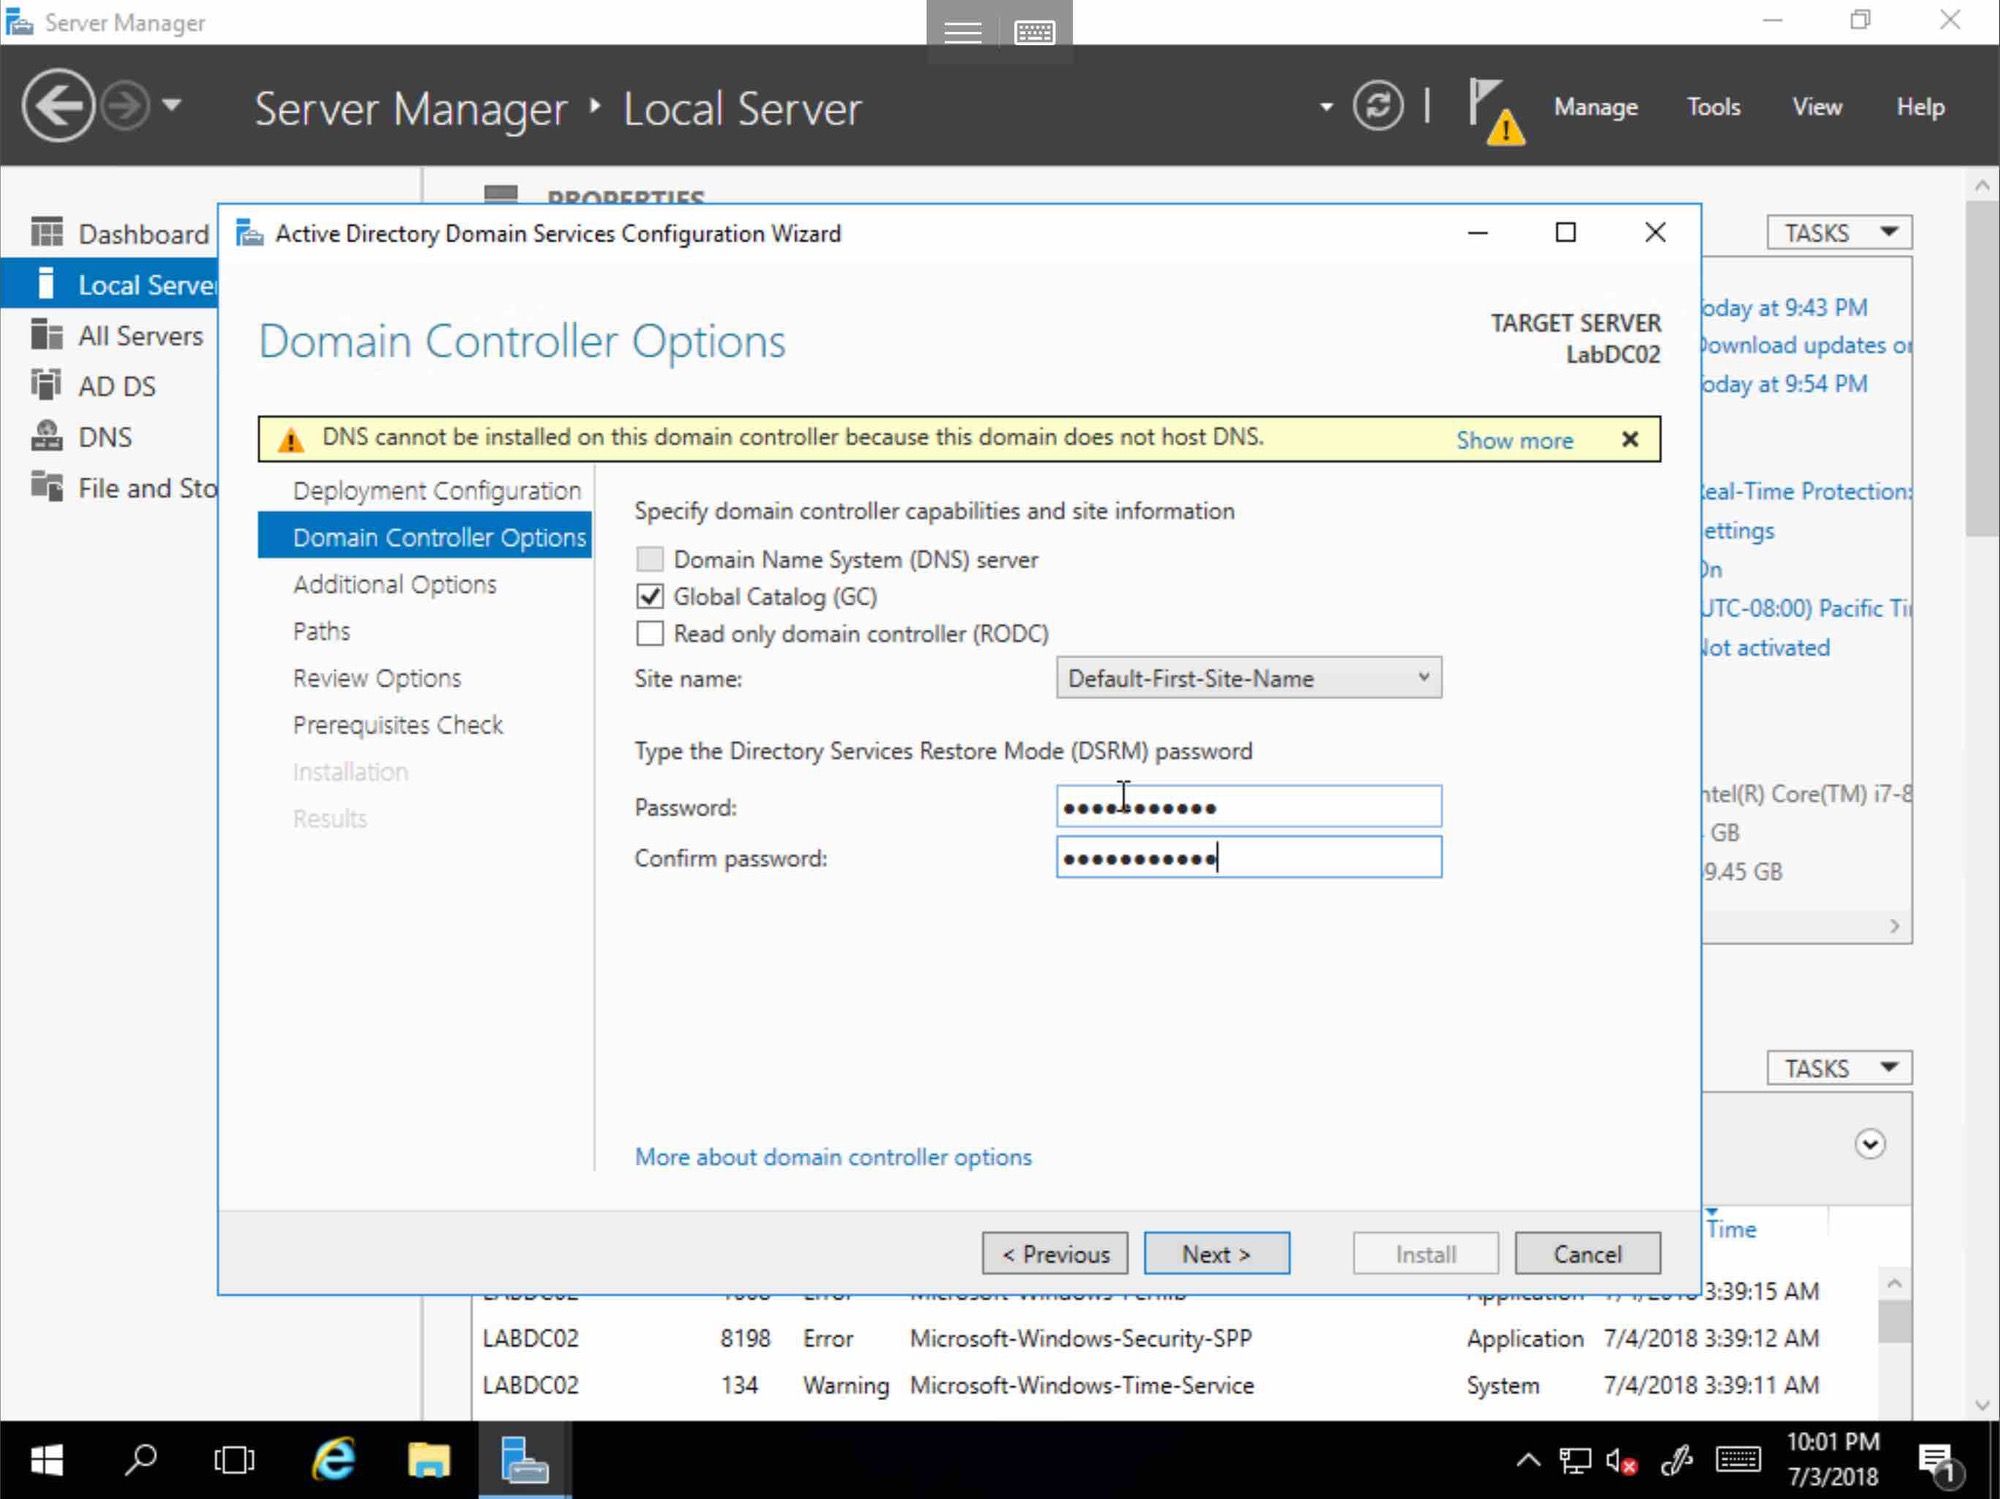
Click Next

Click Next
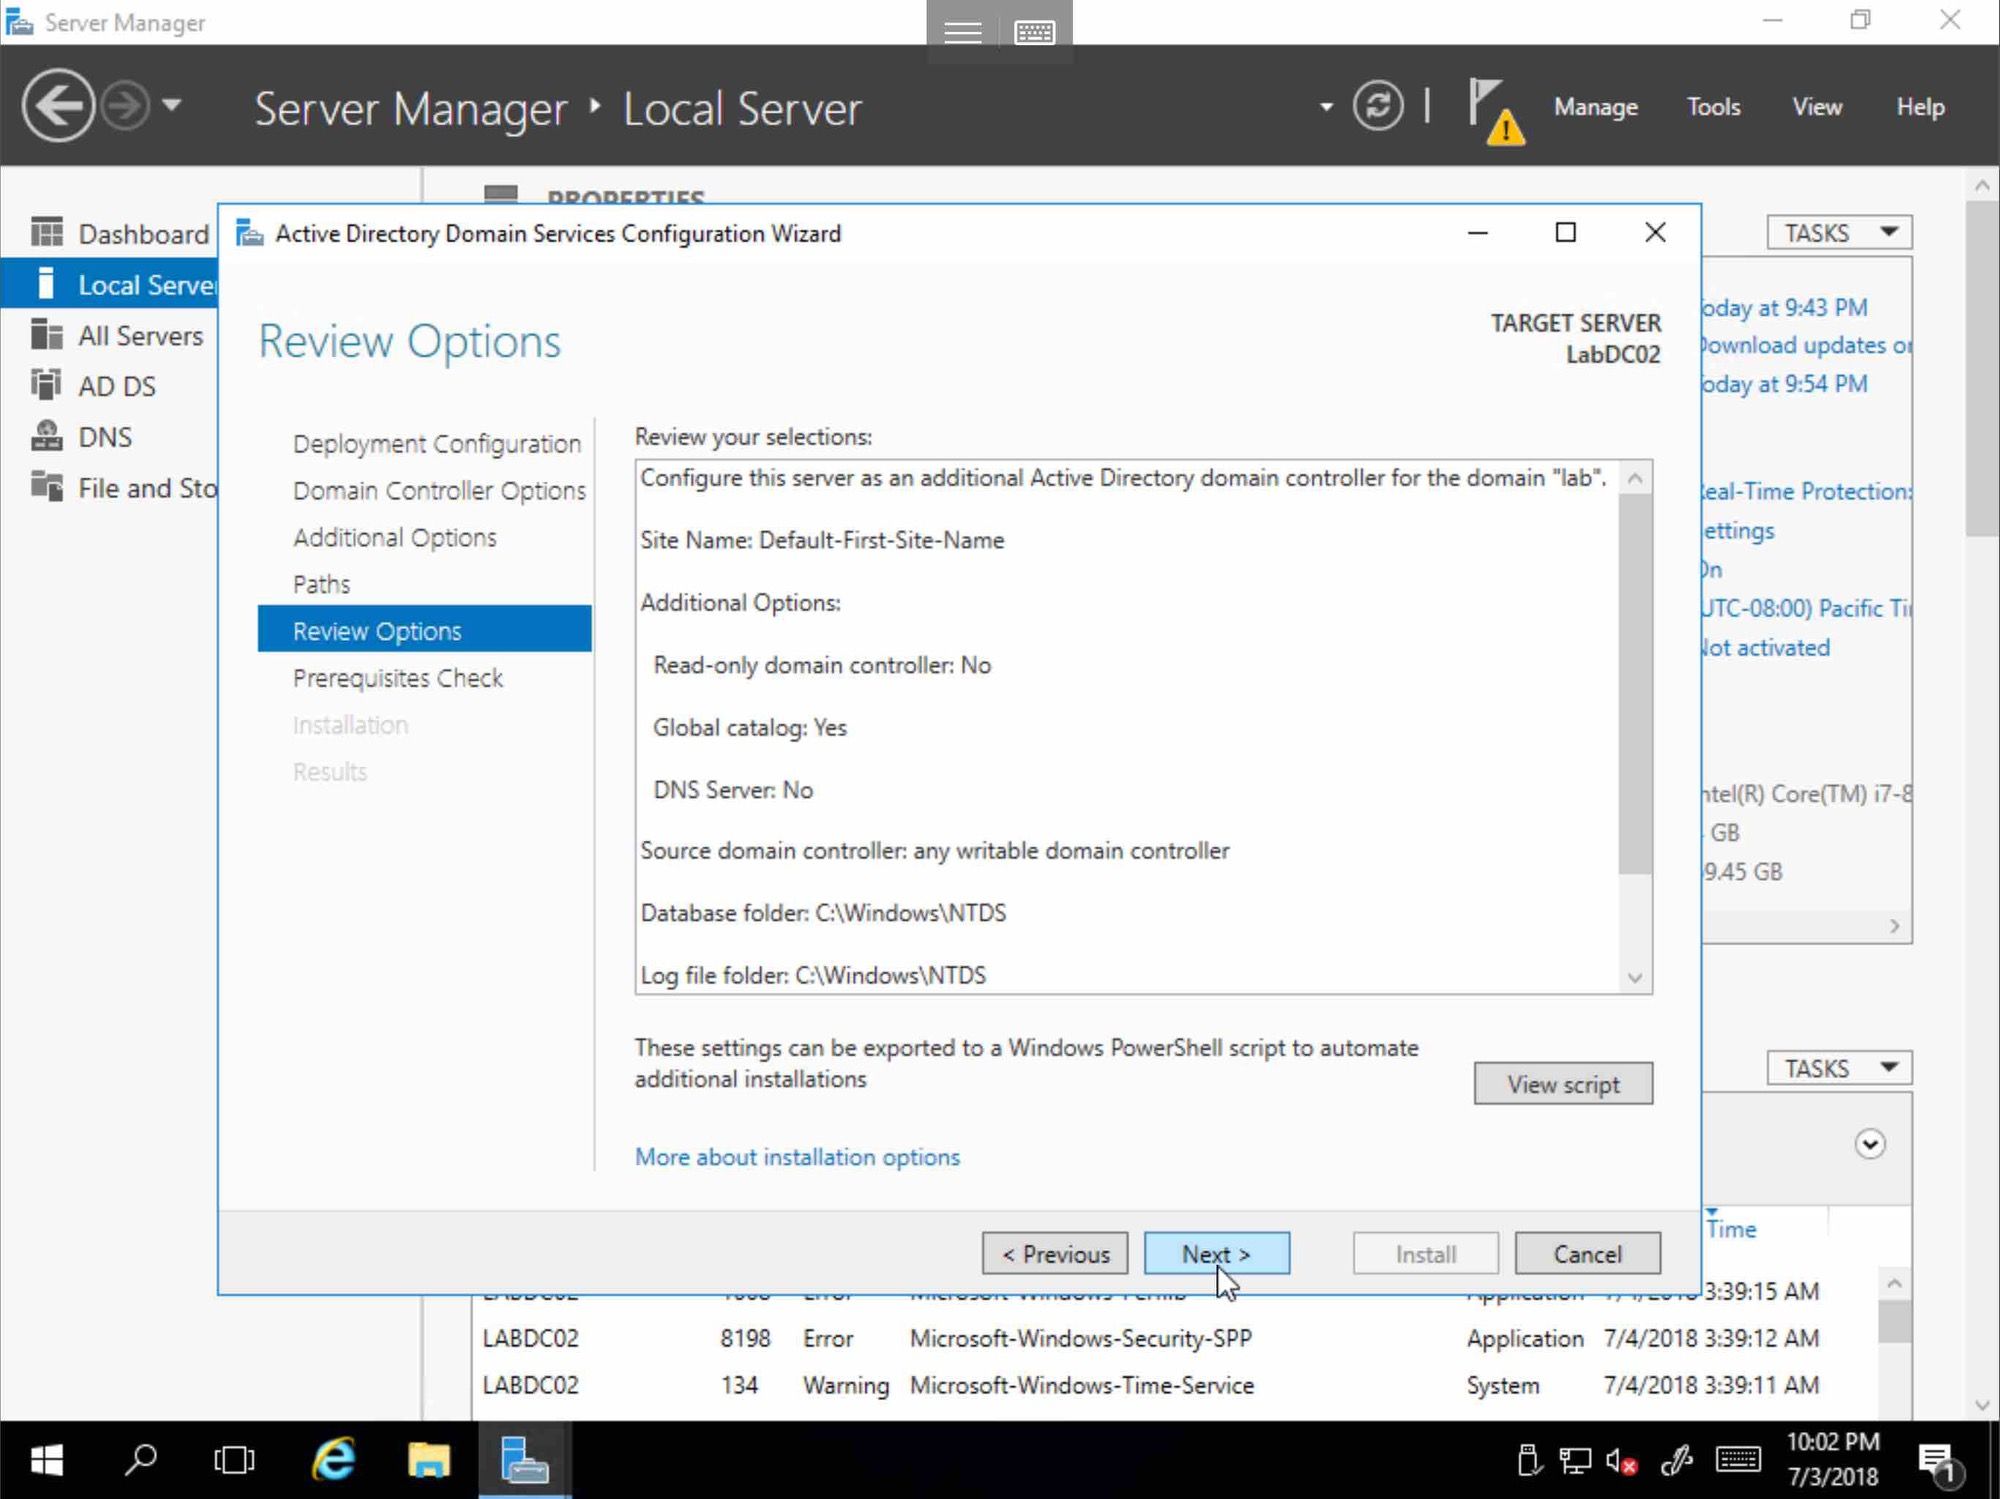
Click Next
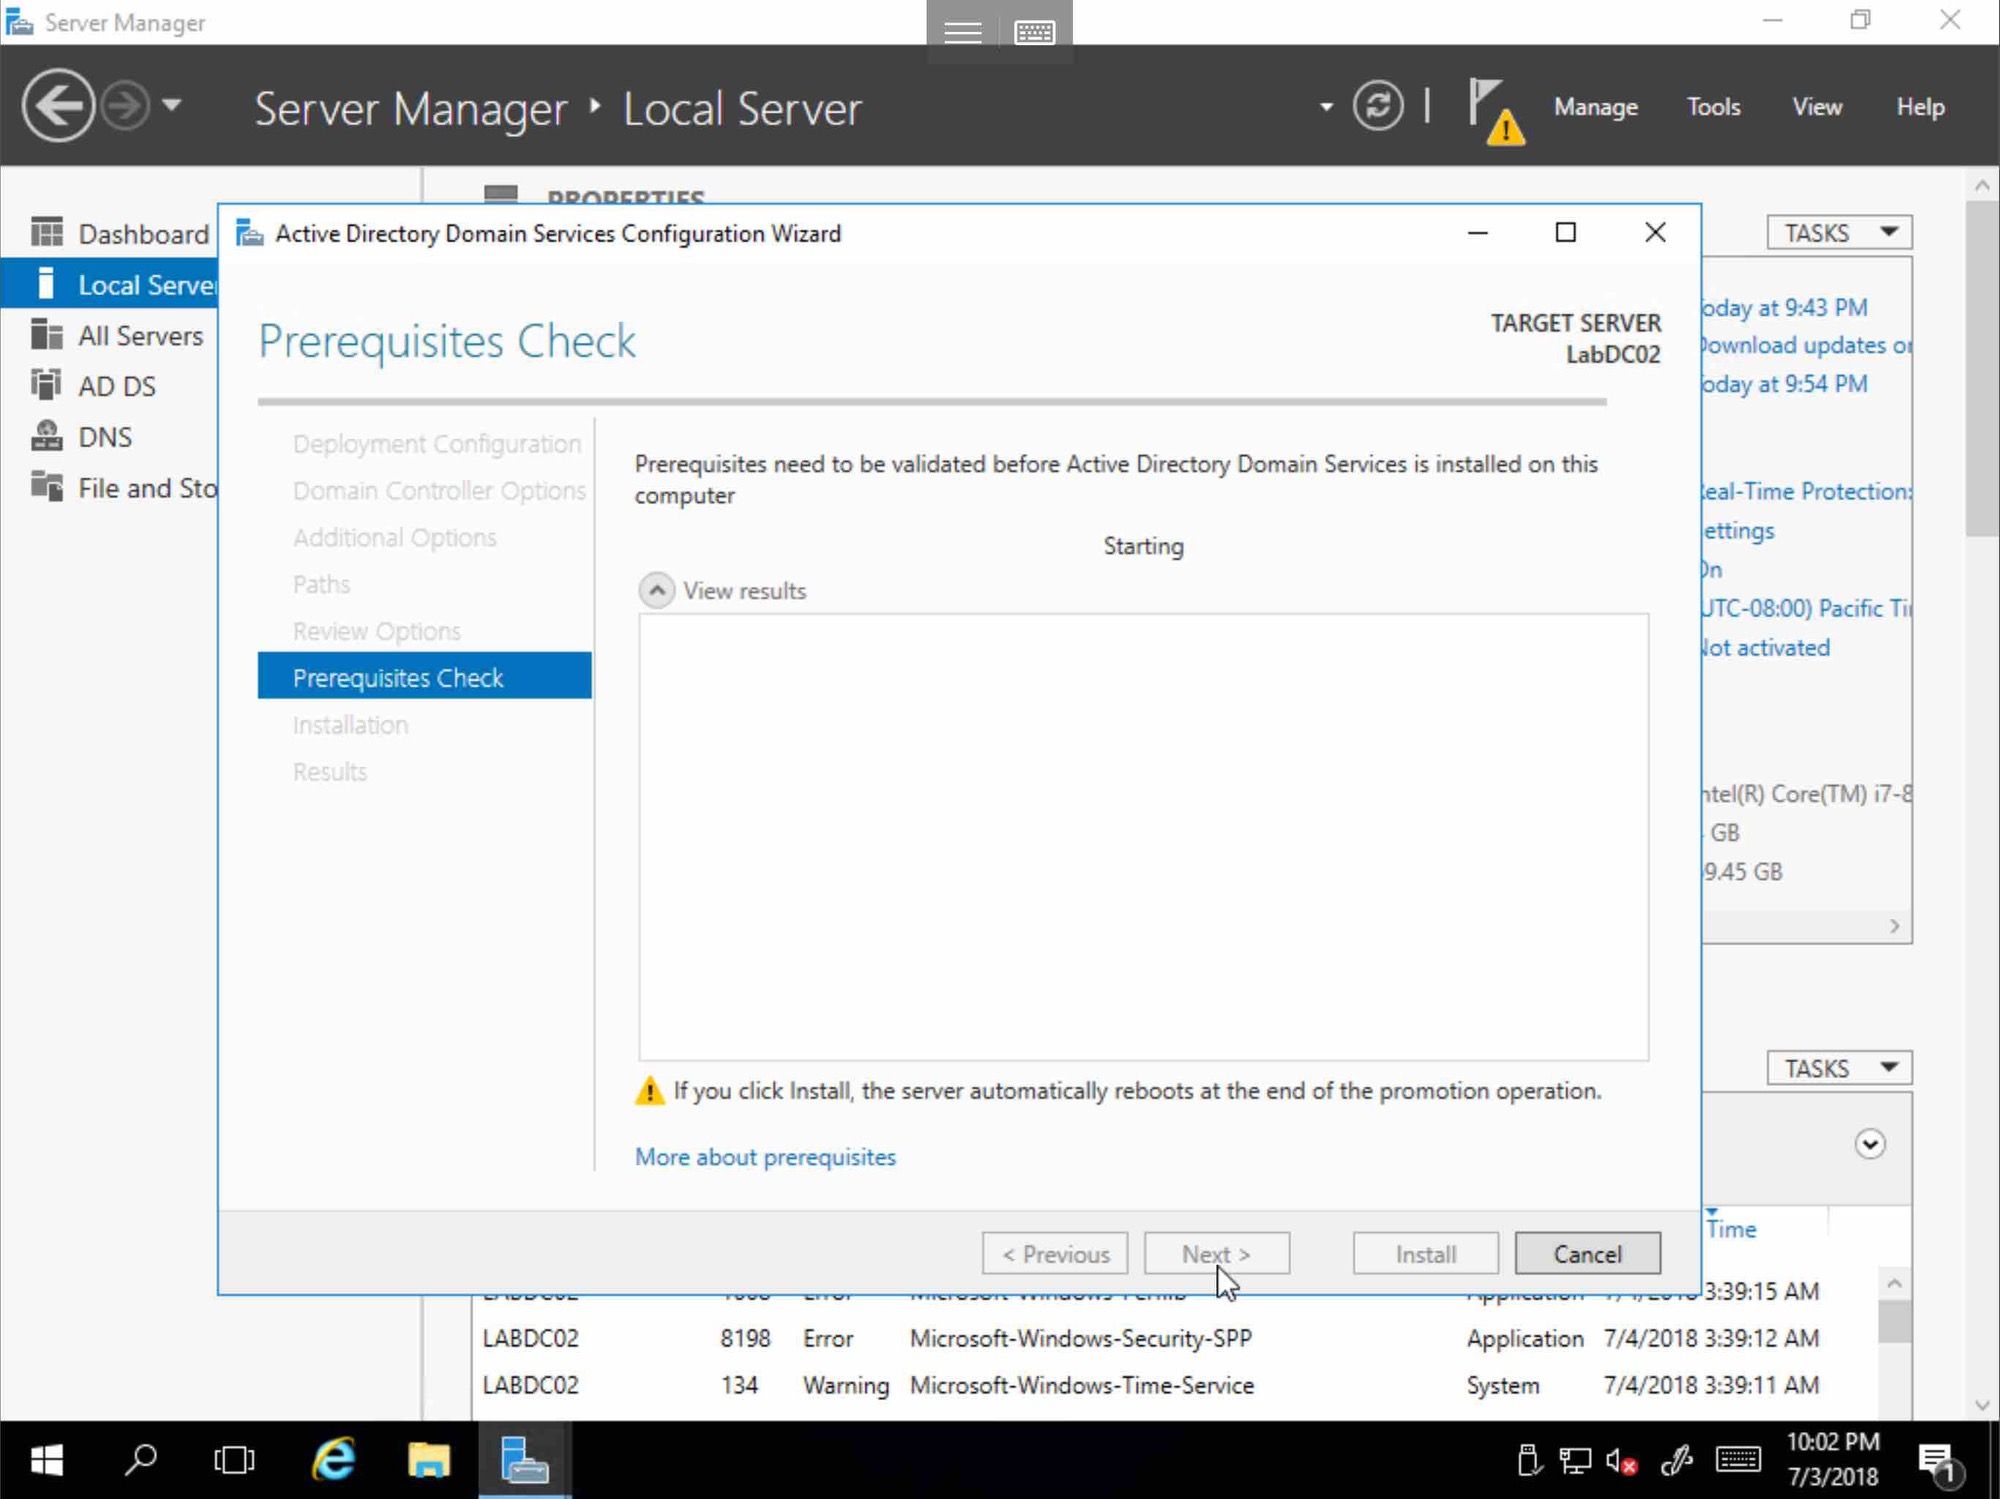
Click Next
Click Next
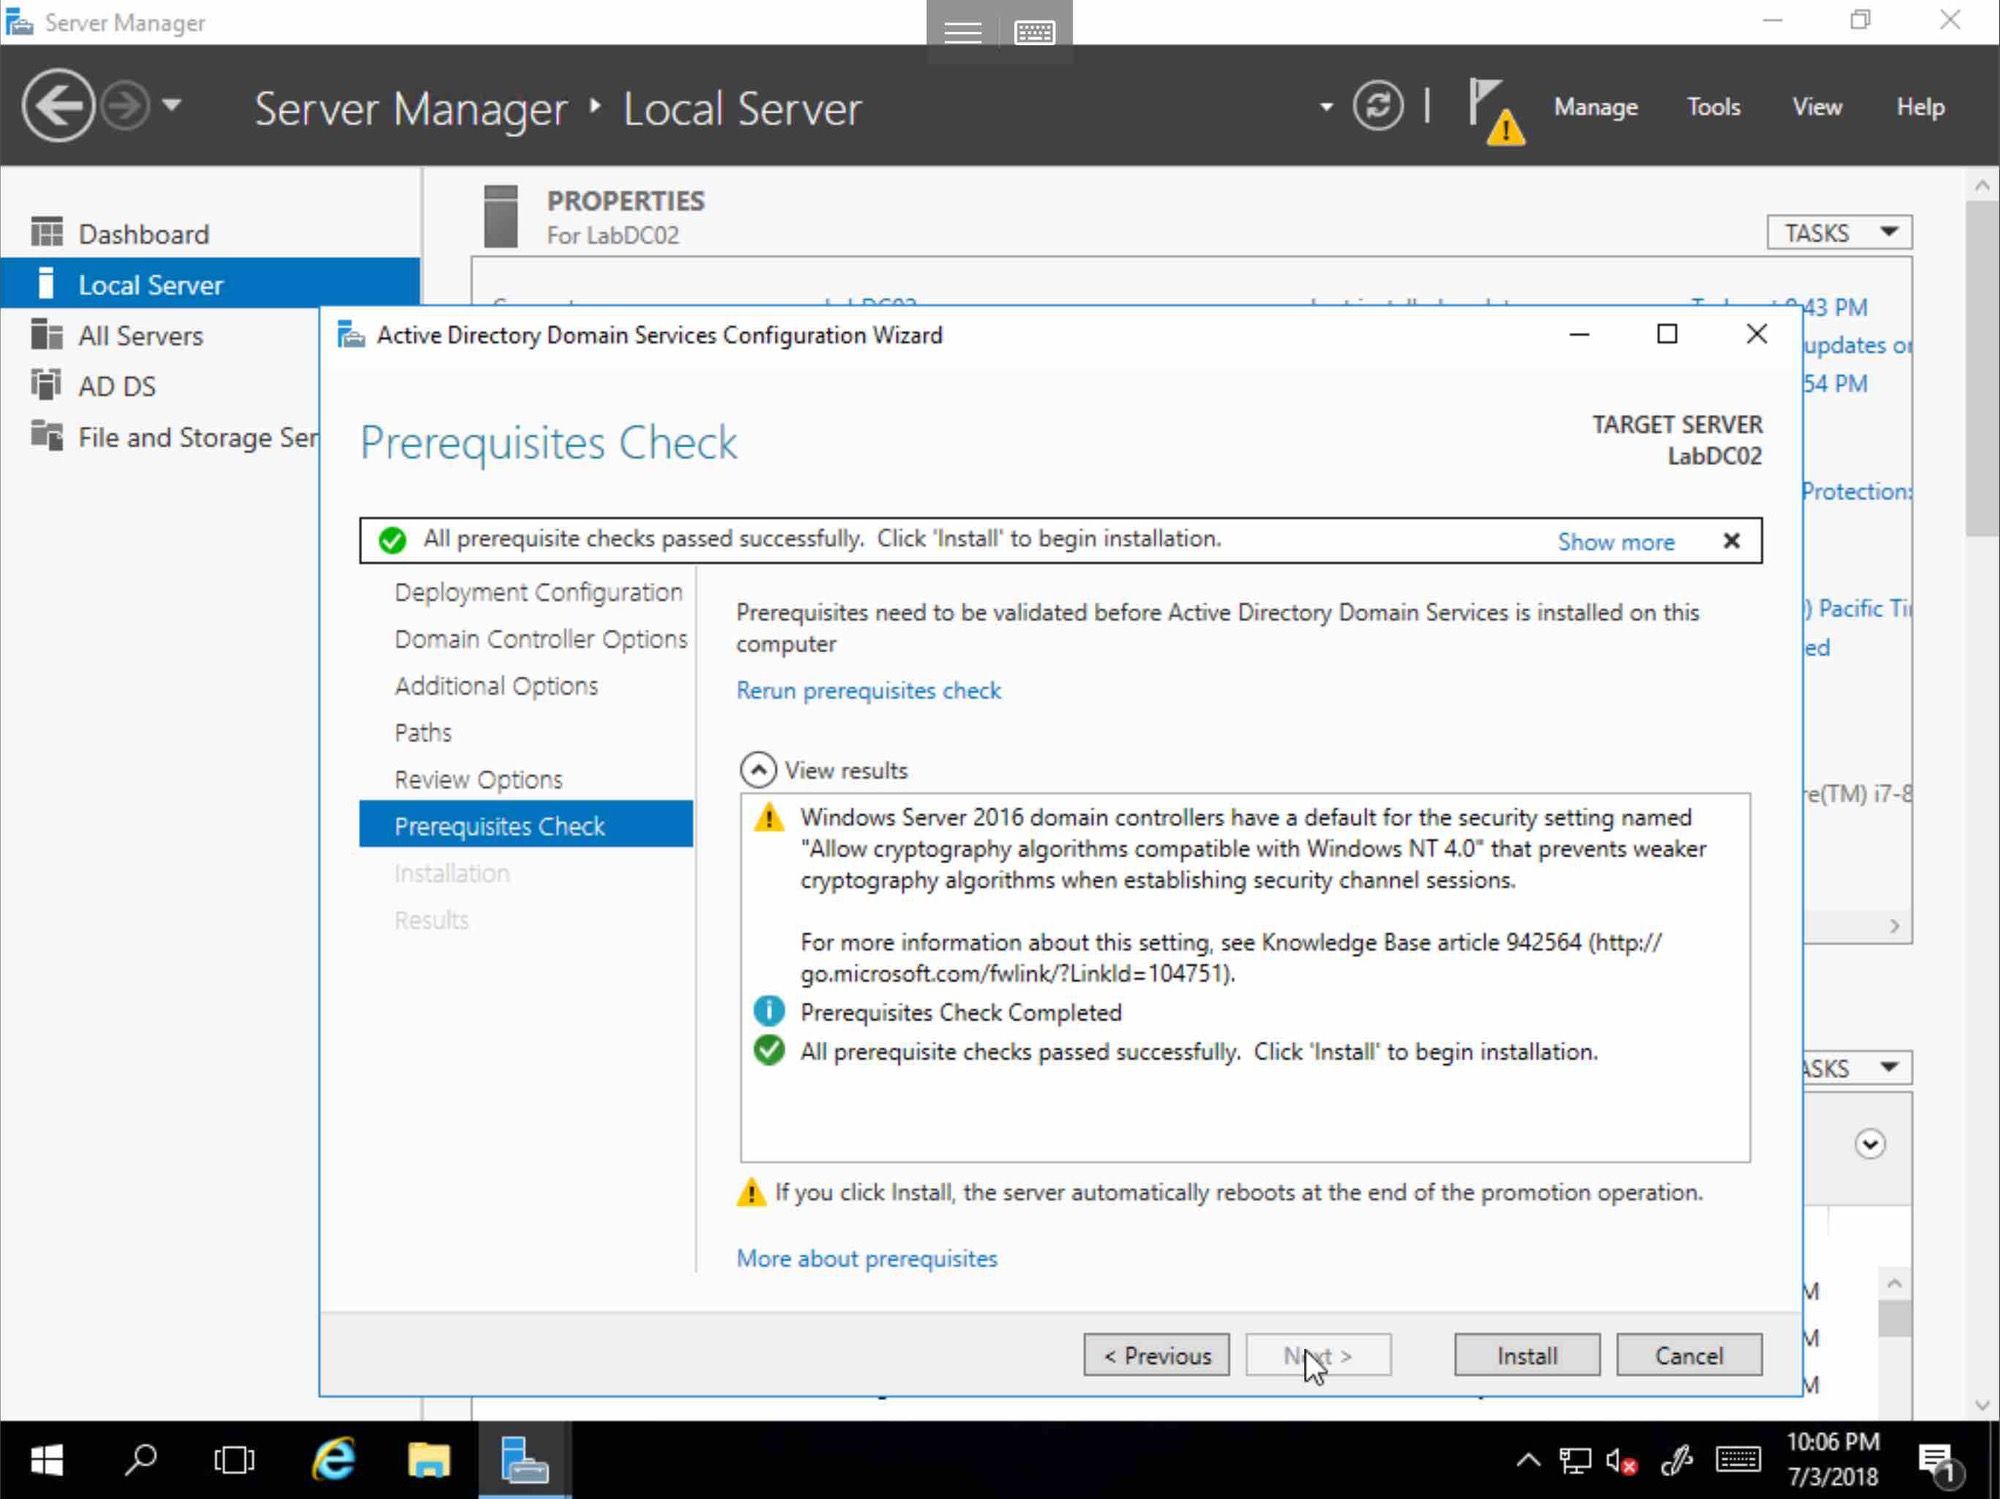
Click Install
The lab is coming along. With the addition of Active Directory, a lot of stuff will get easier. For example, SSO on VMware, Group Policy Management, Updating, and Patching.