 |||
|||

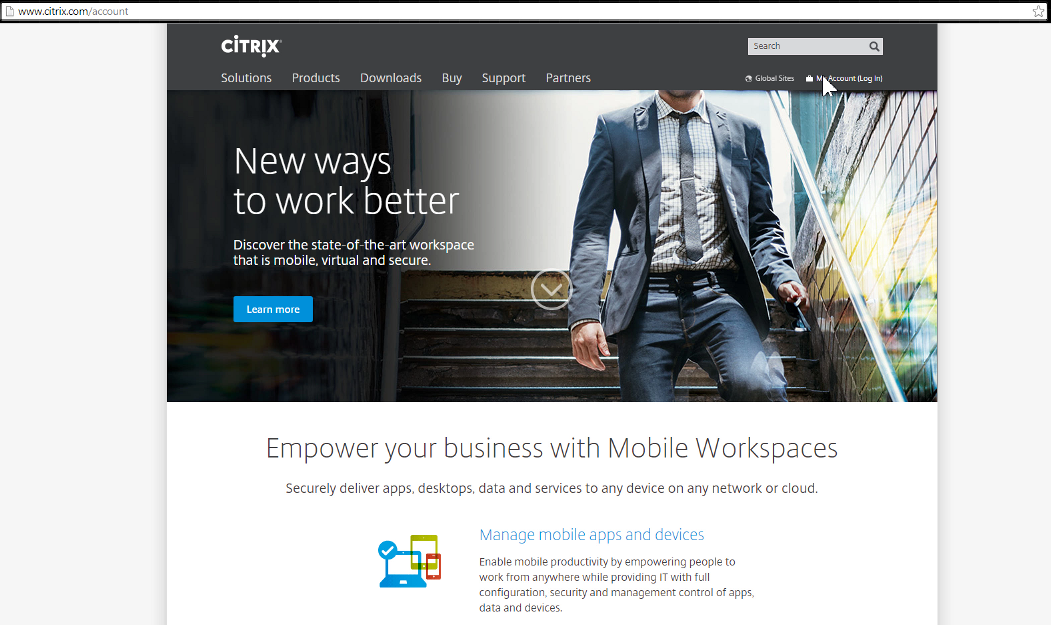
To create a Citrix account for downloading the NetScaler VPX trial software and allocate a license file, click on the My Account link located on the Citrix.com page.
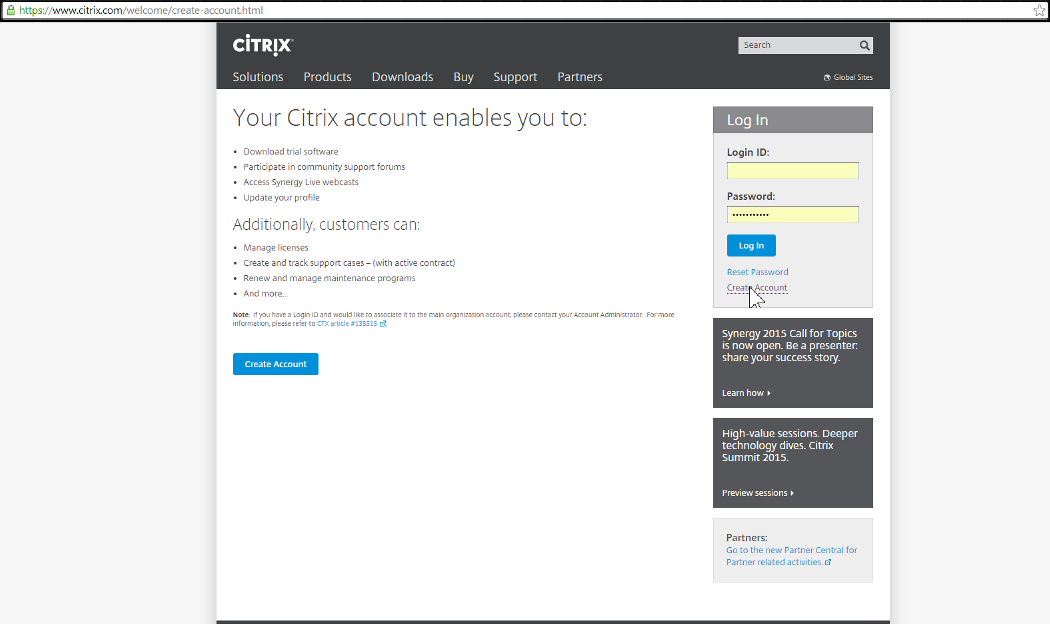
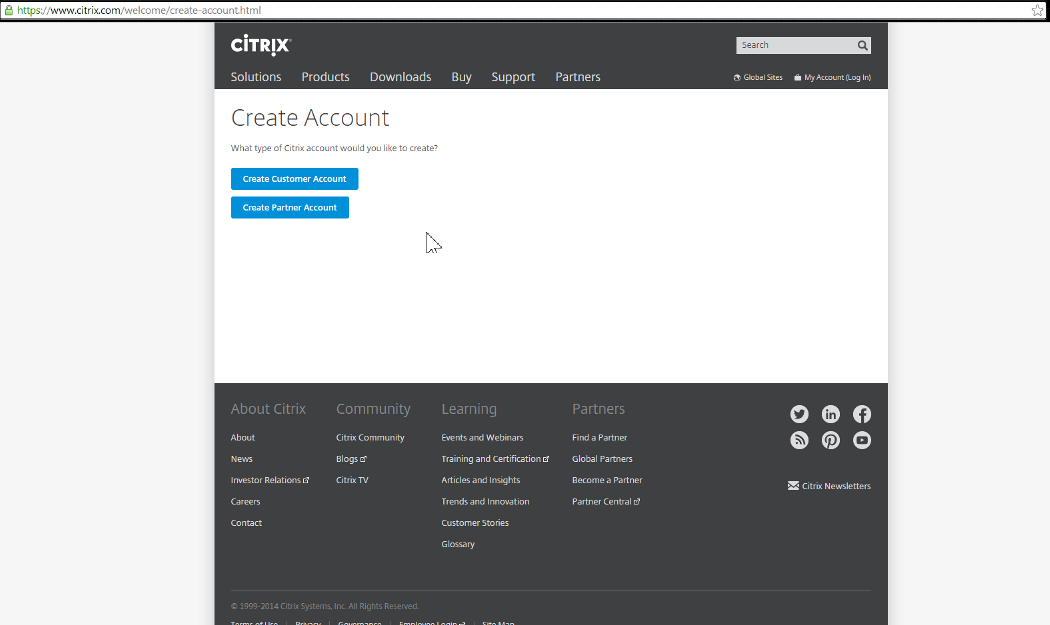
Click on Create Account from the Citrix.com My Account login page.
To create a customer account click on the Create Customer Account button.
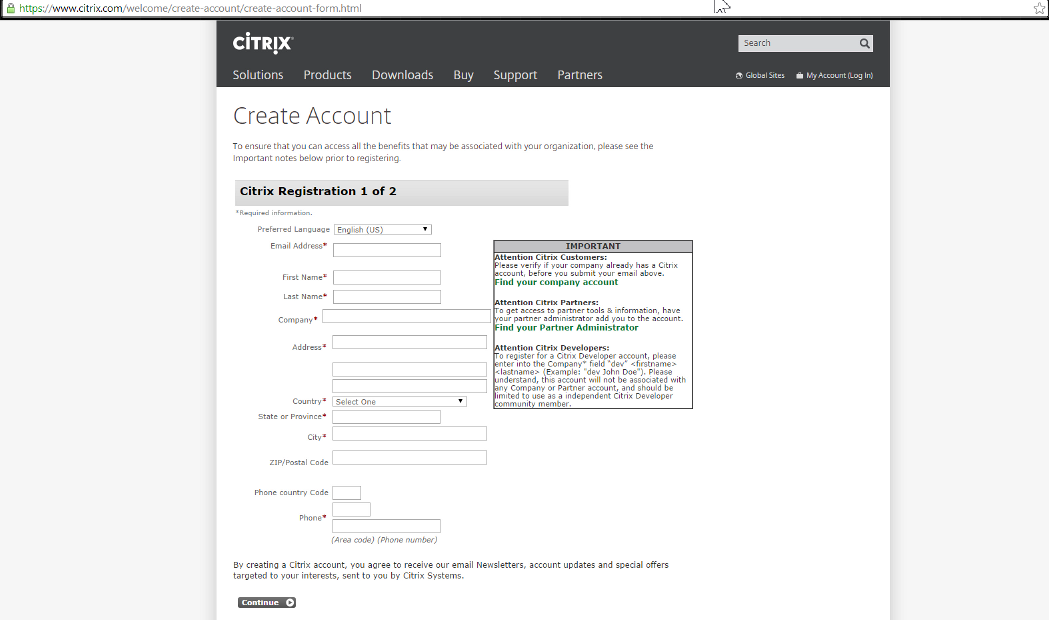
Fill out the Citrix Account Registration form and click Continue.
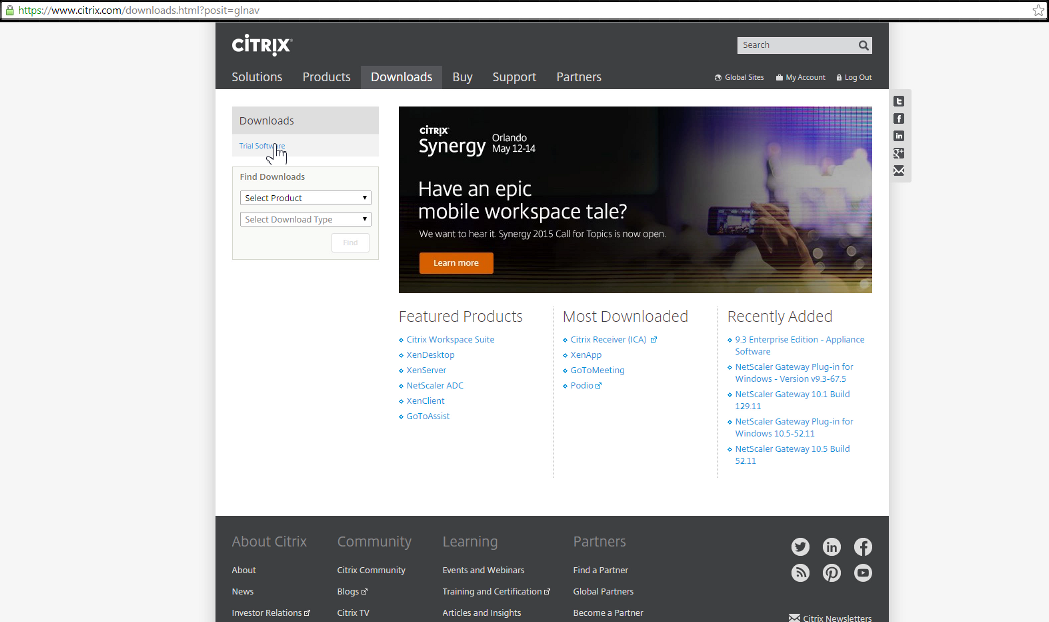
Click on Trial Software.
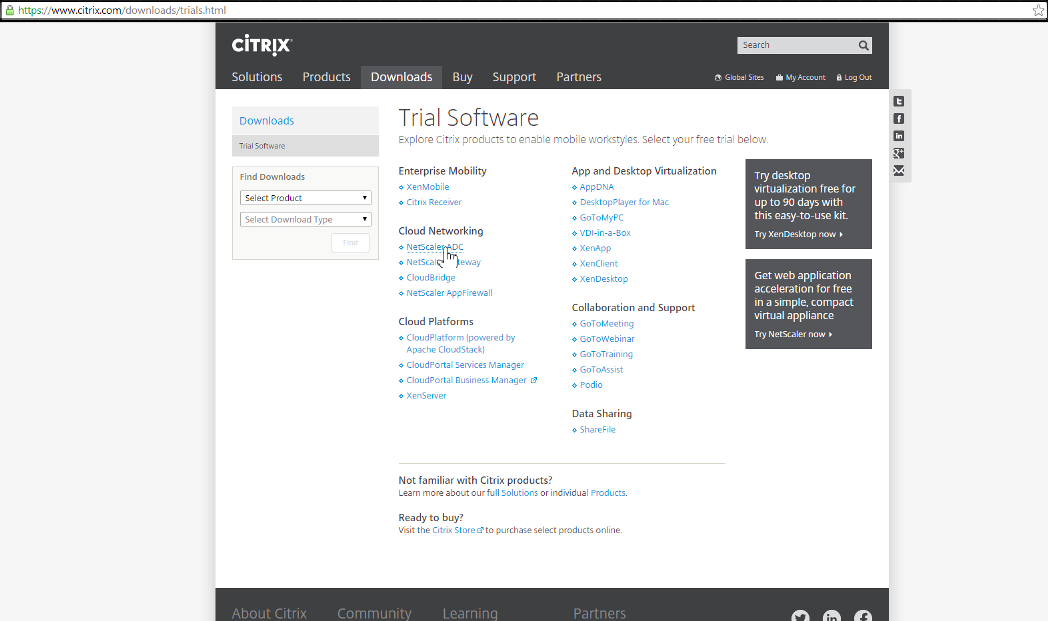
Click on NetScaler ADC.
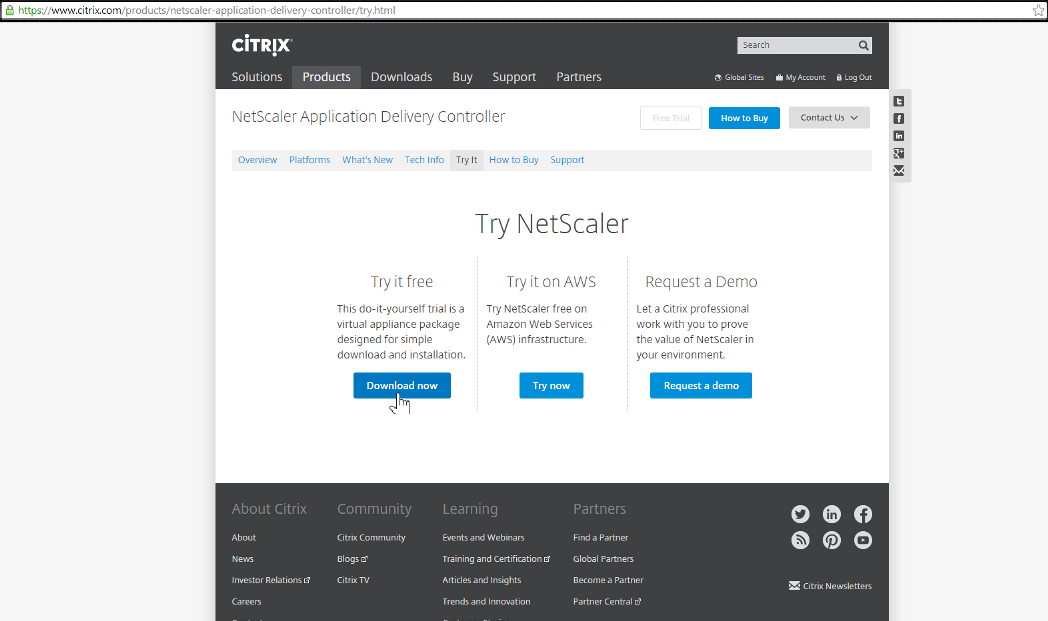
From under the Try for Free column, click the Download Now button.
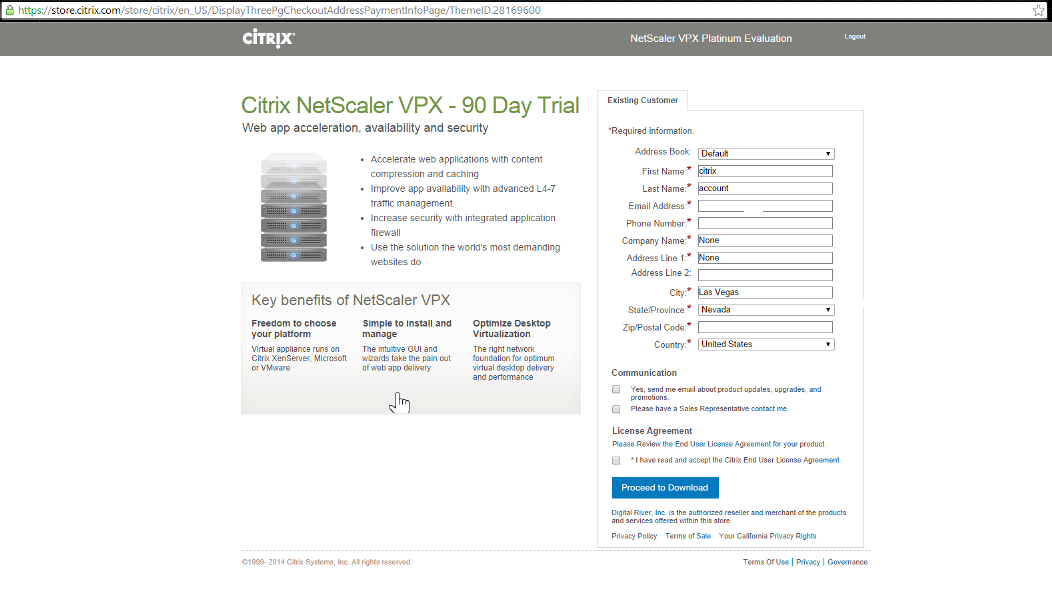
Fill out your account information information, click on the license agreement check box, and click on the Proceed to Download button.
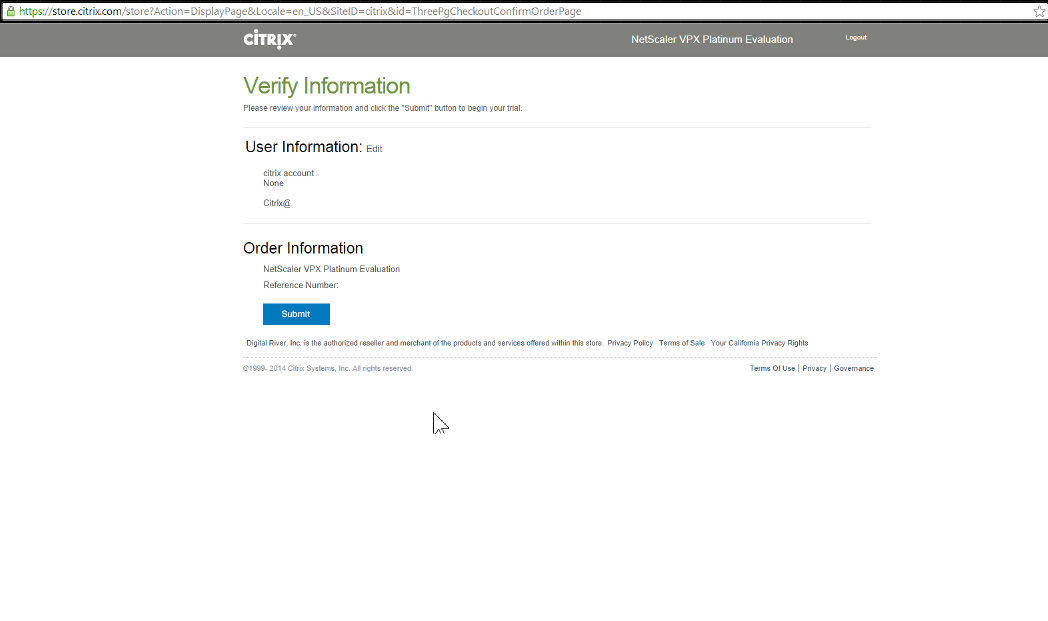
Verify your information and click on the Submit button.
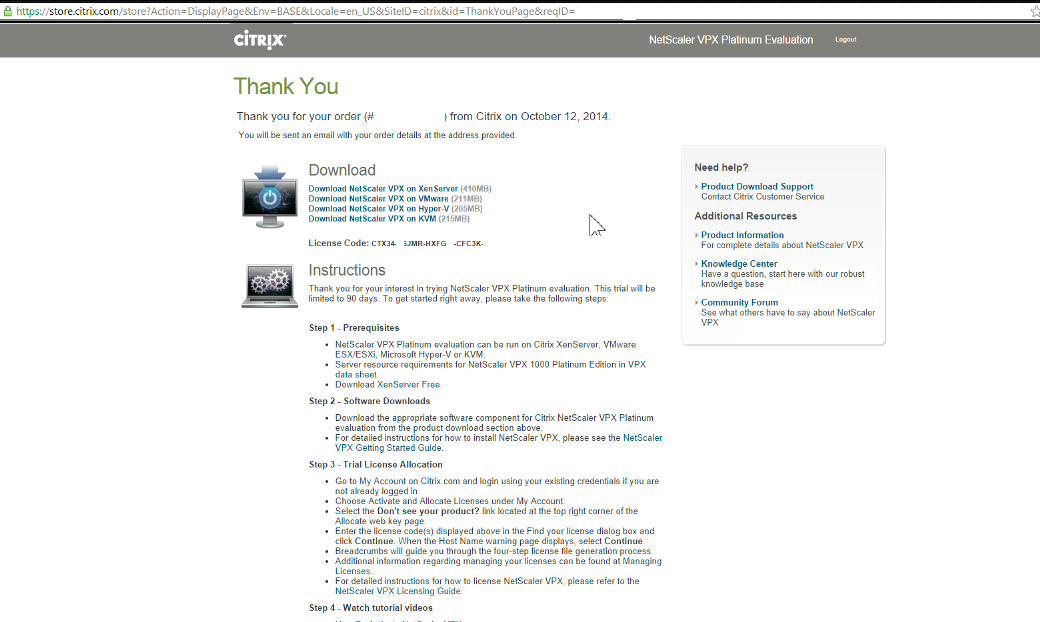
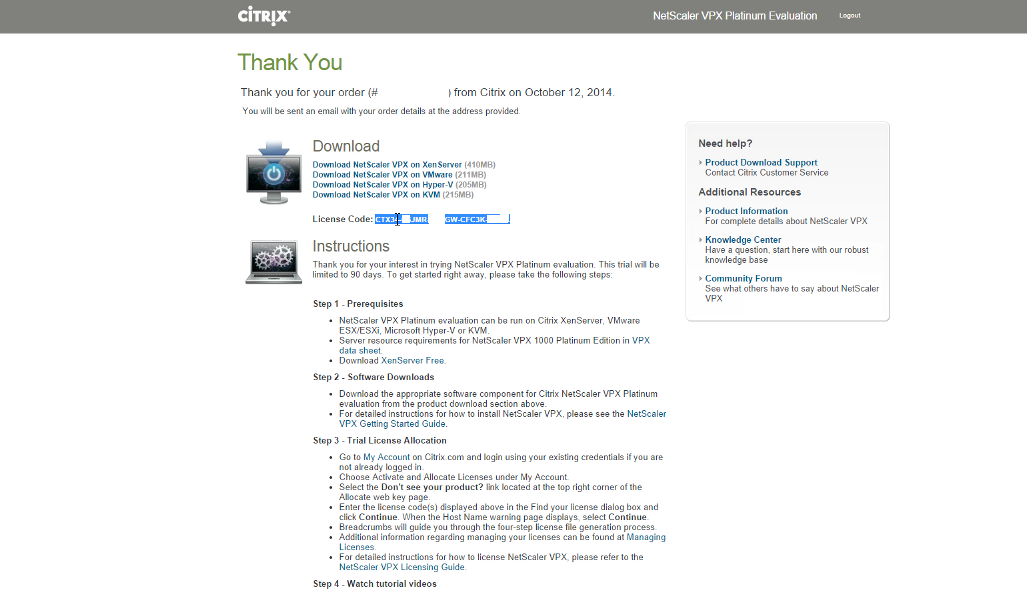
From the Order Thank you page, click on the version of NetScaler VPX to be downloaded. The page provide Download links, Licensing information, and video tutorials.
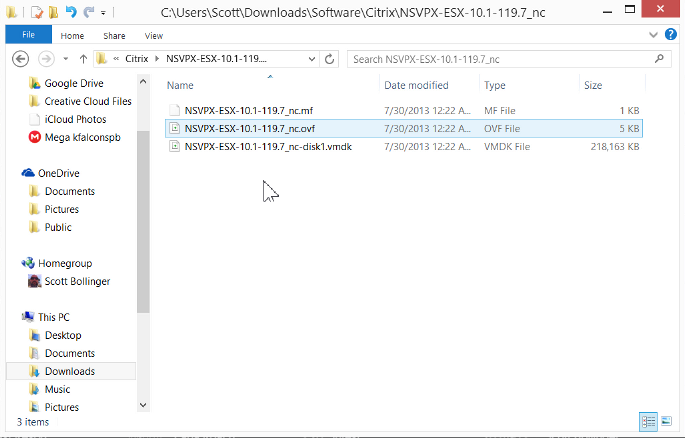
After you download the software unzip it to a directory of your choice.
Open VMware Workstation 10.
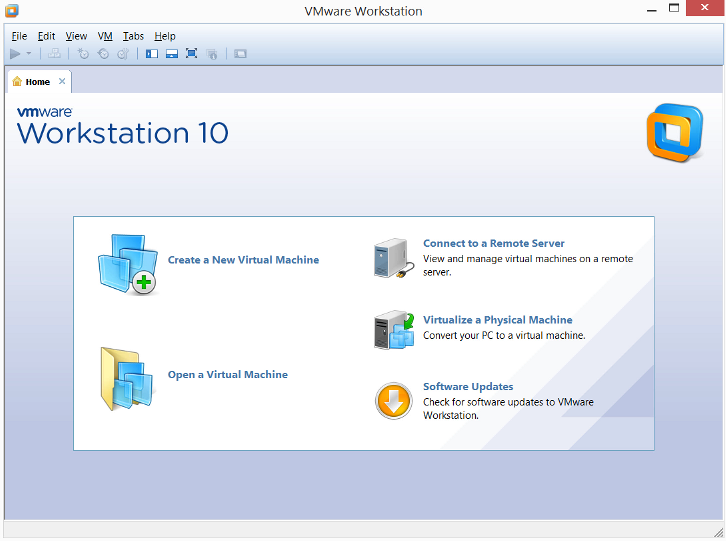
In the File menu option, there is an Export to OVF but not Import. Select open to Open and deploy an OVF.

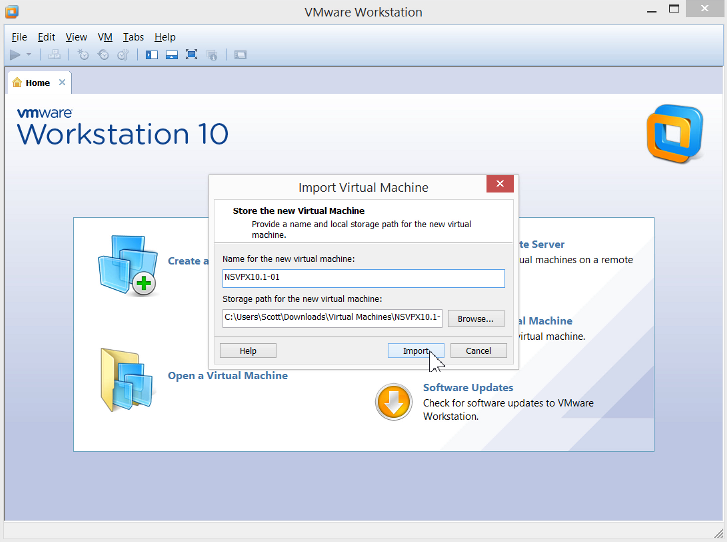
When prompted by the Import Virtual Machine Dialog box, name the new VM and to specify the OVF location.
Browse to the location of the Citrix NetScaler OVF file.
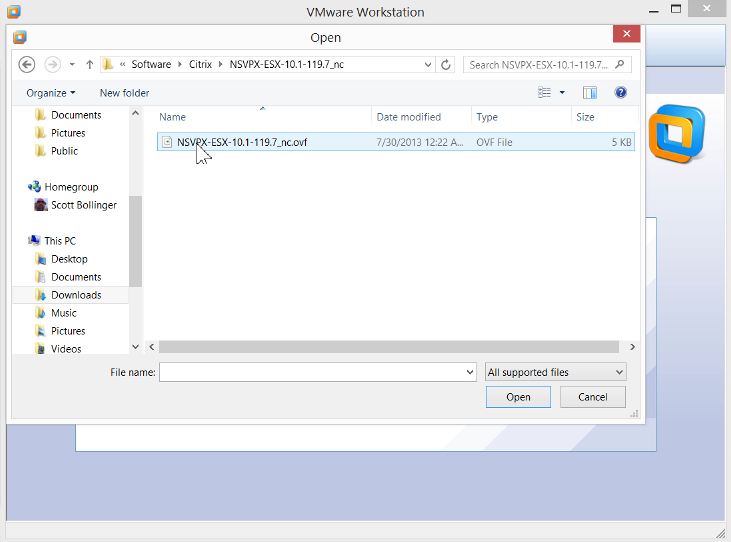
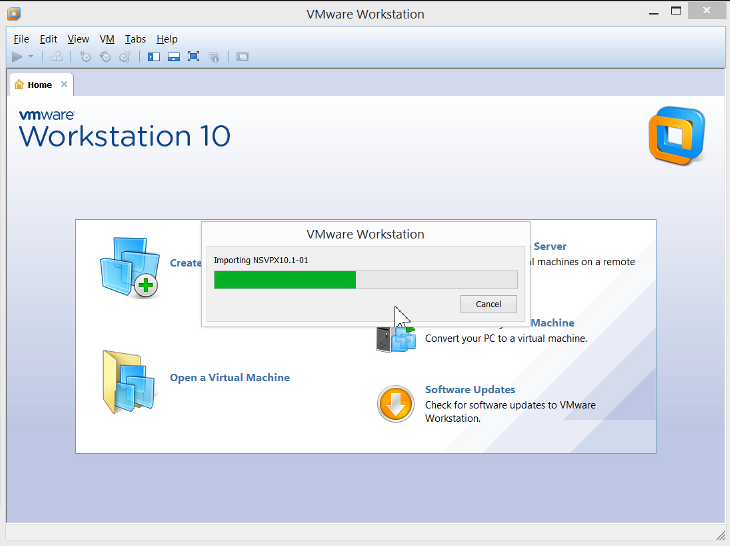
Click Open and an importing progress bar will be displayed.
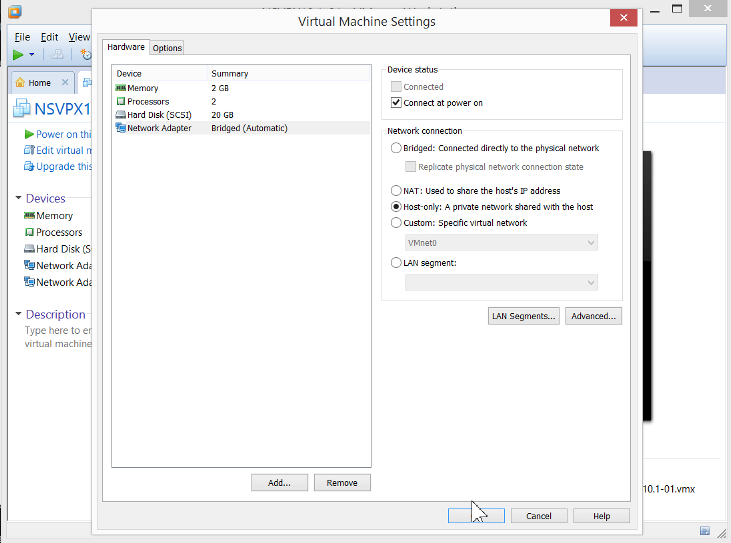
Click on edit machine settings to configure the NetScaler VPX virtual machine.
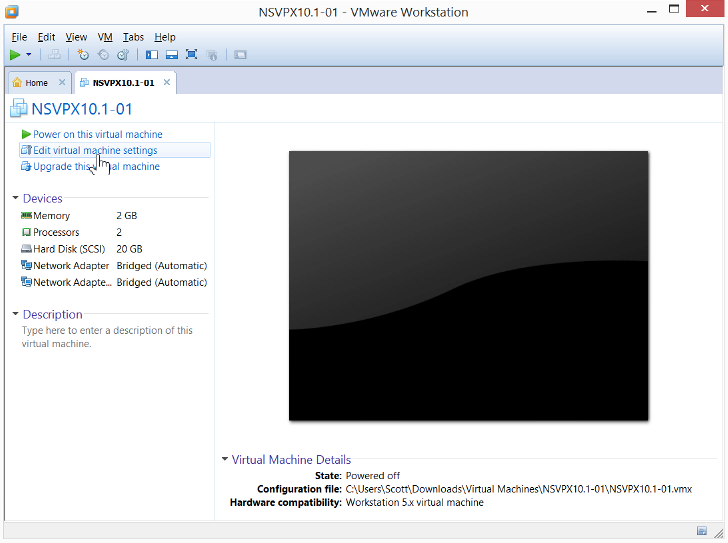
Click on edit machine settings to configure the NetScaler VPX virtual machine. For my environment, additional ram and CPU was added, a network card was deleted, and the remaining nic was changed to NAT.
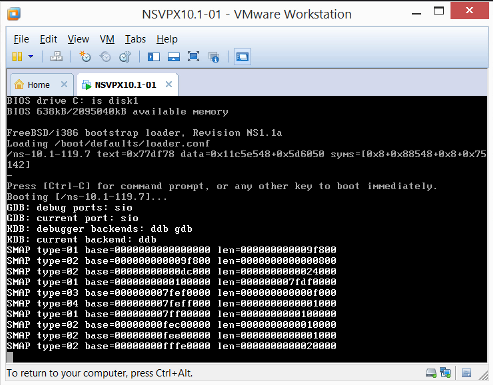
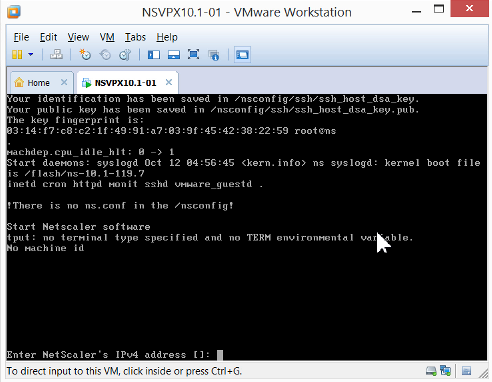
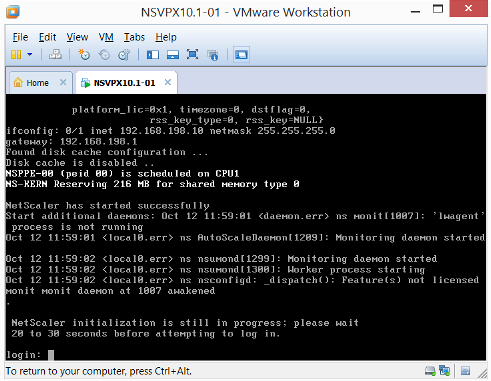
Power On the NetScaler VPX virtual machine.
If VPX is not configured it will prompt for an IPv4 address, subnet, default gateway, and DNS information.
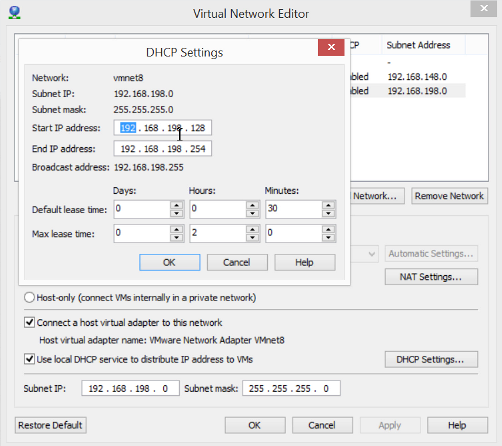
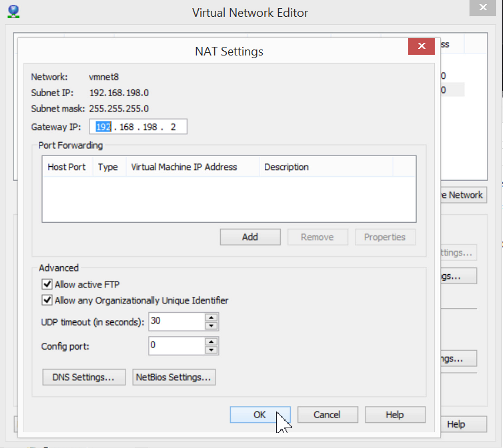
Open the VMware Workstation Virtual Network Editor to review the DHCP and NAT settings.

In the DHCP settings will display the IP address range given to DHCP clients and which addresses are available for static assignment.
In the NAT settings the Gateway IP address is listed.
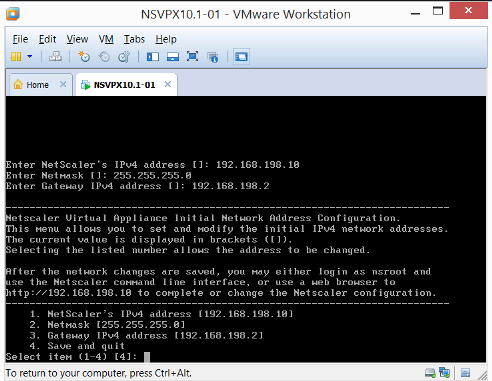
After the IP address, Subnet mask, and Gateway are entered, you will be prompted to save and quit.
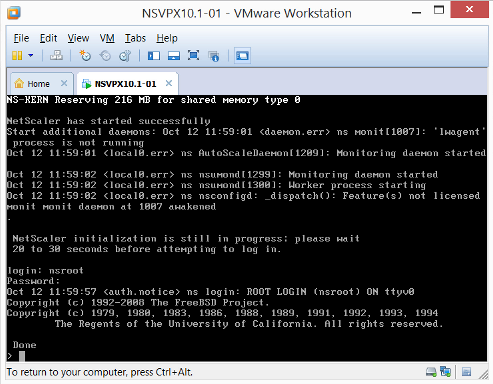
The default login credentials is a username of nsroot and a password of nsroot.
After logging in the NetScaler VPX command line is presented.
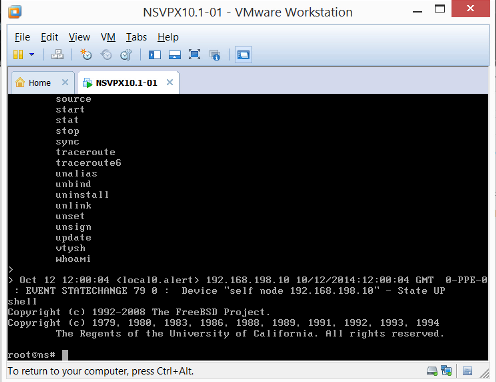
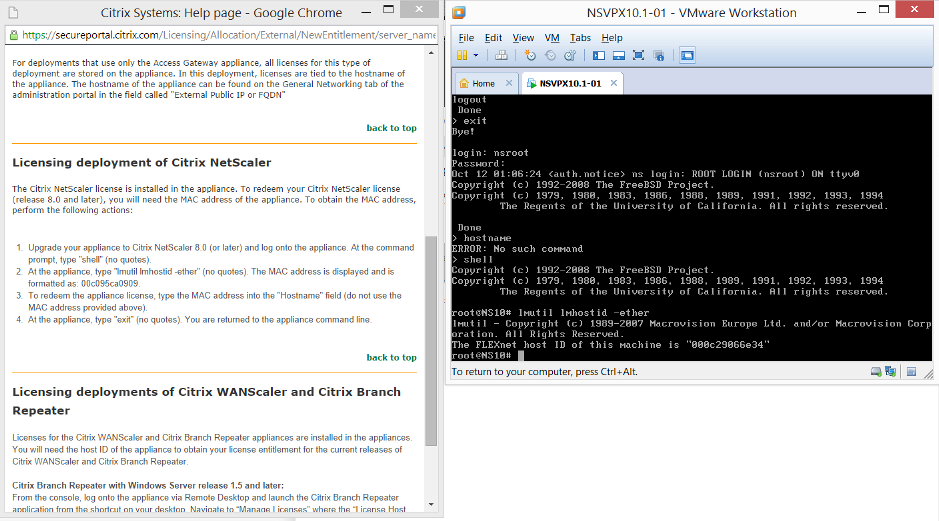
To drop to the root prompt of BSD enter shell at the NetScaler command line.
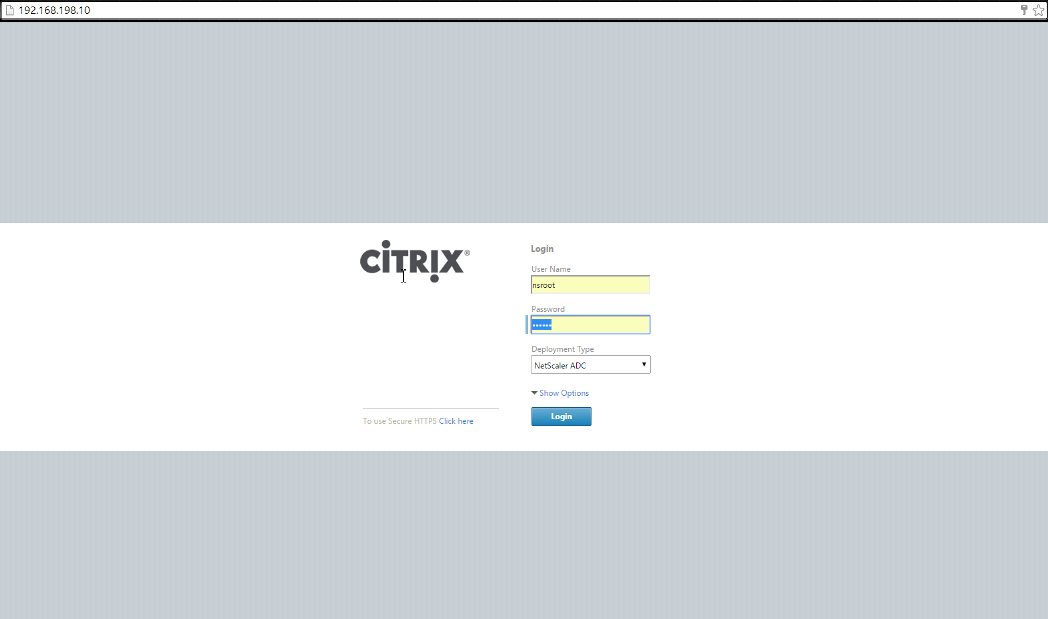
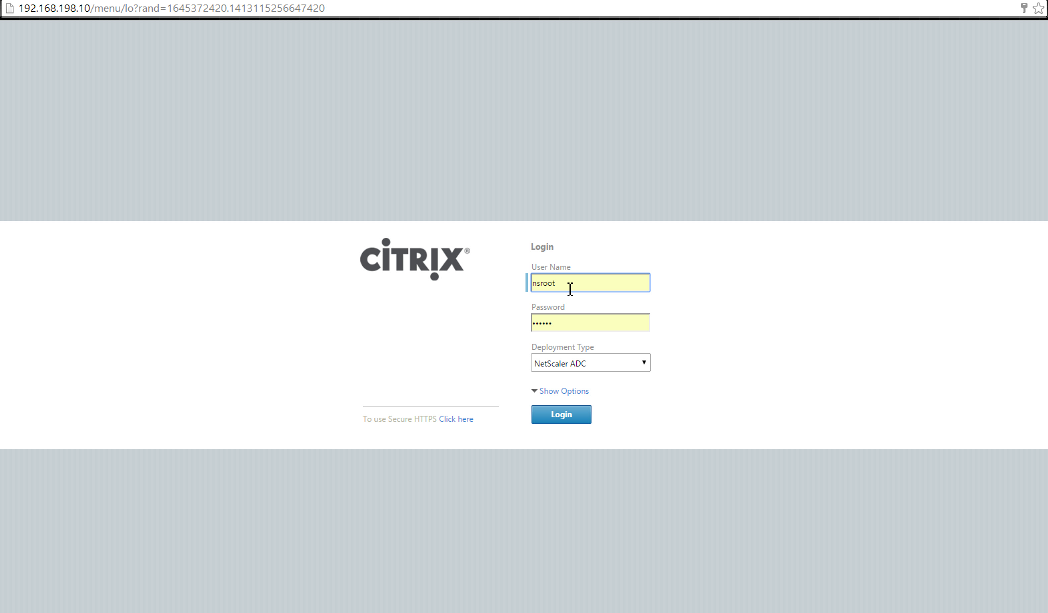
Open a web browser and goto https:// and you will be prompted to login with the default login credentials of nsroot/nsroot.
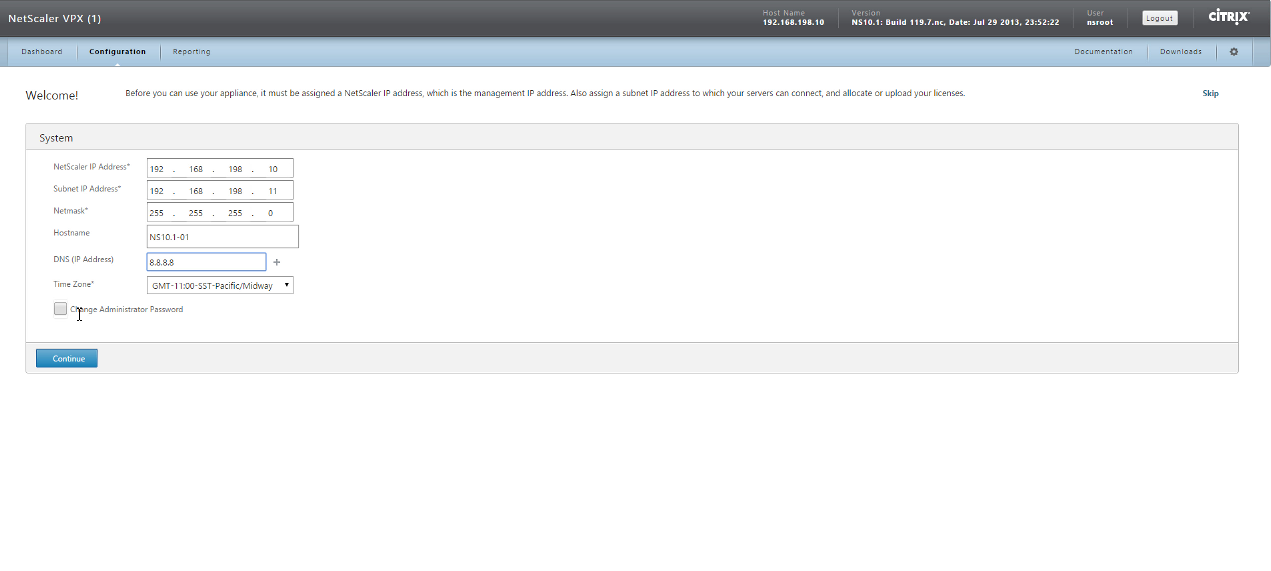
After login you will be prompted to enter a Subnet IP Address, Hostname, DNS server, and Time Zone information.
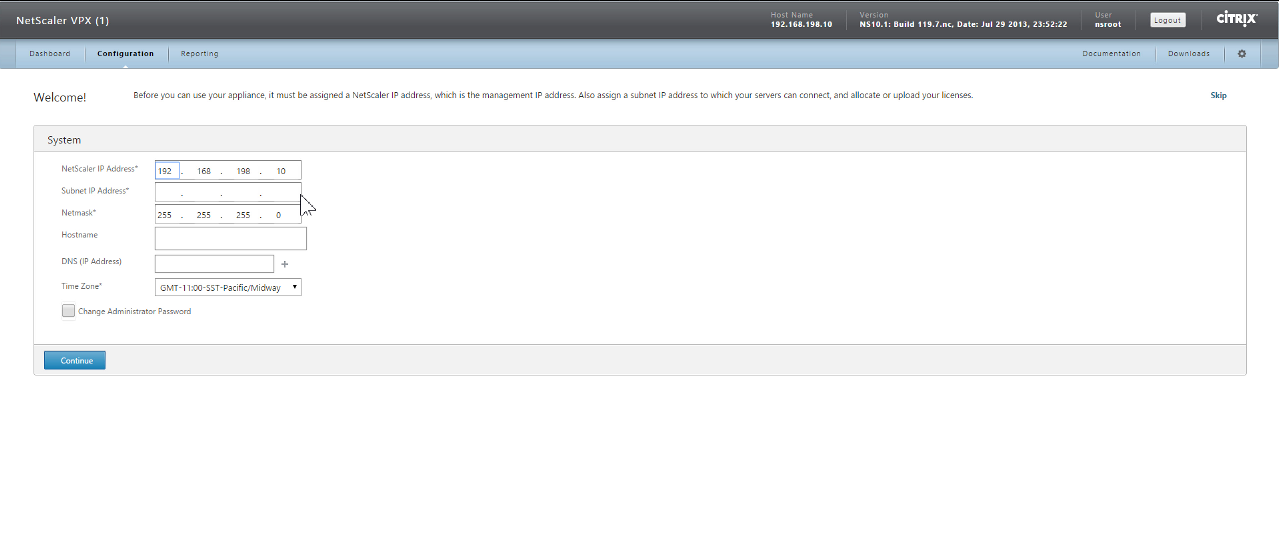
Click the Continue button when complete.
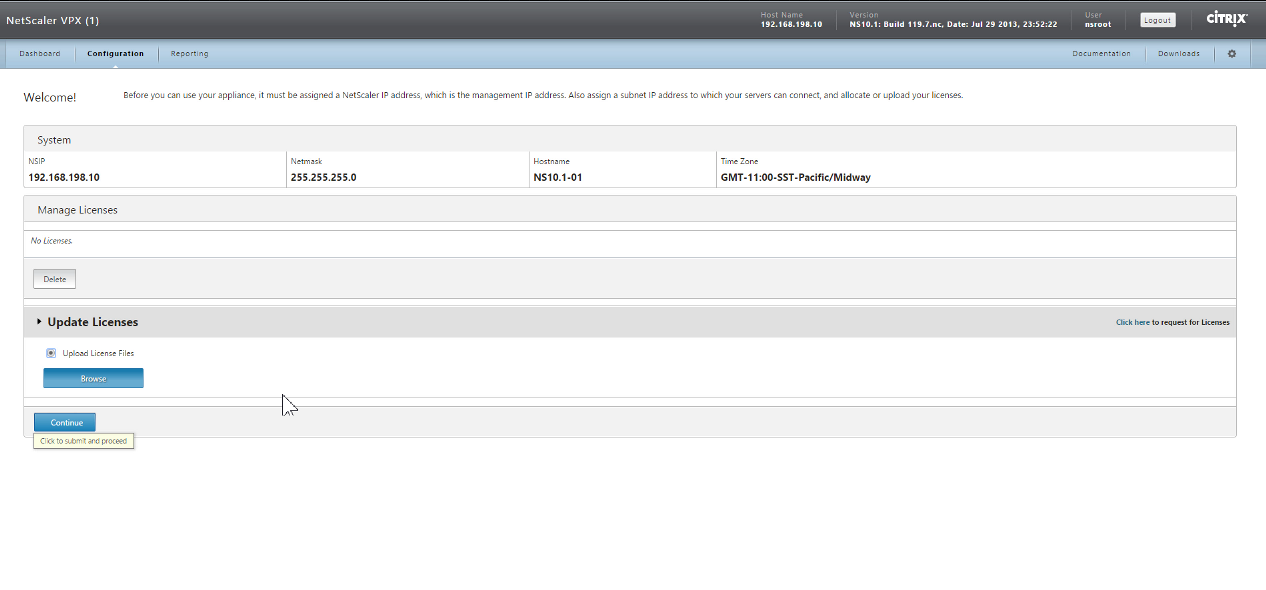
Next you will be prompted to enter a license file.
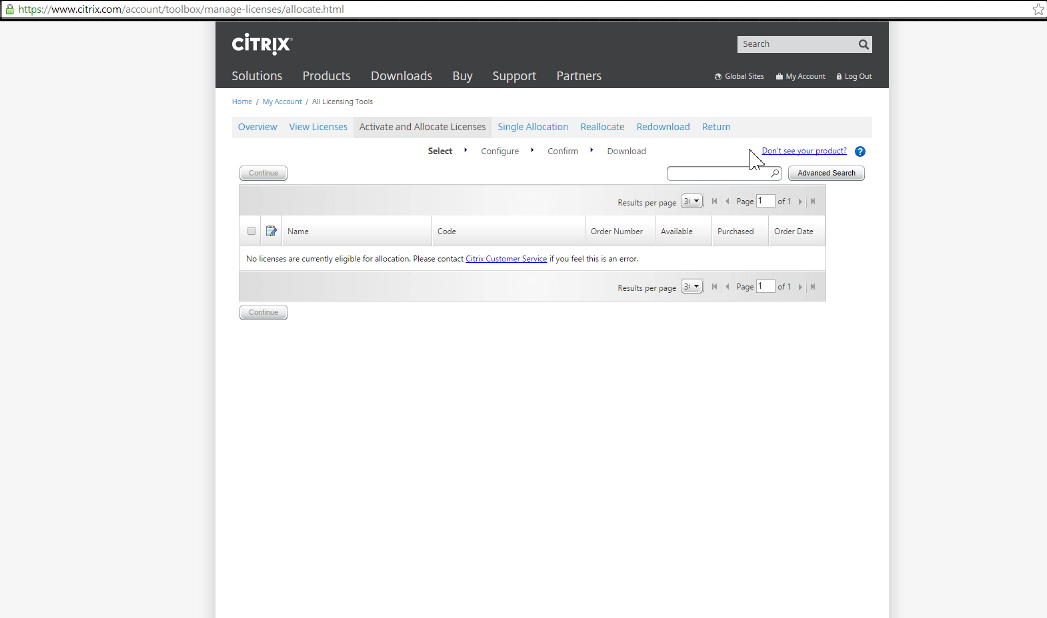
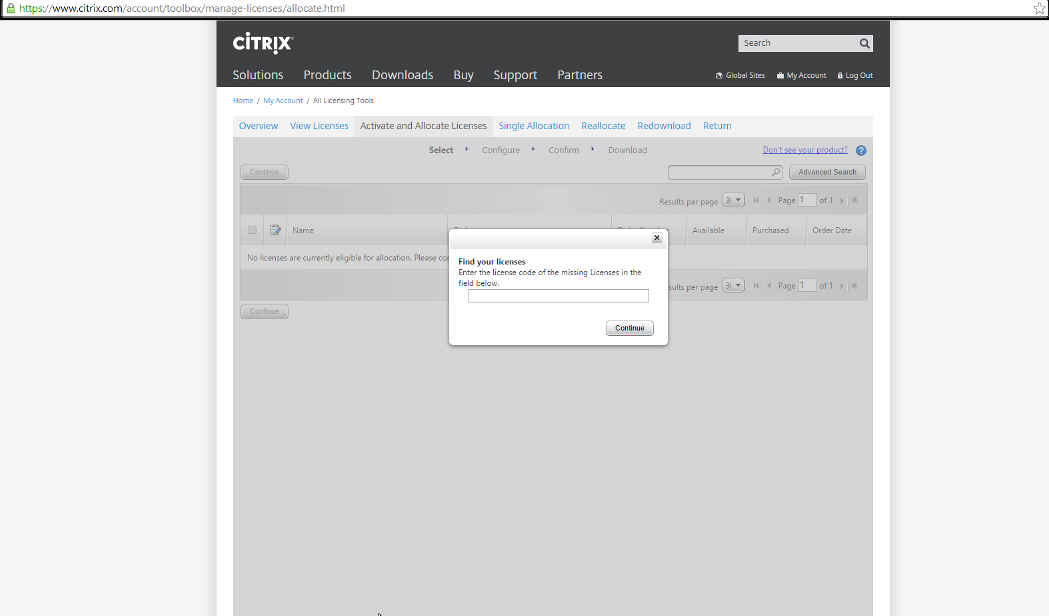
Open your My Account page on Citrix.com and under Licensing click on Activate and Allocate Licenses.

If no licenses are listed then click on the Don’t see you product link.
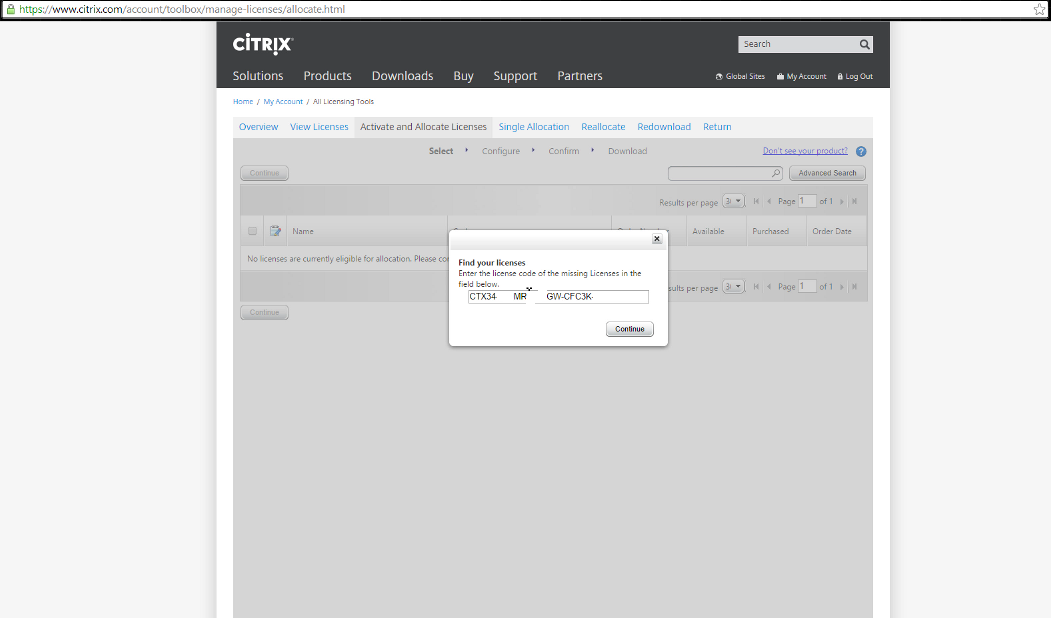
Enter the license code for the NetScaler VPX.
The license code can be found on the order confirmation page below the download link.
Enter the license code and click Continue.
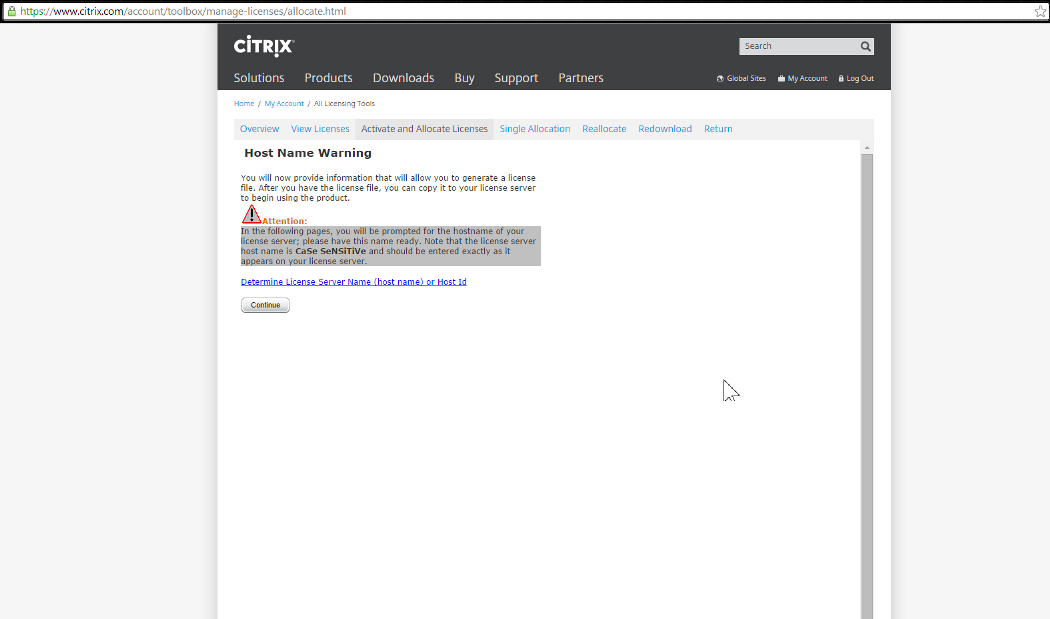
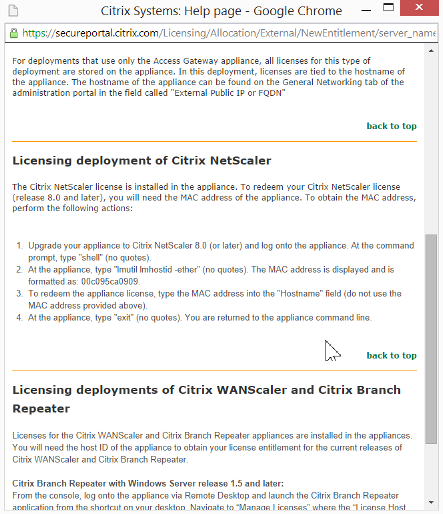
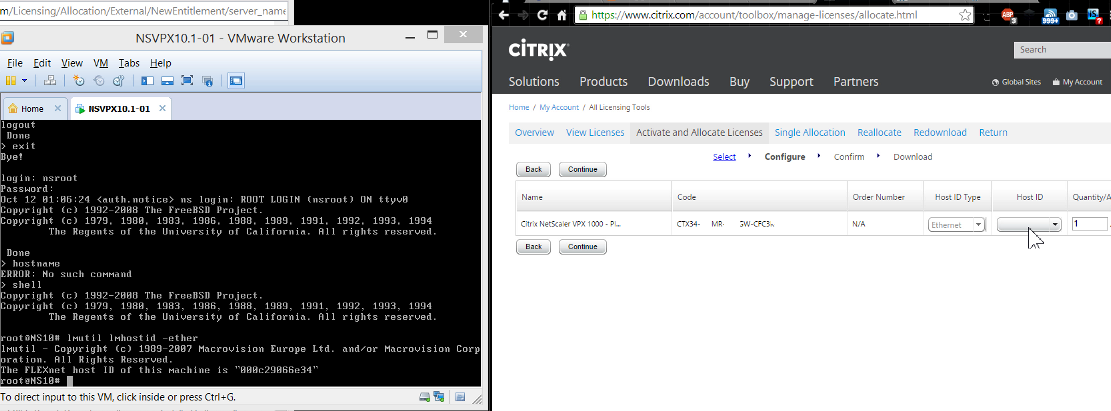
Licenses are allocated to the NetScaler server hostname or as in the case with VPX’s the Host Id. For additional information and commands to enter click on the link Determine License Server Name (host name) or Host Id.
Enter the command lmutil lmhostid -ether at the BSD command line, shown in the Licensing deployment of Citrix NetScaler section at the NetScaler VPX command line.
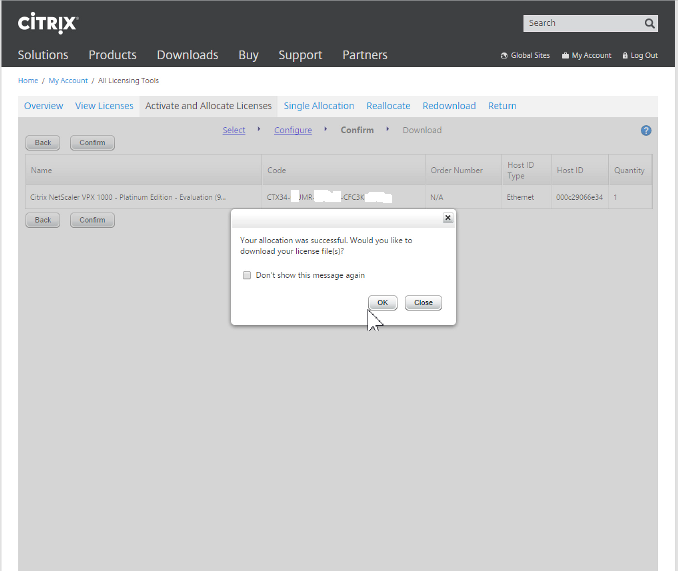
Click Confirm to continue.
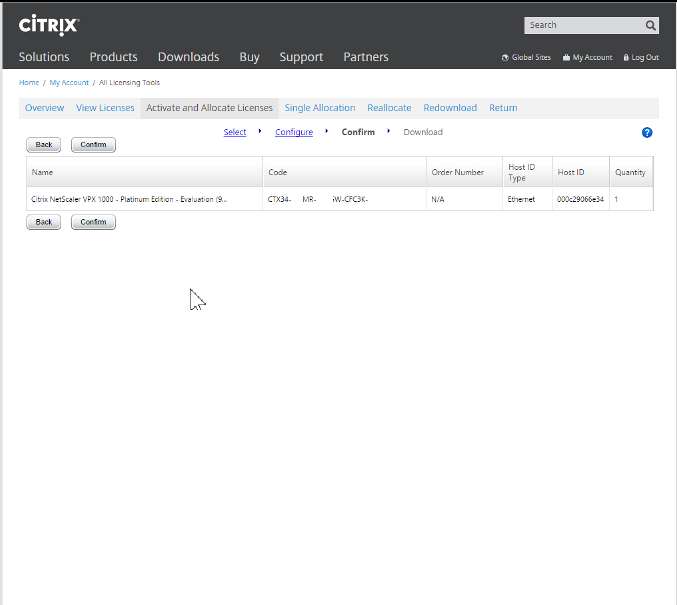
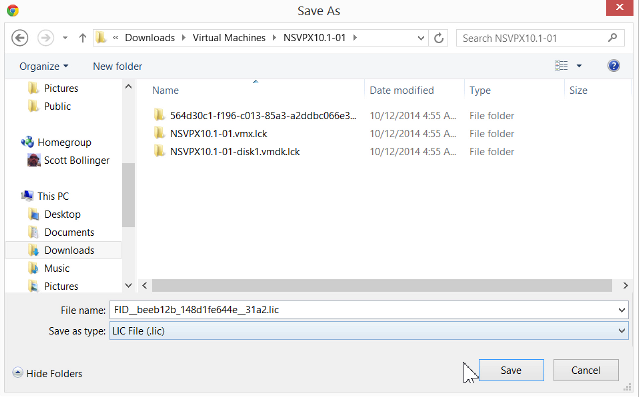
You are prompted to download the license file.
Choose the location to save the license file.
Return to the NetScaler VPX web GUI, click browse, navigate to where the license file was saved and select it.
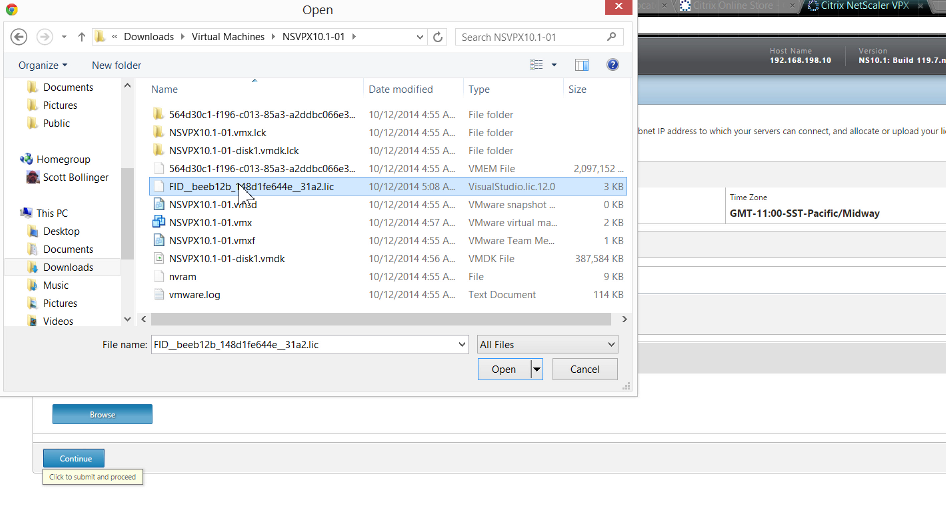
Click Continue.
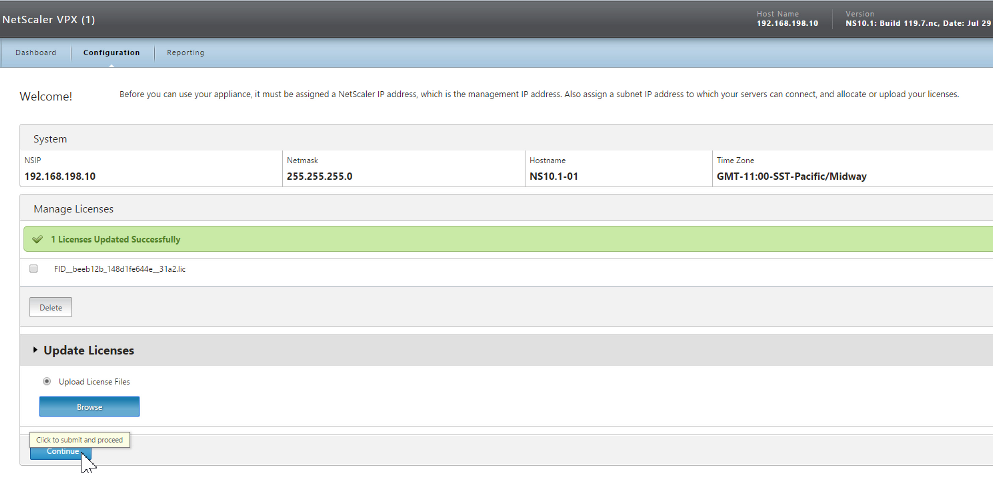
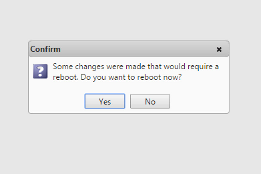
A reboot is necessary. Click Yes to reboot.
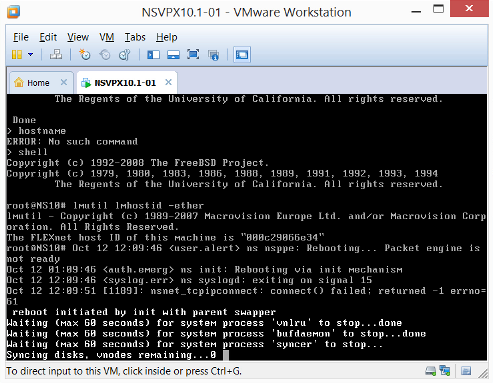
The reboot can be viewed from the console of the VPX in VMware Workstation.
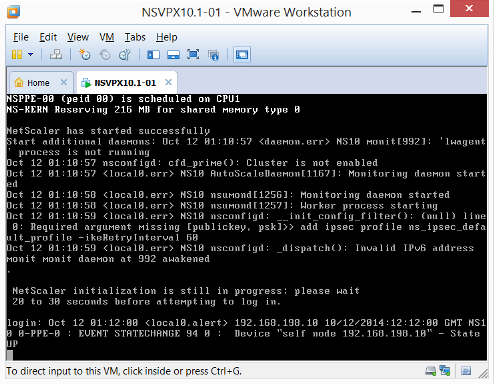
Once the VPX is back up and at the login prompt sign in via the NetScaler VPX web GUI.
The user and password are still nsroot/nsroot as we have not changed them yet.
To verify the license file has been applied navigate to System > Licenses.
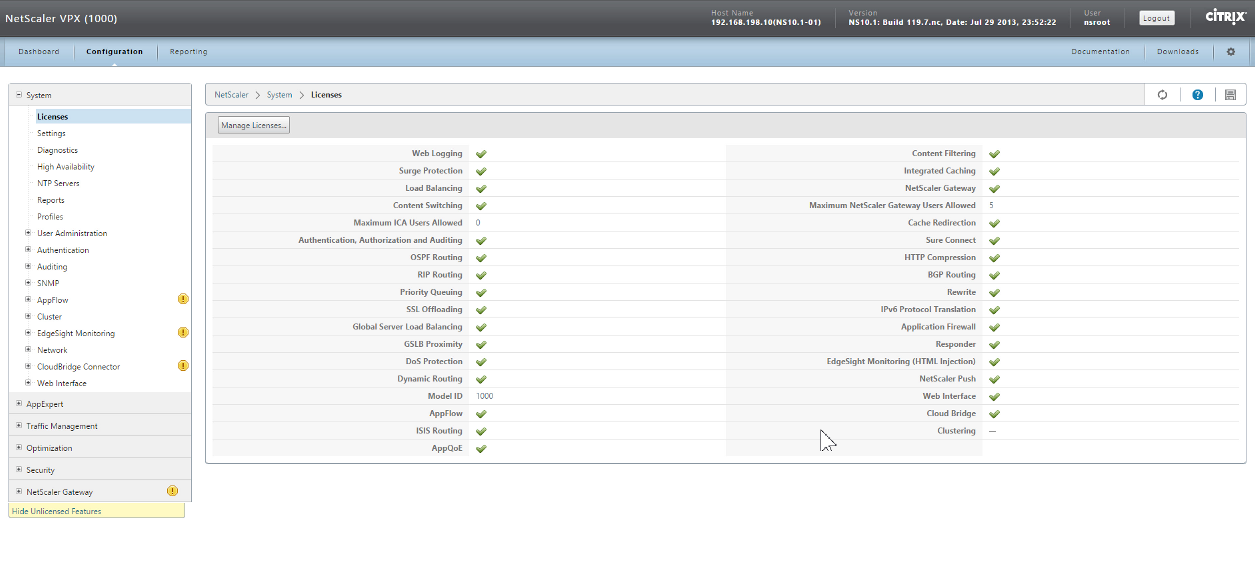
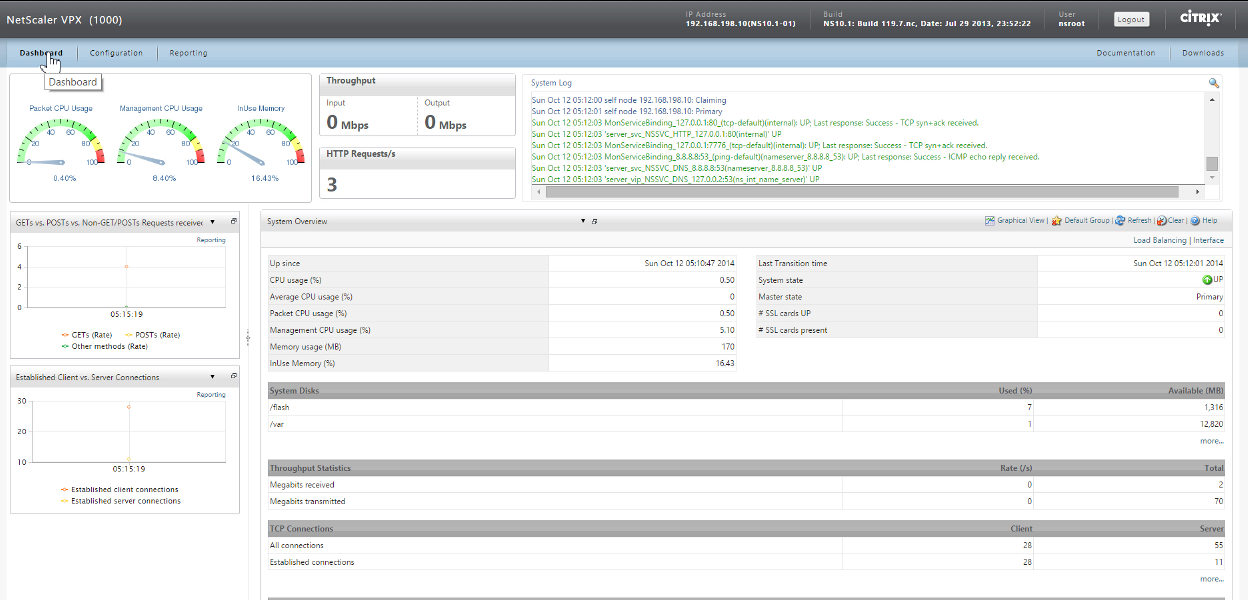
Click on Dashboard to see current utilization.